sourdough crackers

Sourdough Crackers

A great place to begin sourdough baking is with crackers or lavash. Every baker who keeps a starter alive has discard. Most of us hate to waste. Instead of tossing your discard away, simply add oil, salt and enough flour to create a soft dough. Most sourdough bread bakers obsess over getting a good rise, but you want crackers to be flat and these will be! Besides, SD discard makes these flatbreads much more flavourful.

Basic Dough

3.5 oz/100 g 100% hydration sourdough discard (SD) 

1 Tbsp olive oil

1 tsp salt

2-4 heaping Tbsp flour

Dough add-ins

1/4 cup Blue Cheese or goat cheese, crumbled

2 Tbsp Sun-dried tomatoes

1/4 cup toasted walnuts, pecans, sunflowers or sesame  seeds

1 Tbsp toasted cumin, coriander, ajwain, fennel or nigella

Chili flakes

Dried rosemary, thyme, sage or oregano

Roasted or finely chopped garlic

Top-ons

Flaky Vancouver Island or Maldon salt

Chili flakes

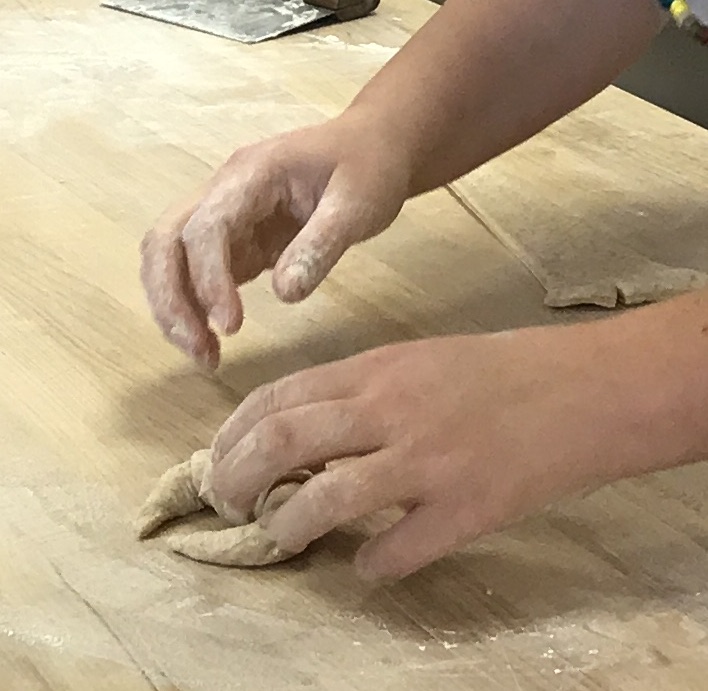
Once you have fed your starter, get ready to work with the discard or simply cover and leave in the fridge (up to 24 hrs) until you are ready to create cracker dough. Add olive oil, salt and two tablespoons of flour to the discard. Mix.  Add more flour, little by little, until a dough forms and you can knead it in the bowl a few times. 

Add-ins are all optional.  Any add-in ingredients high in moisture, such as soft cheese or roasted garlic may require that more than 4 tablespoons of flour are added to make a dough. 

Flour types will also affect dough formation. In general, cracker dough can take more processed white flour than it can whole or sifted grains, like rye, buckwheat, wheat, barley, cornmeal and spelt.  The more you experiment with different flours and add-ins, the more you will learn about your dough and what you like in a cracker. 

I like to add flaky salt and chill flakes as top-ons (even though the dough may contain both) for instant cracker-bite-appeal. 

Rolling out cracker dough is easy.  Lay out a piece of parchment paper on your counter and dust it and rolling pin with flour.  Roll dough out as thinly as possible. Sprinkle over with top-ons if desired. Prick with a  fork to create a regular pattern. 

Bake on a baking sheet at 325 F for 15-30 minutes.  A very thin cracker will cook faster than a thick one. 

Your cracker is ready to take out of the oven when it is browning around the edges. Remove parchment and using oven gloves, pick it up and see if it bends and is pliable in the middle of a cracker sheet.   If so, it needs more oven time. Sometimes I turn off the oven and leave the cracker sheet inside for an hour or so to really dry out. It’s a good sign if your sheet of dough has cracked in a few places and that may get you thinking about this product’s name.

Finally, how do you cut your crackers? I go with a rustic approach, breaking the baked cracker sheet or lavash into shards, serving in a tall glass. But you may want to use a pizza or ravioli cutter to cut the dough into triangles, rectangles or squares before baking. Ensure even baking by cutting all the shapes into similar shapes. Individually cut crackers will bake in 15-20 minutes.


Baking at King Arthur Flour, Part 1: The things I learned in baking school

A scraper is your best friend, especially if you have two

First, we bakers need a white, plastic scraper with King Arthur Flour’s logo embossed on the surface. It’s light and flexible, a strong yet perfectly calibrated plastic that bends in the grip while its curved edge scrapes clean each bowl of messy dough we mix. We find it tucked inside our red recipe folders, compliments of KAF. My bench partner leans over and whispers, “Complimentary now, huh? I think I stole one before. Can’t bake without it.”

Instructor Geoffrey intones, “Dough is always sticky” and demos a clean scrape, lifting a mass of Multigrain with Biga dough in big chunks to the bench (a.k.a. our working surface). Once this dough hits the wooden bench it does exactly as expected. It sticks.

Enter scraper number two. It’s a big piece of stainless steel with a wooden handle and a straight, six-inch edge, sharp and strong enough to cut bulk mounds of dough in clean strokes or measure rolled-out rectangles of dough to the required specs. Better still, it cleans off that ever-present mixture of flour and water that accumulates on our wooden benches incessantly.  Wet dough leaves scat. We bakers obsessively scrape it away (following the wood’s grain if your bench partner suggests). If time permits, we use it to scrape clean our white plastic scraper, too.

IMG_3535
A docker has nothing to do with boats
.

A mysterious tool is on display at the front of the classroom. We are watching Geoffrey demonstrate “Caraway Rye Crisps”. It’s our first baking venture on Day One of the KAF course and Geoffrey doesn’t touch the docker, leaving me curious. I drag this massive white roller flecked with nails across a sheet of freshly rolled-out cracker dough. Instantly, this torture device tears my carefully rolled out dough into shreds.  I opt to make lavash and use a fork to finish the work

Dough has muscle.

According to Jen, our Day Four instructor, dough muscle can vary in strength from loosey-goosey to weightlifter tight.  Day Four happened to be Halloween and Jen is dramatically dressed as a pre-Industrial baker in a floor length dress and apron, her long hair wrapped beneath a layered scarf. Jen points to her clenched fist and dabs the pad below her thumb.

“That’s firm,” she says authoritatively.

“But this,” she says pointing to her flabby underarm muscle that’s impossible to see under the billowing waves of her costume’s fabric, “is absolutely not!”

Geoffrey’s approach to dough muscle did not include his or anybody else’s body parts.

Pushing a bowl full of dough towards us, he says “touch it, feel it.”  After another mix, he beckons again “touch it, feel it.” He chants these four words like a mantra all through the course.

“Touch it, feel it,” after a proof. “Touch it, feel it,” after a pre-shape.  We dip thumbs and forefingers into every mass of gunky dough he offers, pulling messy strands, pinching and prodding, disgusted by the gummy residue that clings like glue to our nails and knuckles.

“Dry, never water-wash your gooey hands,” instructs Geoffrey as he dunks his fingers into a nearby bin of flour, a cloud of flour lifting up. He pulls them out slowly, and methodically rubs off all the gnarly bits into a waste-bin below. He waves his dry, but still visibly floury and crusty hands in our direction and chuckles.

“That’s a bakers’ patina.”

Baker's Patina

Dough texture – and dough muscle – changes all baking day long.  Once fermented or proofed, we poke it again to test strength. Geoffrey calls this “the doorbell ring.” Depending on the bread type, we see that poke spring right back up, leave a deep indent, or something in between.

A baker’s touch is as vital as a tasting spoon, worth every sticky, messy, floury imprint it makes on our minds.

Scale it and tare it.

Baking relies on precision. Flour measured by volume (with measuring spoons or cups) is not recommended. Our individual baking stations are each supplied with a big black scale. Geoffrey says he prefers metric since “the math is easier and grams are more precise.” Bakers are constantly making computations, whether it is tripling a recipe or cutting an industrial mix into one-fortieth of its original size. Those 16 Imperial ounces in a pound just add confusion to the tally.

We start every recipe by measuring out all our ingredients on the scale.KAF Day Four

“The tare button is our best friend,” instructs Geoffrey. “Or it can be the opposite.” As soon as we put an empty mixing bowl on the scale, we tare and the screen returns to zero. We spoon in all-purpose flour and tare. We add rye and tare. We rely on the tare button to refresh the screen and weigh each ingredient separately, but if you inadvertently tare mid-stream, or worse still, your scale times out and goes blank, you can find yourself looking at a huge bowlful of  ingredients containing, God forbid, an unmeasured ingredient that can ruin the whole lot.

Scaling liquids is also tricky. The numbers on a scale just can’t keep up with a fast pour. Better to measure liquids separately and slowly. Scaling gooey blobs of honey or molasses is terminally slow and messy. Handy trick? Use an oiled spoon and honey or molasses slides off effortlessly. Worse still, tiny morsels of instant yeast (living time bombs, in the world of leavening) are so light and airy our scales can’t discern their 1 gram increments. As a result, we bakers sometimes have to ditch science and use our senses instead. It’s that combination of these two forces – one scientific and the other learned by the senses—that creates the mighty and delicious alchemy of baking.

(To be continued, next week)

IMG_3545

Rye Lavash with Maldon Salt, Chili Flakes and Rosemary

Adapted from “Caraway Rye Crisps” this recipe highlights rye’s awesome flavour and is a no-brainer, requiring next to no kneading nor any yeast.  Go ahead and cut these into fussy rectangles for traditional crackers but I prefer baking this out in two large sheets and dubbing it lavash.  Once cooled,  break into long, random sticks and serve alongside dips, paté or cheese.

114g unbleached, all-purpose flour

114g  whole rye flour (we used KAF Pumpernickel)

1 tsp baking powder

¾ tsp salt

25g diced, cold unsalted butter

118g water

20g dark molasses

Maldon salt

Chili Flakes

Dried Rosemary

Preheat oven to 400 F. Line two baking sheets with parchment paper.

In a large bowl, combine all purpose, rye, baking powder and salt. Using a pastry blender, cut in butter until it resembles coarse meal. Scale water in a bowl, tare, and scale in molasses by drizzling from an oiled spoon.  Add liquids to dry and combine with a curved edge plastic scraper kneading into a rough dough. Wrap in plastic, flatten into a disc and refrigerate for at least 15 min.

Place the disc on a lightly floured surface, cut in half and roll out each to 1/16thinch thickness.

Transfer to parchment lined baking sheets. Sprinkle with salt, chili flakes and rosemary and use the rolling pin to press in gently.

Bake 9-12 min or until golden brown.  Transfer to a rack to cool.  Break into pieces, if desired.

KAF Day One

Bakers, get equipped!

Like any profession, bakers rely on good tools to get the job done right.

Oven: Choose electric over gas for reliable heat with less temperature fluctuation.

56002807935__20AF0A01-FB77-4879-BA5B-3C96AC0E91F6Dutch ovens or Lodge Pan combo cookers: When Jim Lahey of Sullivan St Bakery published his no knead bread recipe it was a revelation to the baking world. What, you don’t need to knead? But what you do need is the right pot for artisanal dough: one that is small enough to create its own steam at the beginning of the bake and is heavy-duty enough to retain really high heat. I love my Lodge combo cookers. You can’t beat the crust, crumb and lift of a loaf baked in a combo cooker. Put it in the oven, preheat to 500F and wait about 30 minutes before loading the dough into these cast iron cookers. They will be VERY hot and extra caution is needed when working with these pots. Most ovens can fit two combo cookers on a single rack at the bottom of the stove.  What makes a combo cooker perfect for baking bread is its shallow bottom and tall lid, making it easy to slide delicate risen dough on to its surface and a lid large enough to allow a full rise. My only complaint is that is does not accommodate large oval loaves.

Parchment paper: I started my bread career with pizza dough. Every cookbook and instructor called for cornmeal.  “Dust your bread paddle with ample cornmeal and that sticky dough will quickly slide off and into a hot oven” was the refrain. But it didn’t exactly slide and too often the cornmeal burnt in the oven and ruined the aroma and underside of the crust.

Enter parchment paper also called “bakers’ paper”.  Things don’t stick to it. I use a small amount to line a paddle or baking sheet and never experience the horror of dough not moving in one whole, shaped piece into the oven. I leave my loaves on parchment for the entire bake and it does not harm or affect the crust negatively.

img_6314.jpg
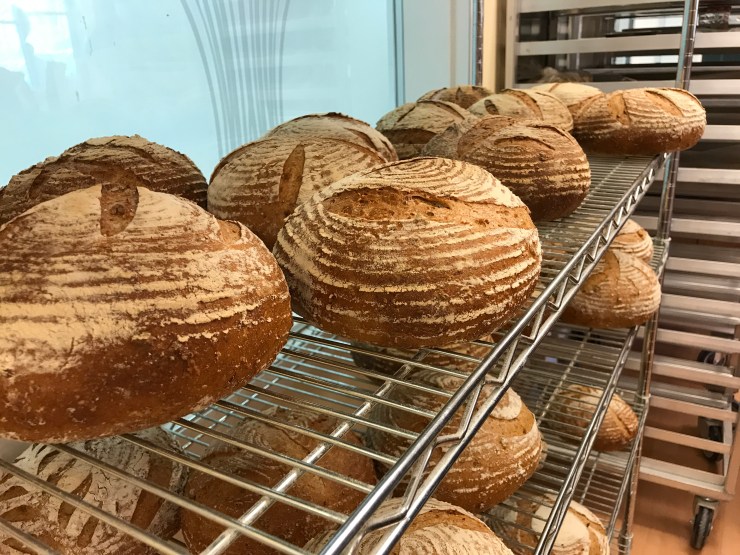
Bannetons and baker’s linen: Artisanal bread dough is risen in baskets to preserve the shape and to create a pretty swirling flour pattern on the finished crust. You plunk the shaped loaf in bottom-side-up, let it rise, then place a parchment-paper-lined paddle or rimless baking sheet over it and flip the loaf back over, right side up. I dust my bannetons liberally with rice flour which prevents sticking and also creates nice, white contrasting lines on the finished crust. I never wash my bannetons, because moisture encourages mildew. I use a natural bristle brush to clean the bannetons and store them in a dry, airy cupboard. Round bannetons should be no wider than eight to nine inches in diameter or your loaf will be too big for the combo cooker. Another option is baker’s linen liners that can be fit over medium sized bowls.

Shower caps: I used to put my rising banneton dough in closed plastic bags to prevent the dough from drying out until my friend Dushka suggested hotel shower caps. They fit snugly over the top of a banneton or linen-lined bowl and you can look inside to gauge the progress of your rise without having to take the shower cap off.  Brilliant! Never leave a hotel without taking one home.

IMG_6437Razor blades and lamés: Just before your risen dough goes into the oven, it is time to score. A score allows hot air to emit during the bake without tearing open the crust. Bakers traditionally scored loaves in distinct patterns but nowadays it has become an art. The angle and depth of a score will affect the final shape of the loaf. I like to hold a slightly curved sharp blade between my thumb and index finger but others like to use a handle for the razor called a lamé. A sharp, serrated knife can do the trick, too.

Oven gloves: While the underside of my arms are littered with burn scars, I actually use and highly recommend oven gloves.  Heavy duty, extra-long gloves are the best protectors but hard to find.

56071585550__DC3B82DE-6B7F-4052-B2F4-EF322A7717EC
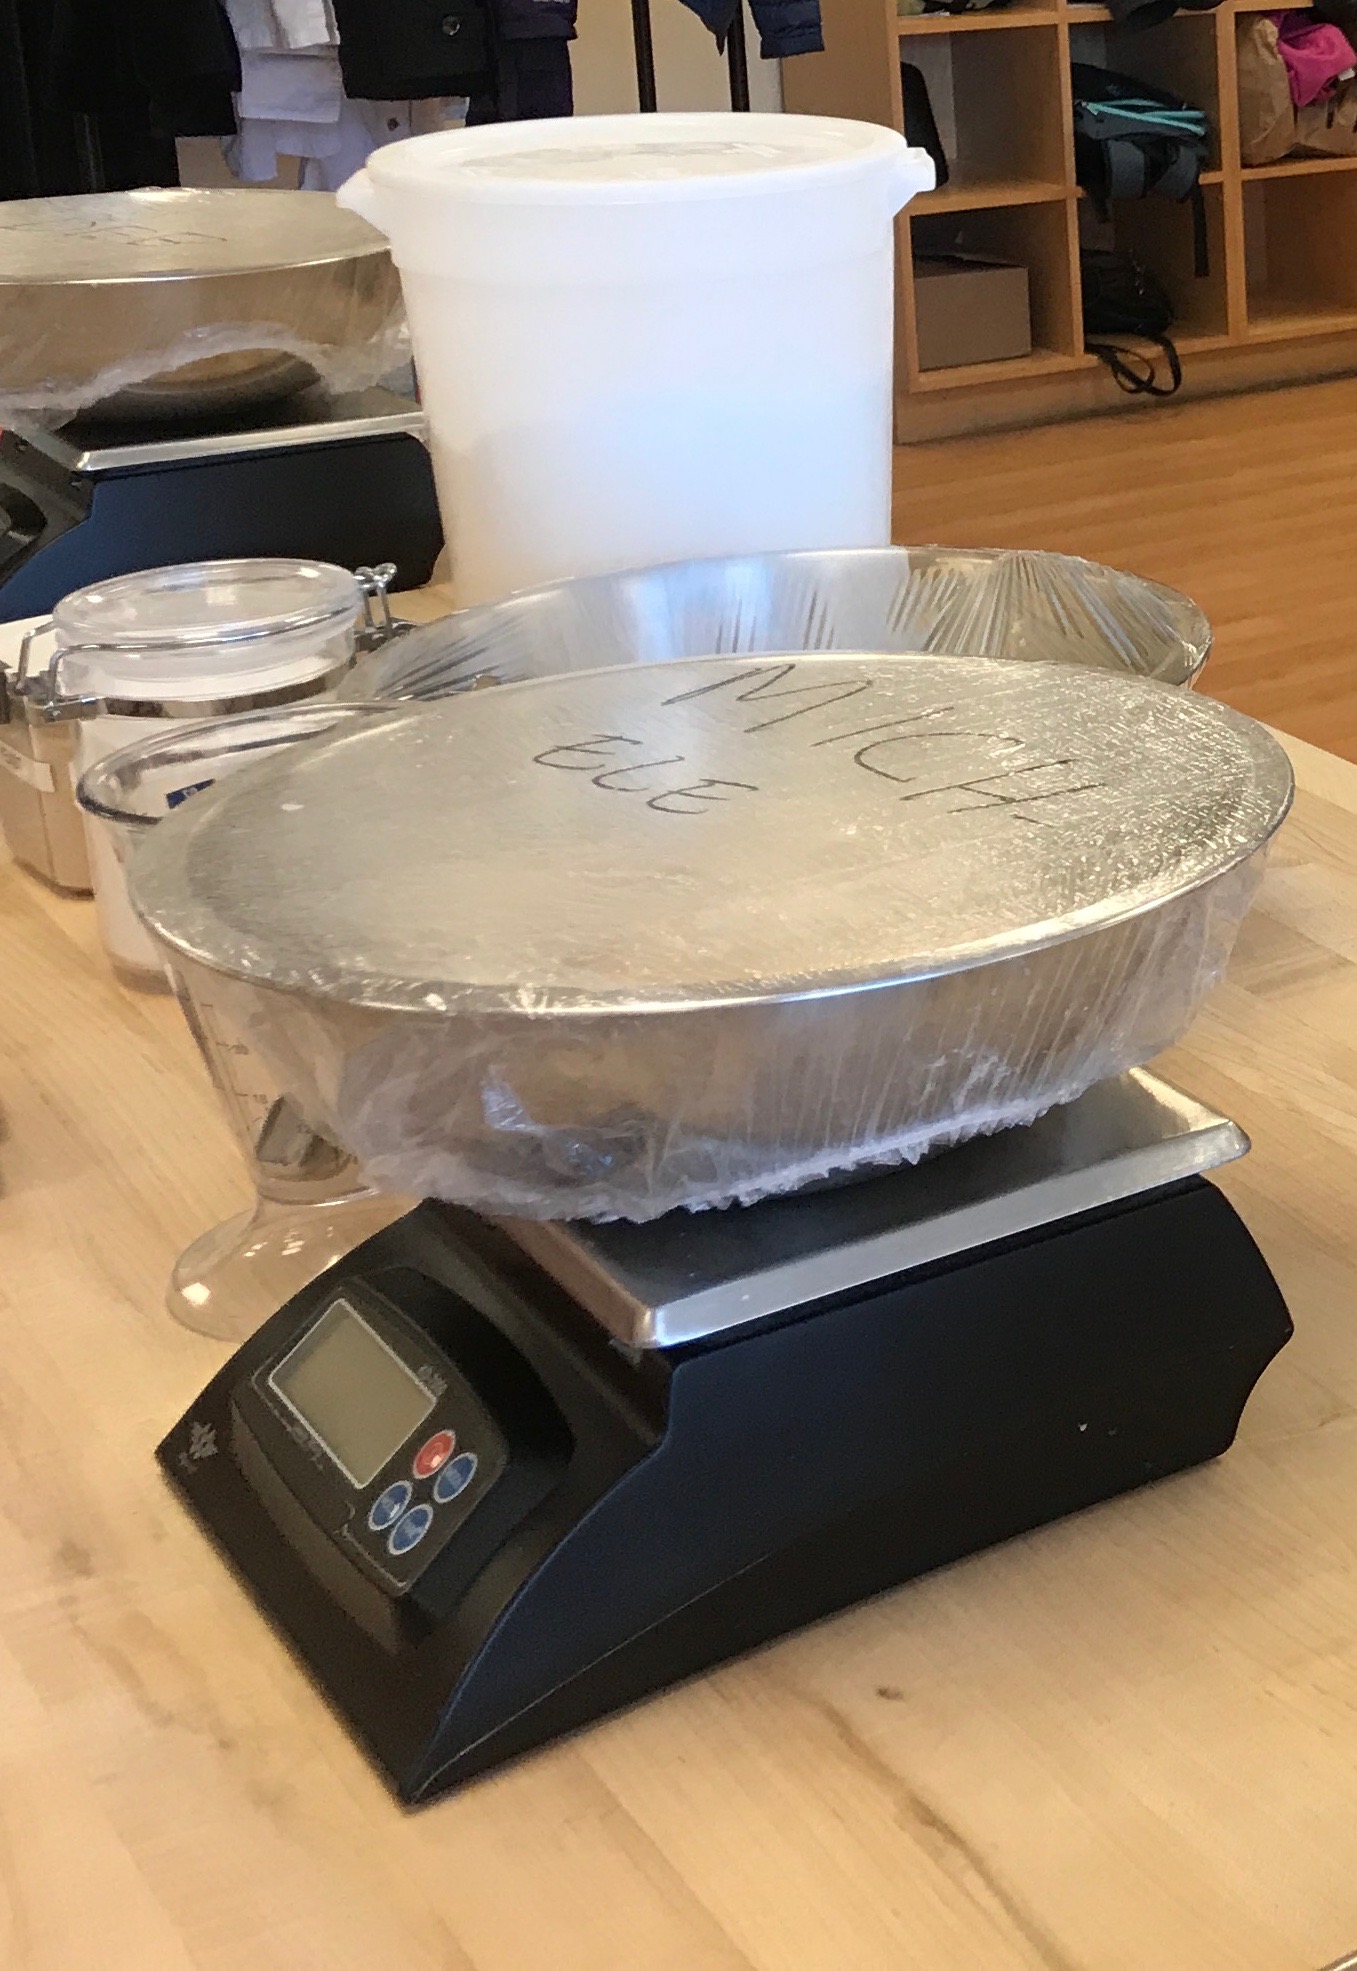
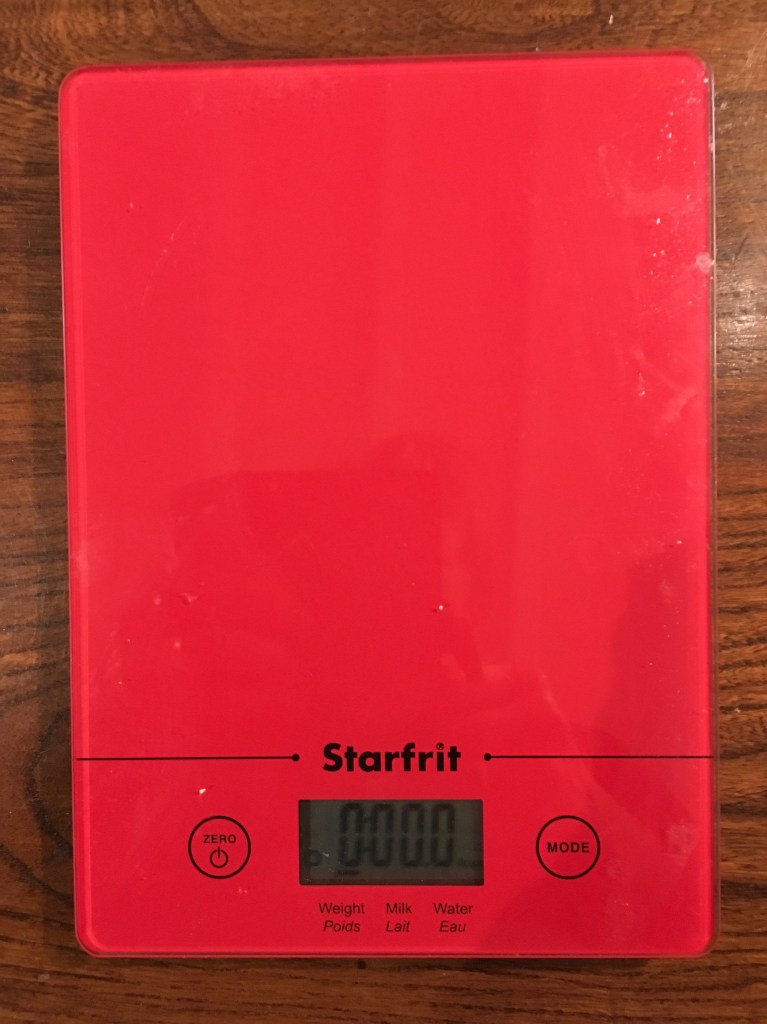
Digital scale: I cannot bake without a scale, I am so used to weighing versus measuring flour, starter and water.  You need a scale that can “tare” back to zero so that you can put an empty bowl on the scale, tare to zero, add a pound of flour and tare back to zero, add 8 ounces of water and tare back to zero and so on. Zyliss makes a light, flat scale about the size of an Ipad.

IMG_0312Just three ingredients: Flour, water and salt: Organic flour makes a big difference.  I buy unbleached organic hard white flour by the 10 kg bag and am happiest when it is locally milled and has a date stamp to guarantee freshness. Locally grown, freshly milled whole rye, kamut, spelt and red fife all make incredible sourdough bread.

IMG_6472Salt.  Avoid iodized salt and choose sea salt. I like the big bags of coarse grey French salt from Ile de Noirmoutier that I found at Thrifty’s.

Water.  If your local tap water tastes great, use it.  In Toronto I bake all my bread with spring water.

Creating steam: Professional bread ovens have built-in steam injection. Bakers want steam during the first 10 minutes of baking for good crust development. If your oven does not supply steam, you can supply it yourself with a spray bottle or ice cubes. Sprayed water may crack oven tiles or pizza stones. Ice cubes won’t.  Heat a small aluminum baking pan in the bottom of the stove and toss in two or three cubes after you load the dough into the oven.

IMG_4303