Things I learned in KAF baking school, Part Two

Side-by-side taste testing is a gift.

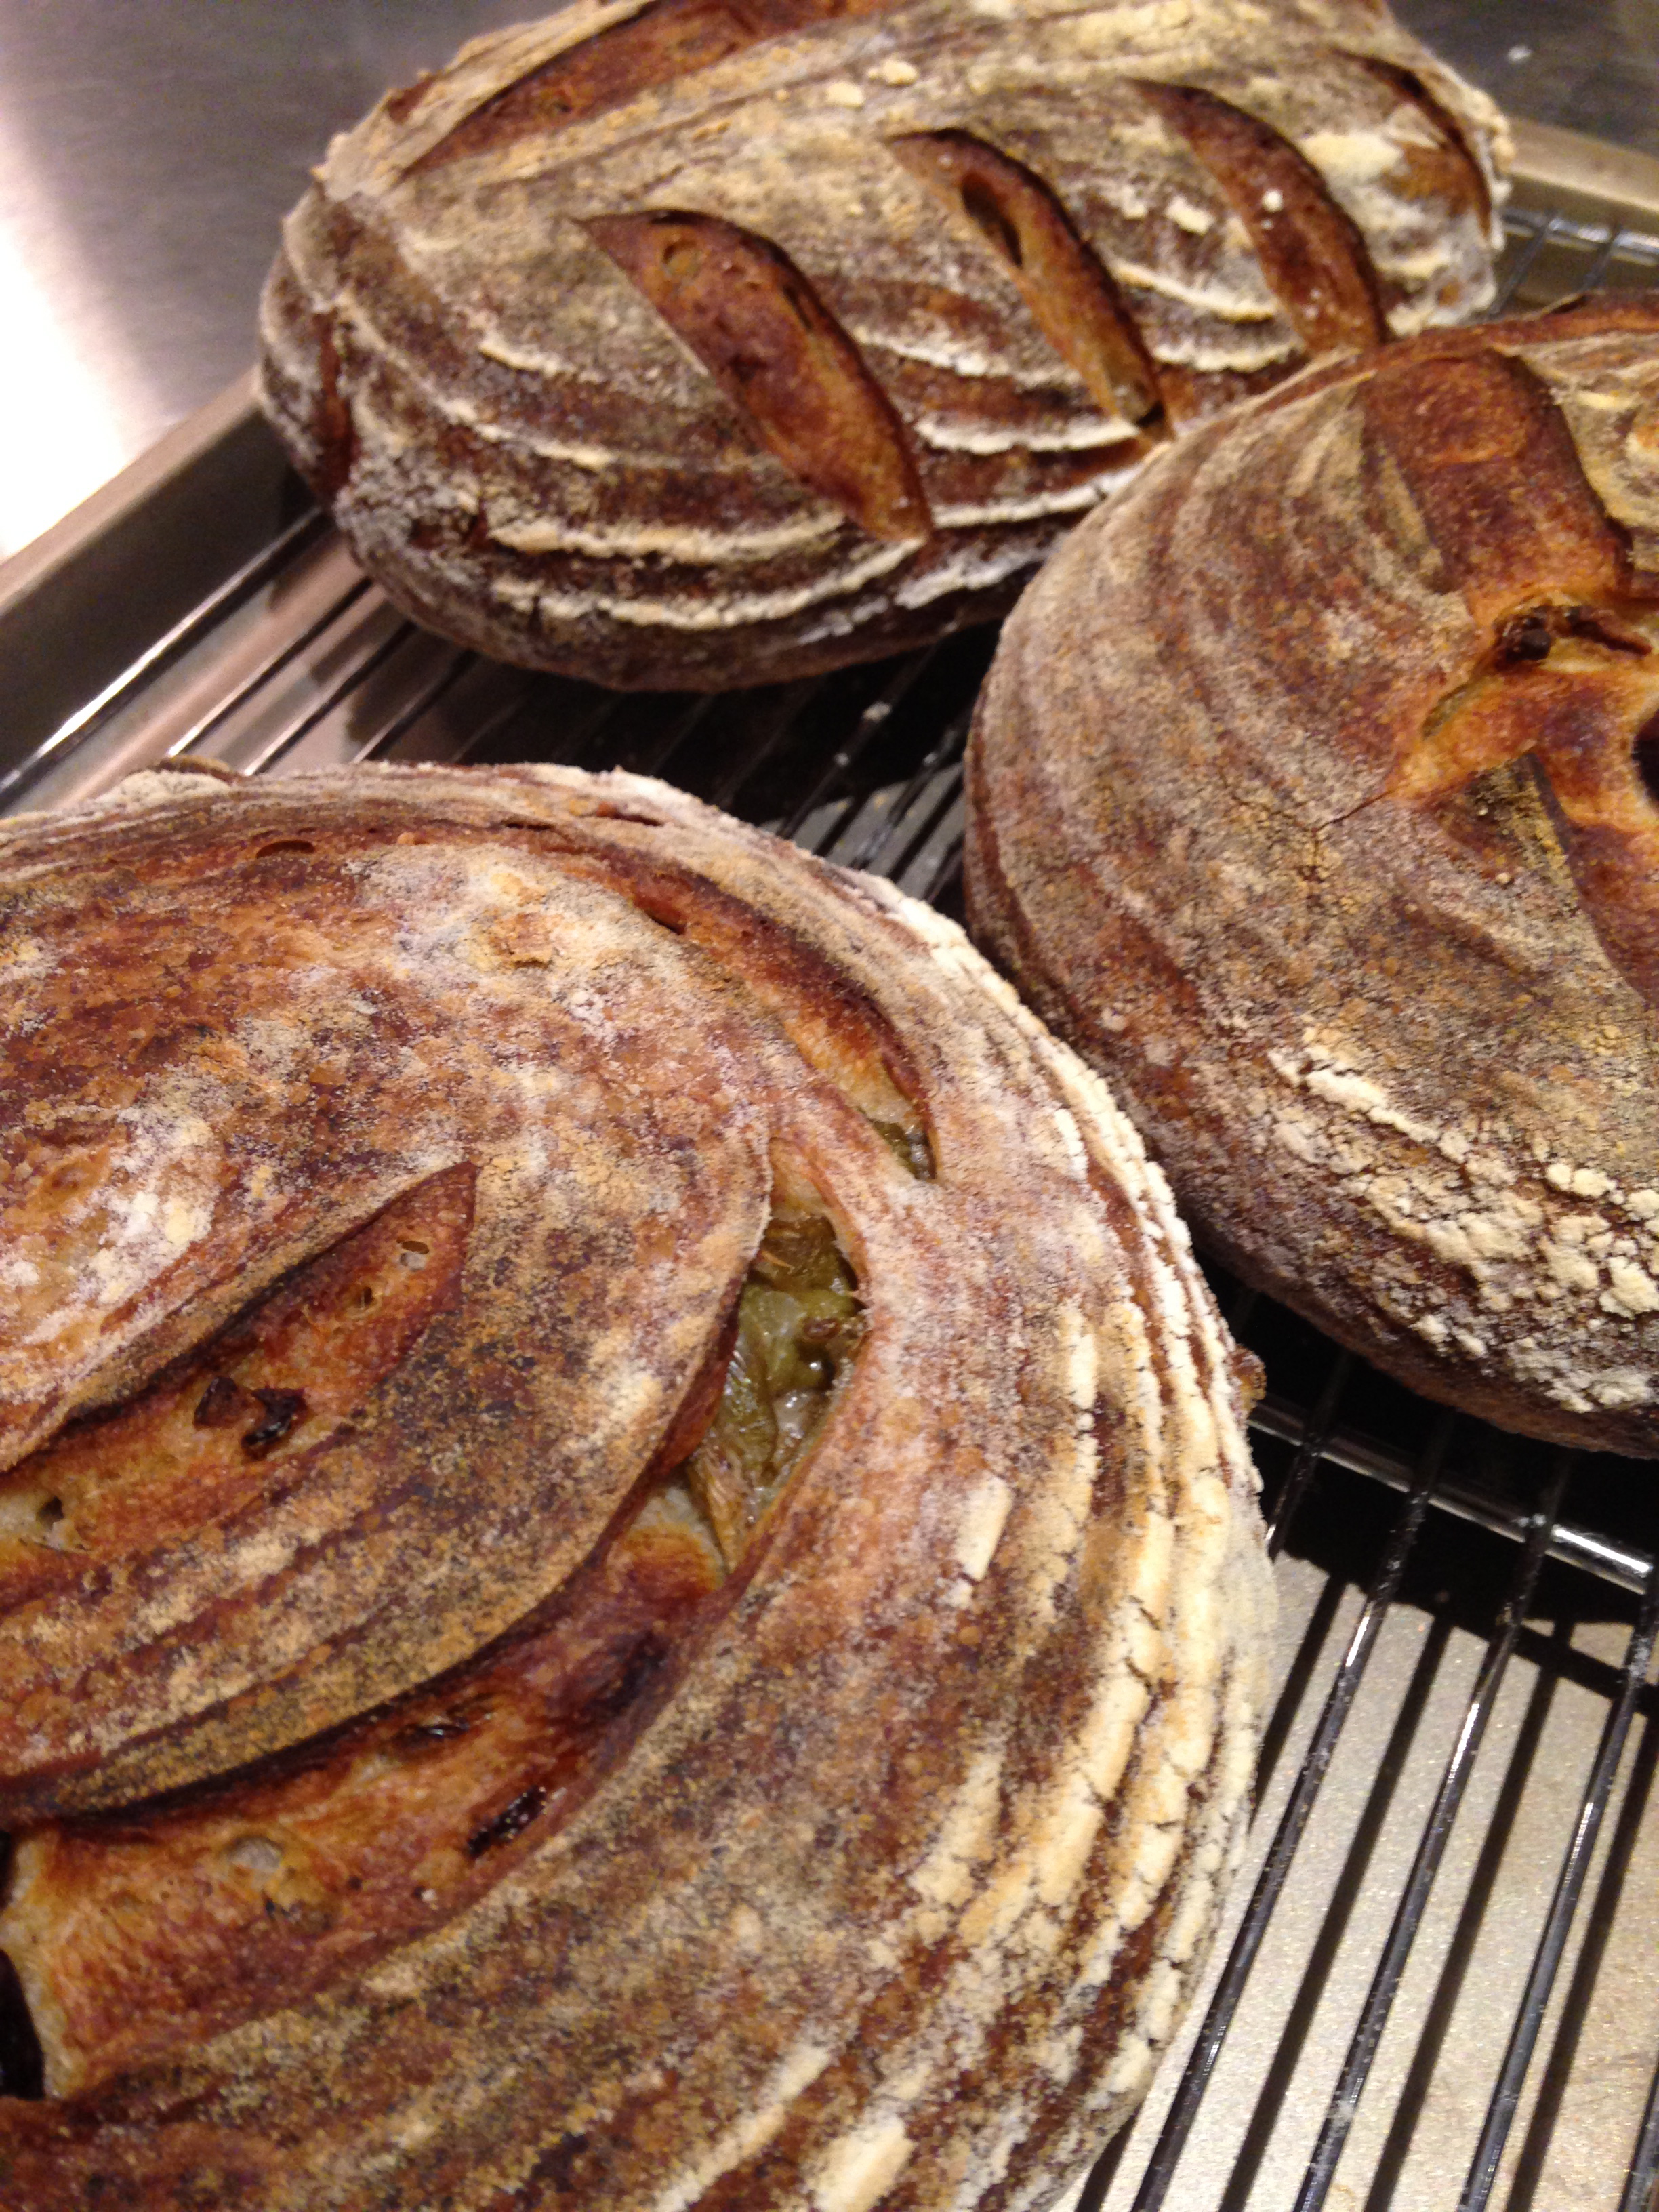
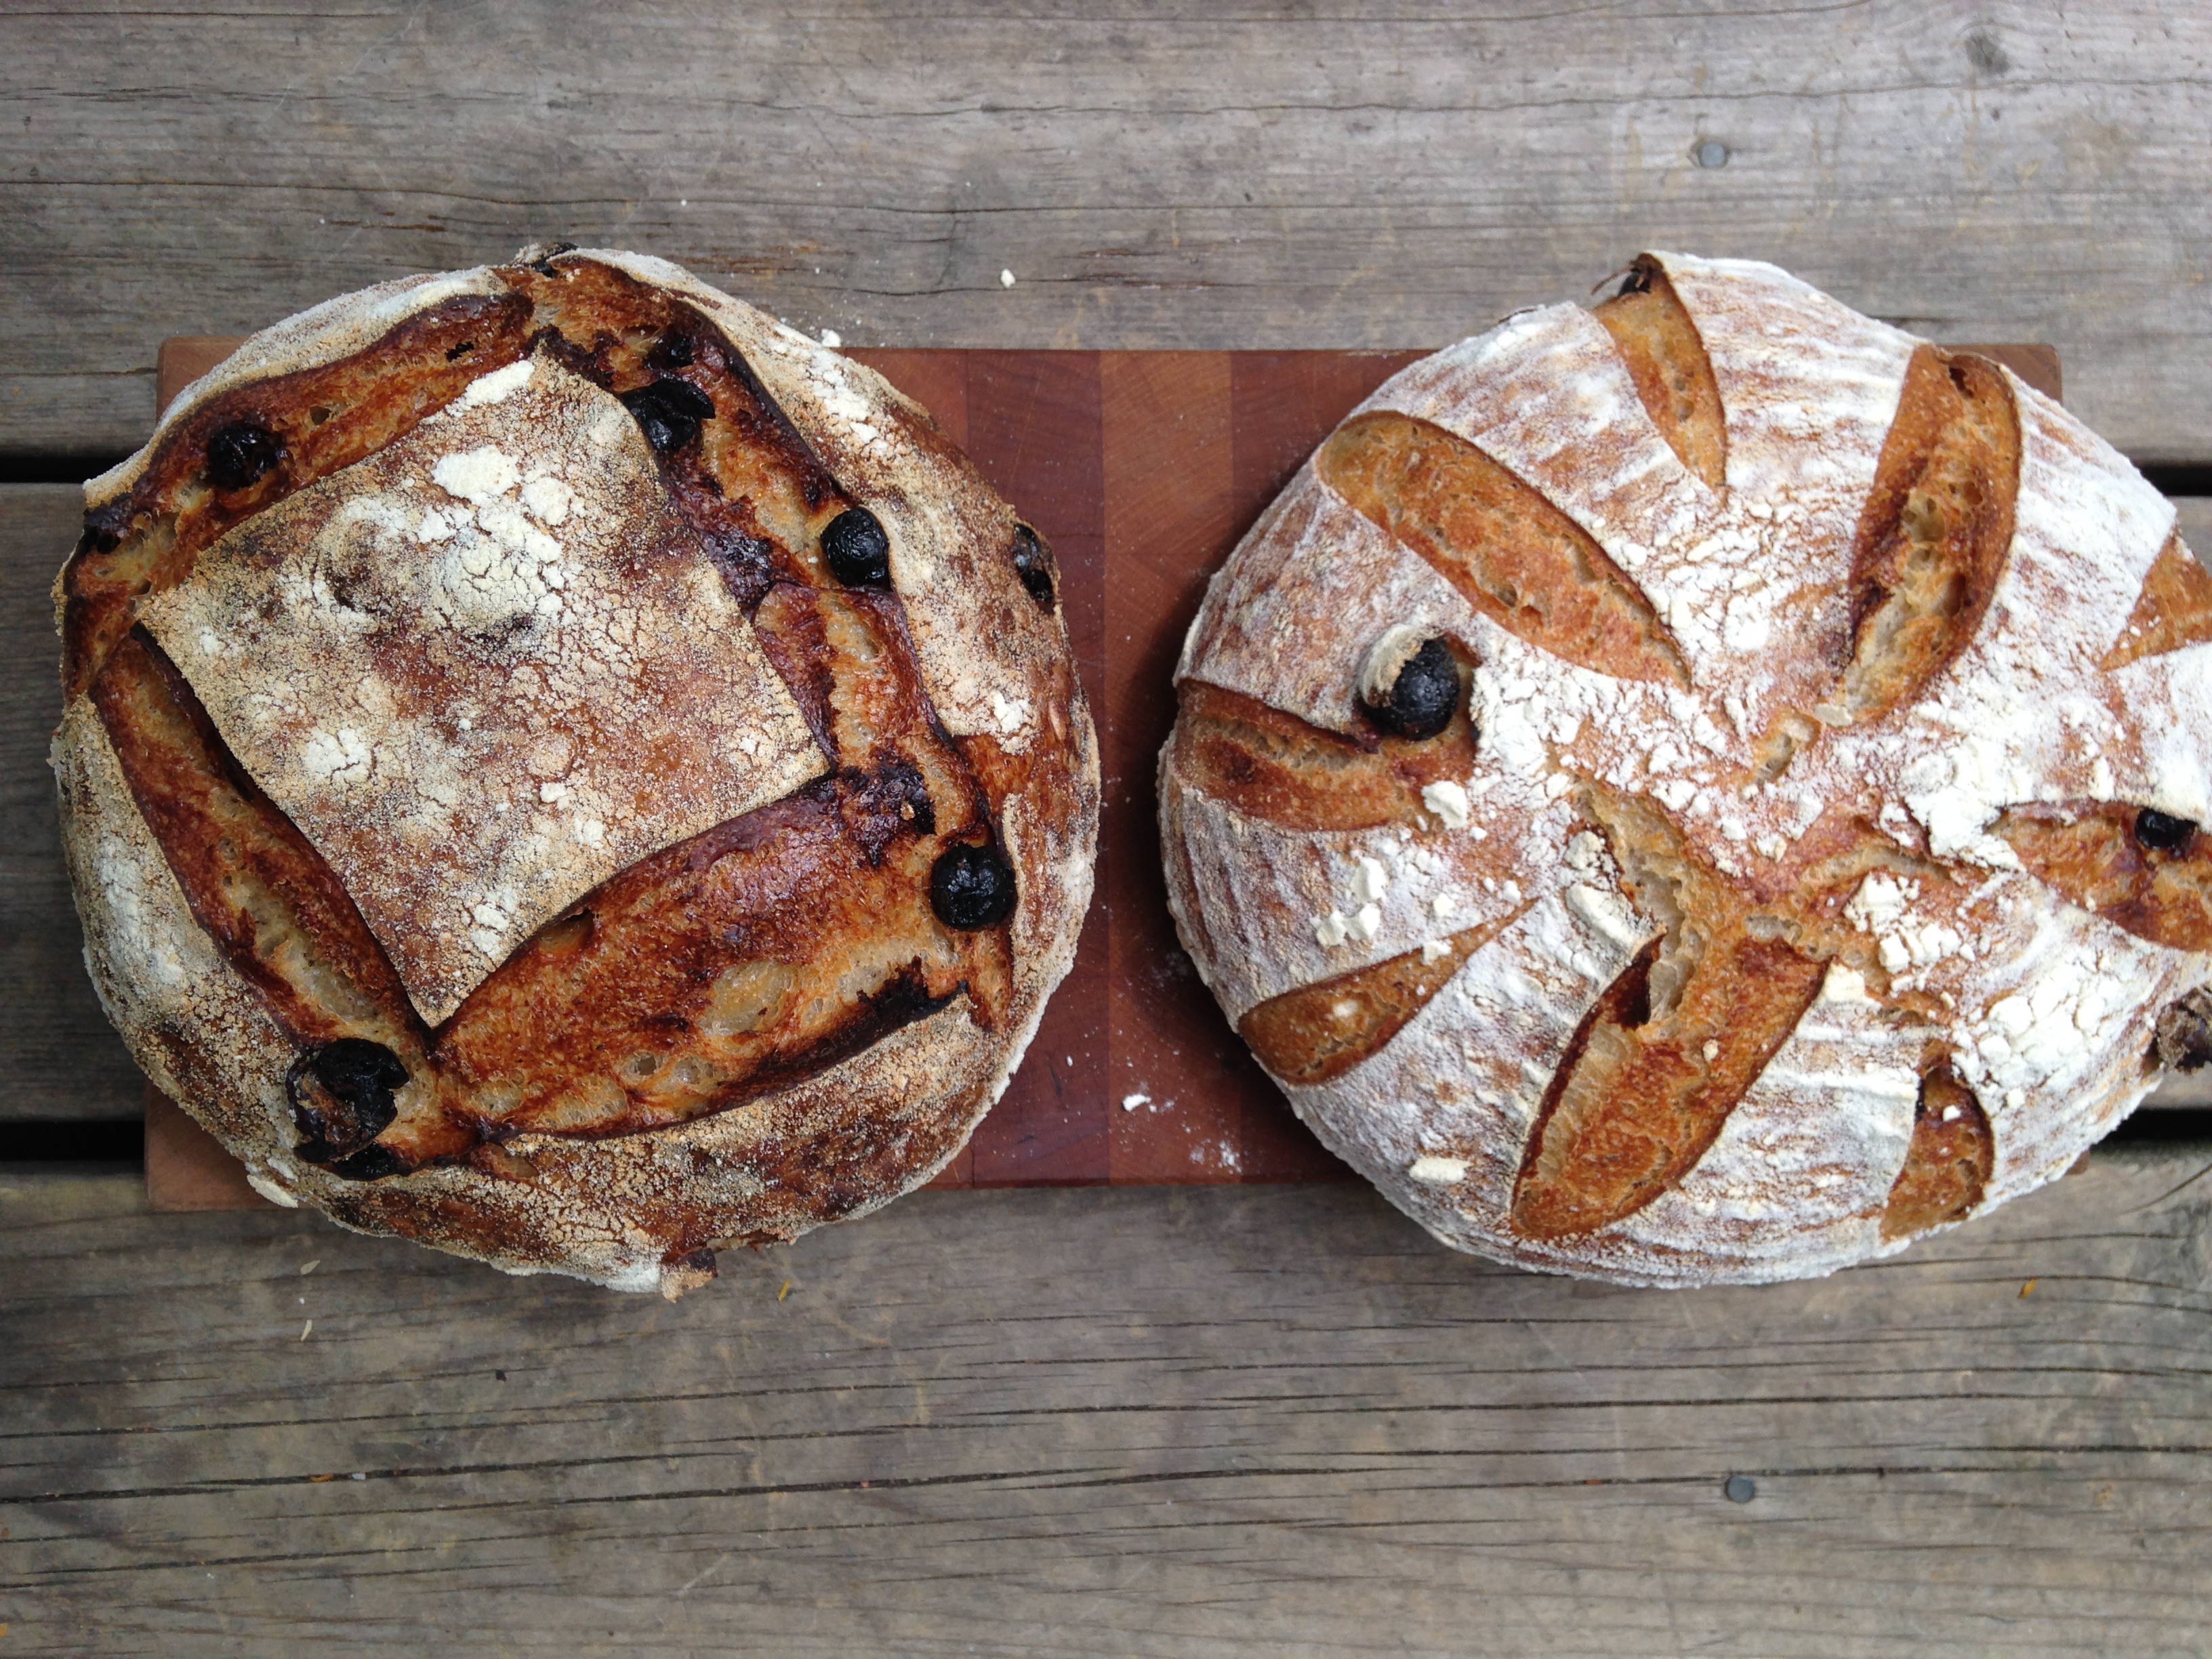
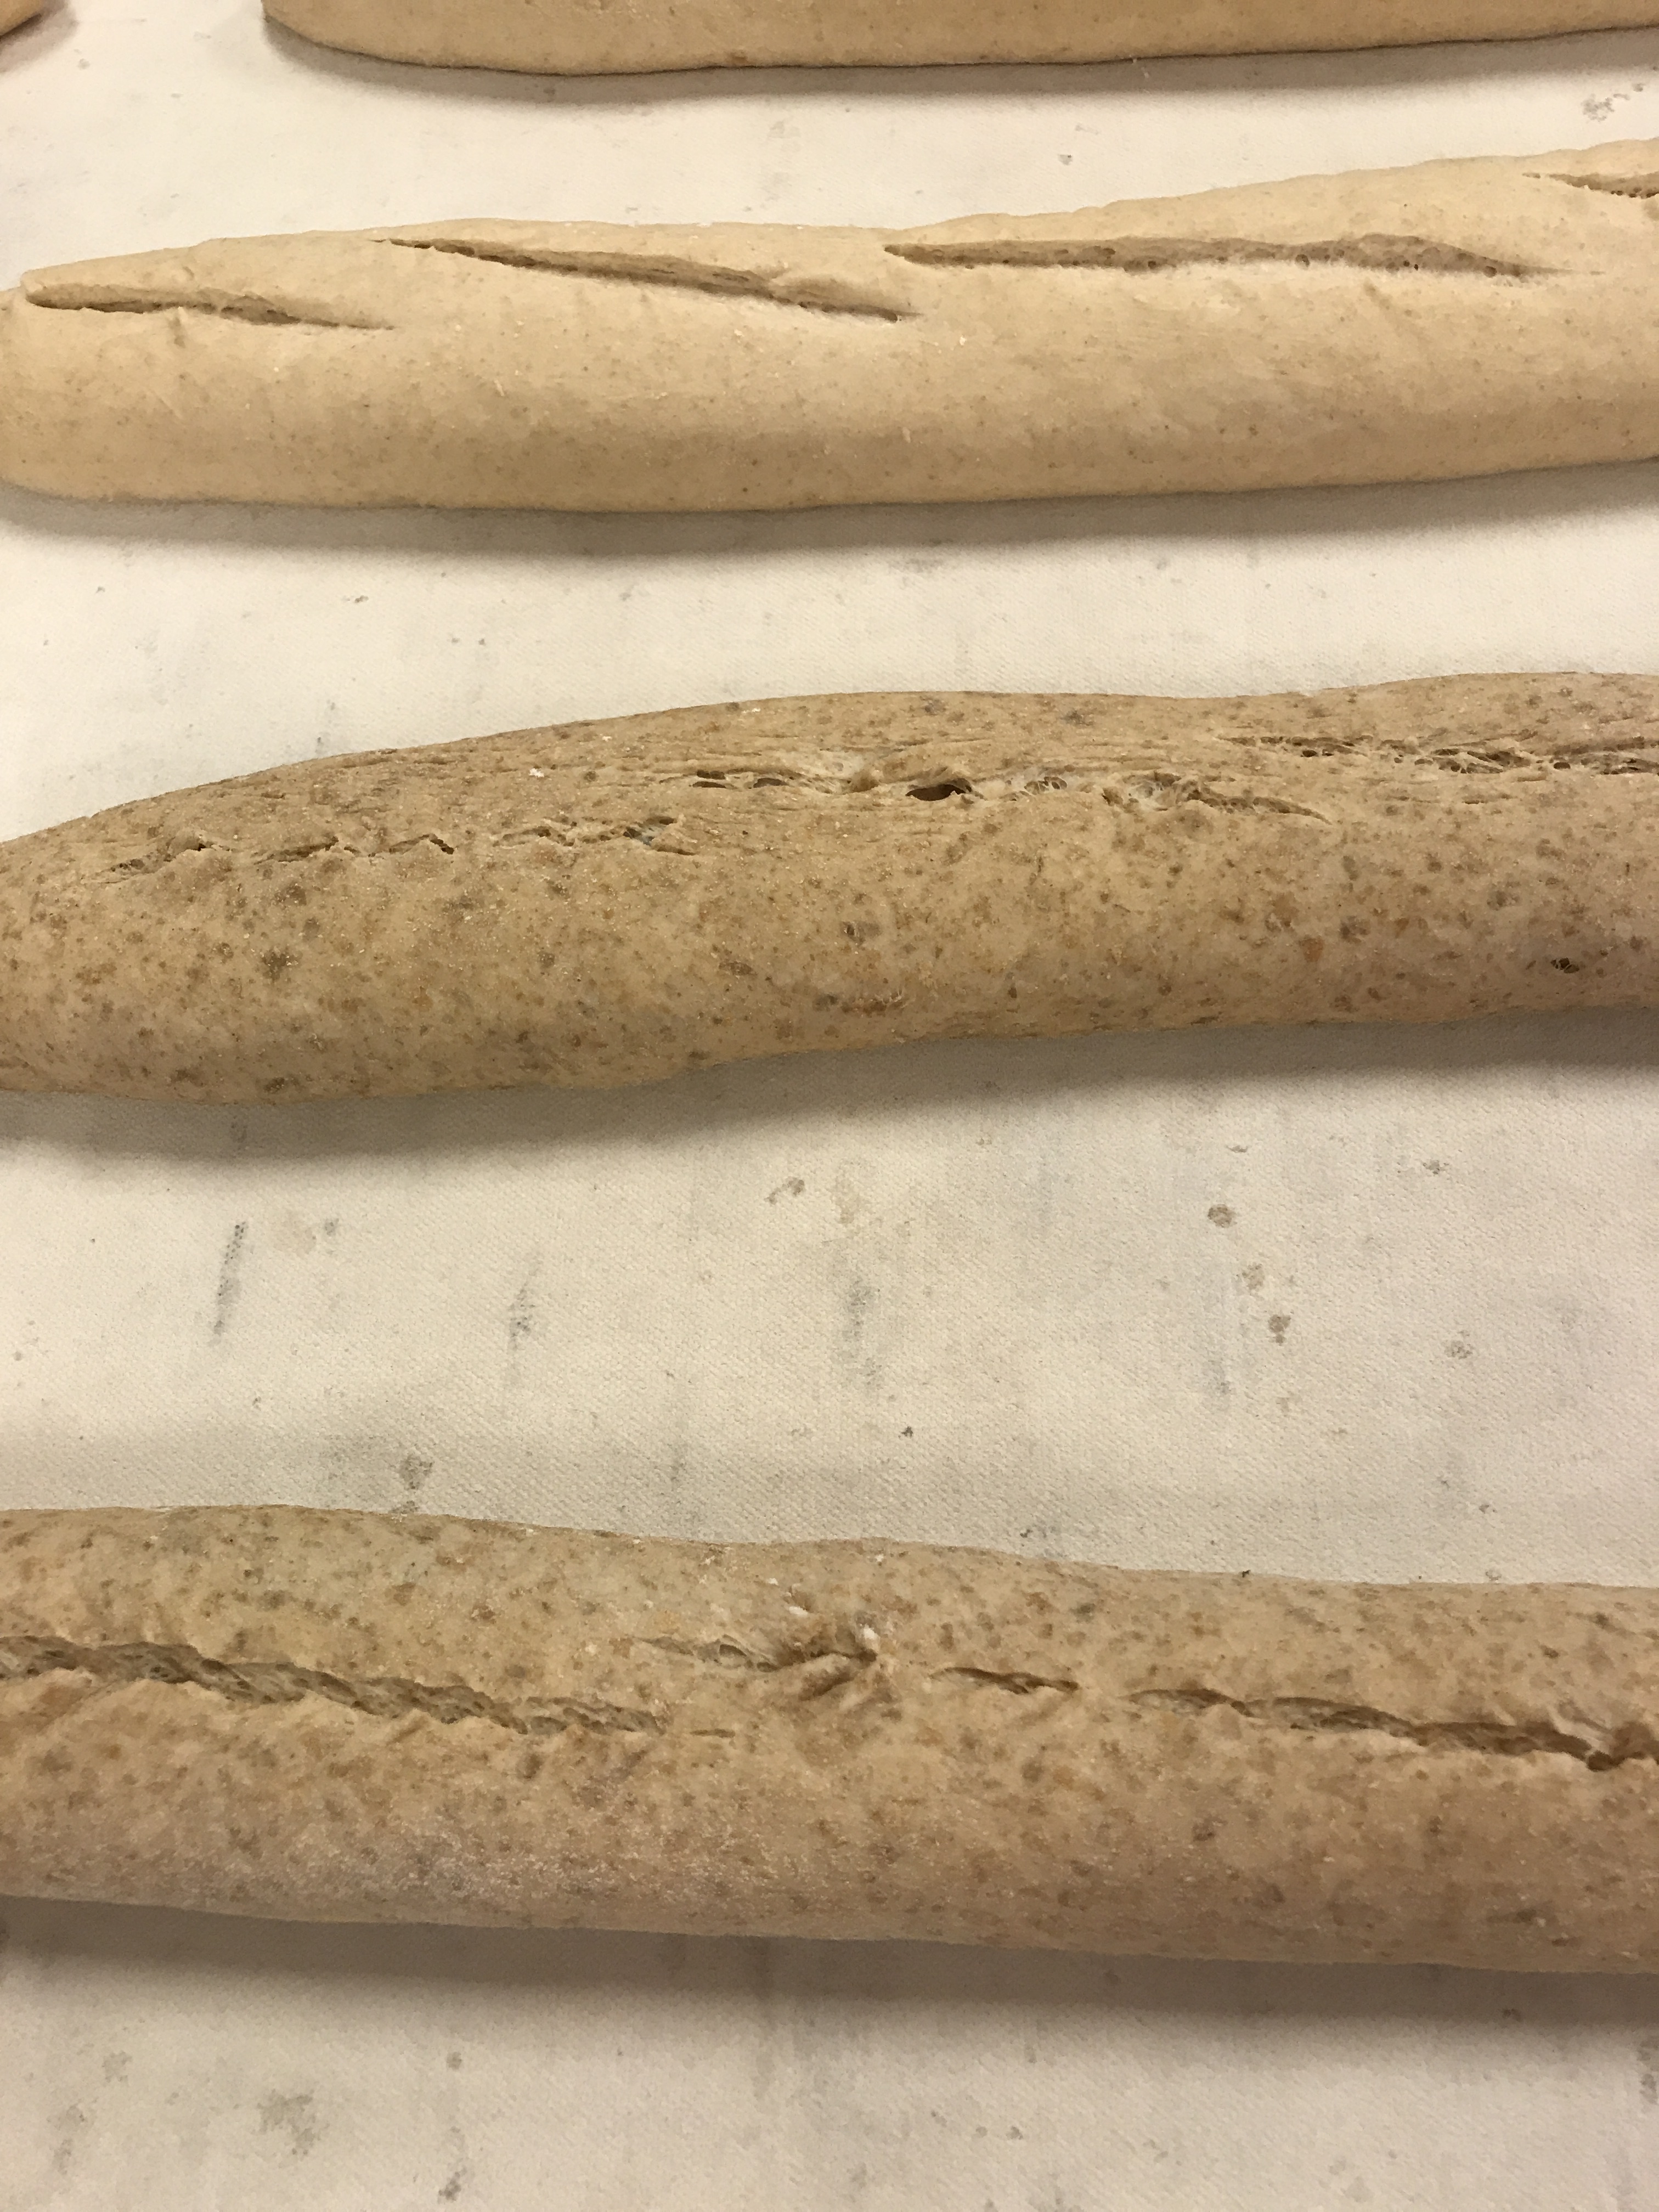
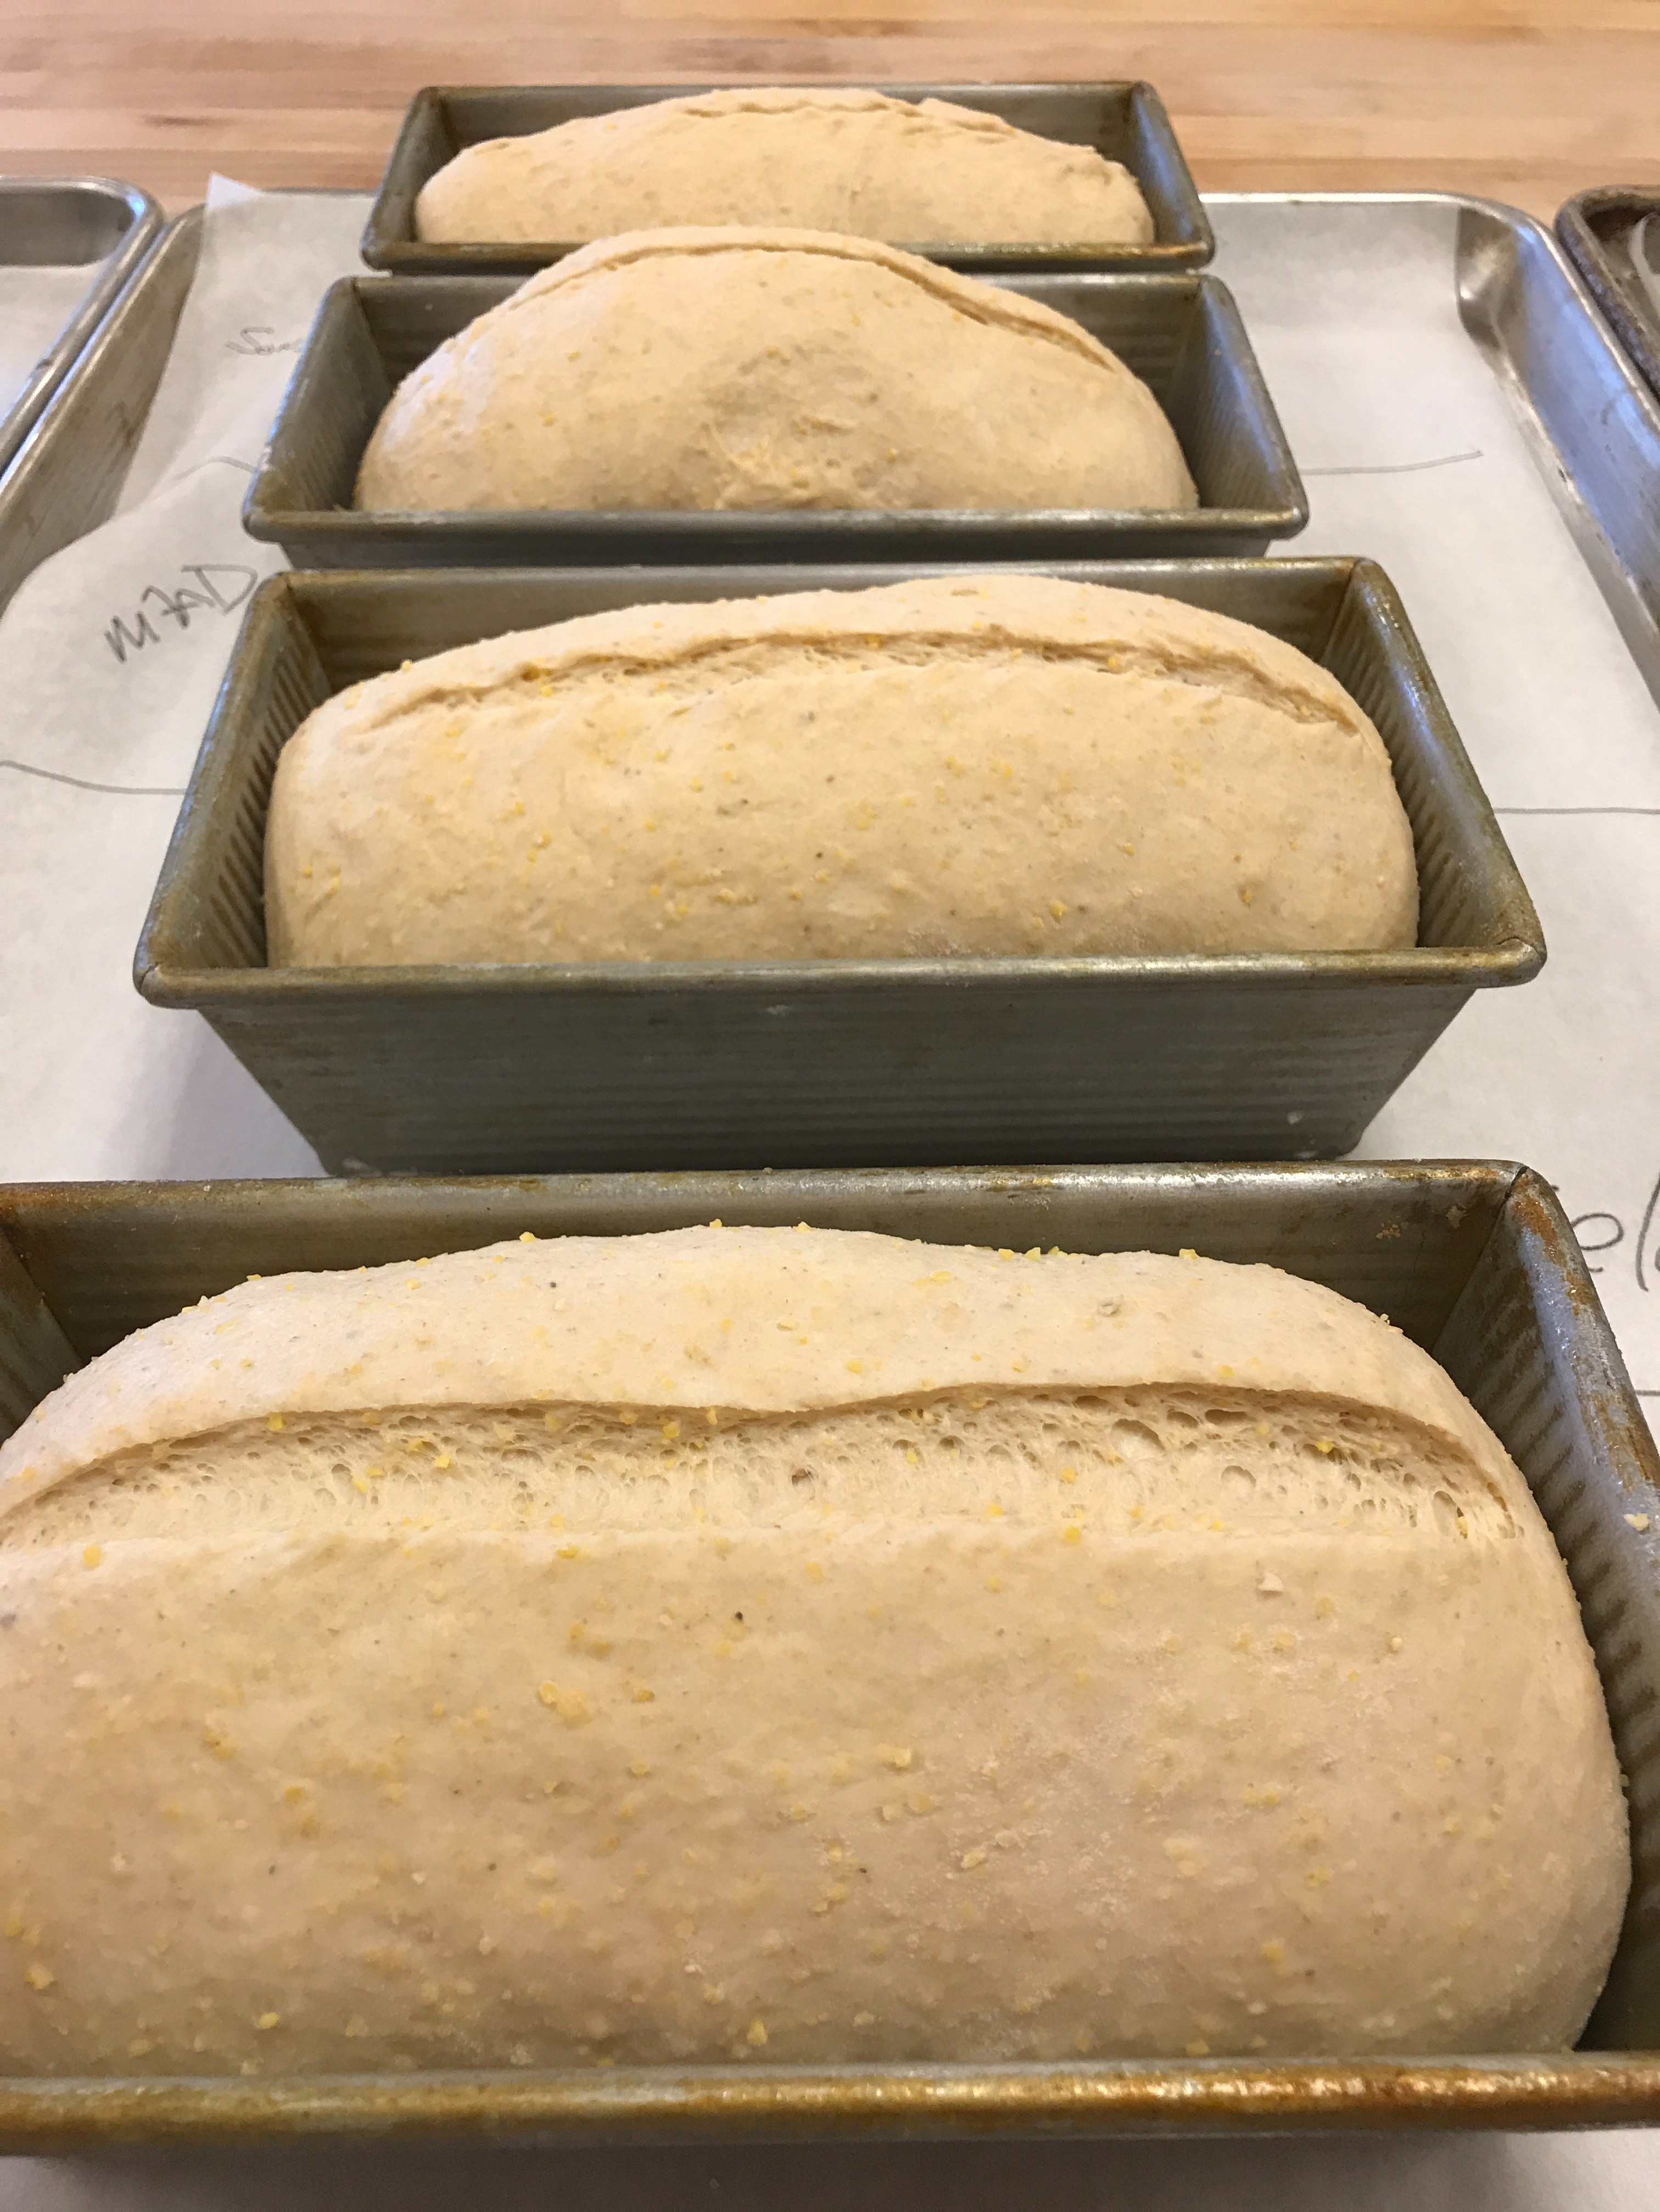
On the last day, we taste a flight of varietals: five whole wheat baguettes, side-by-side. Our “control” baguette contains King Arthur White Whole Wheat flour and the others contain Salish Blue (a perennial wheat in development at the Bread Lab), Sprouted Skagit 1109, Cairn Spring Espresso T-185 and Cairn Spring Edison Unsifted. 

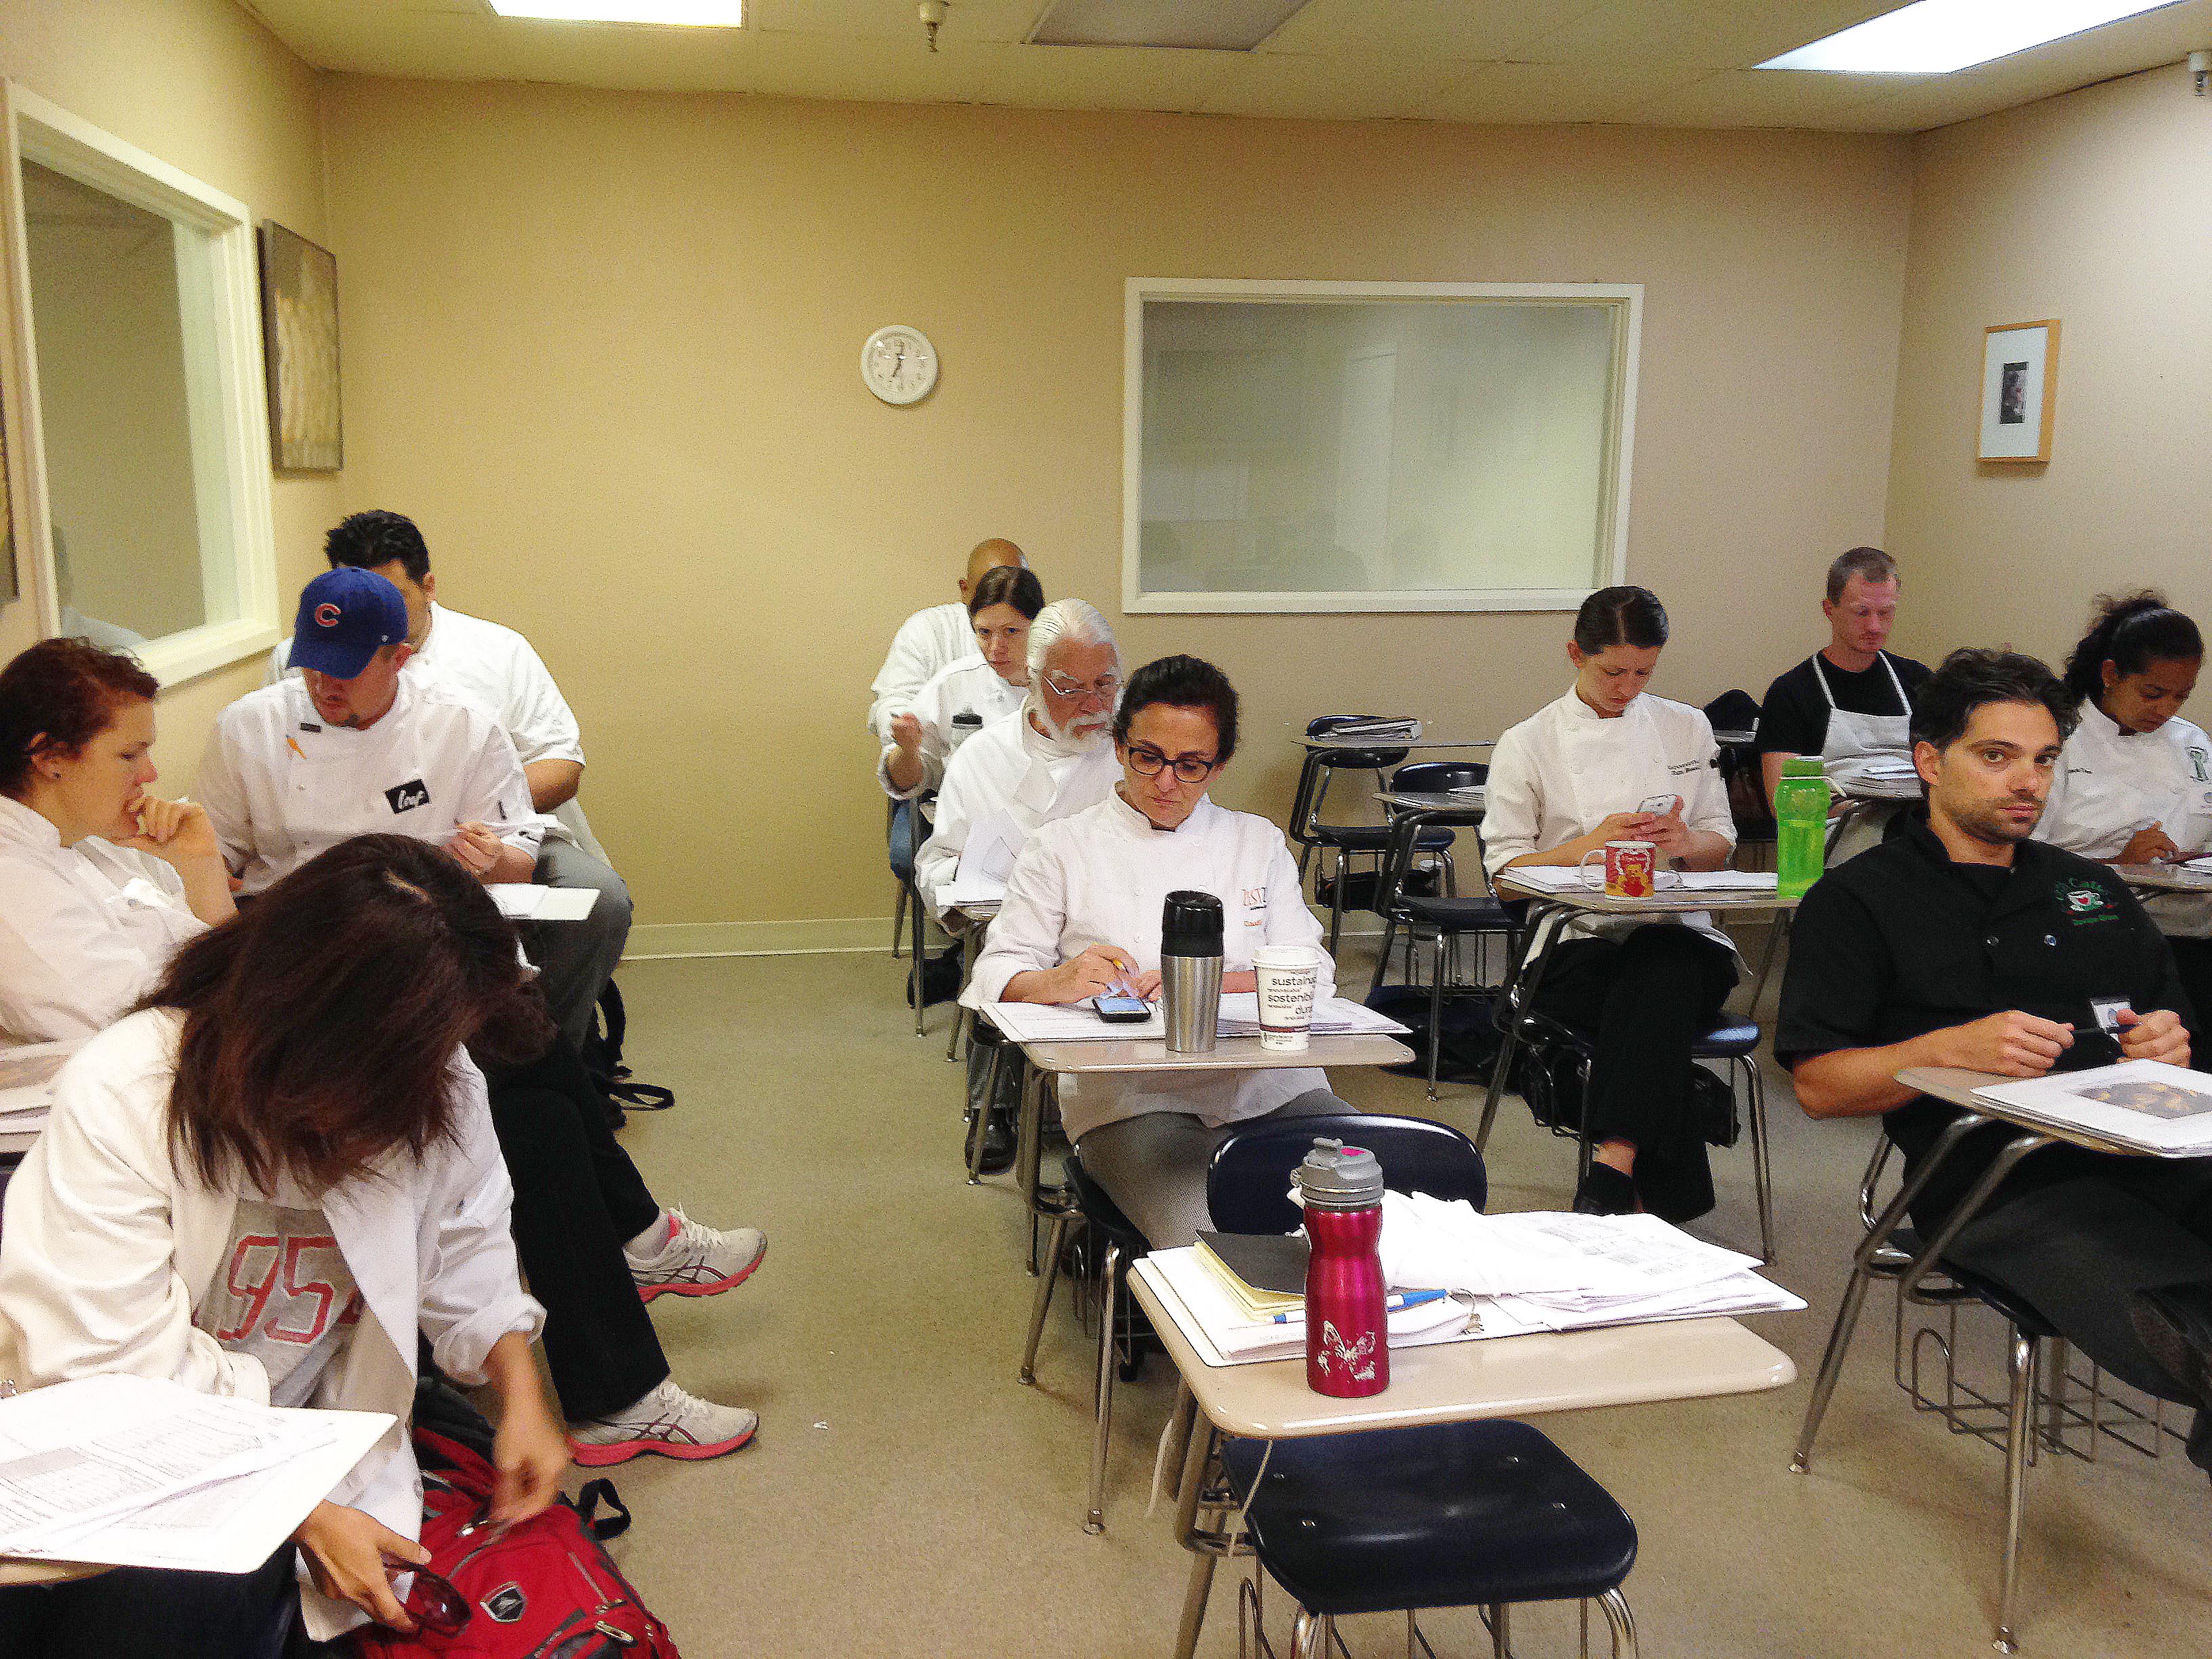
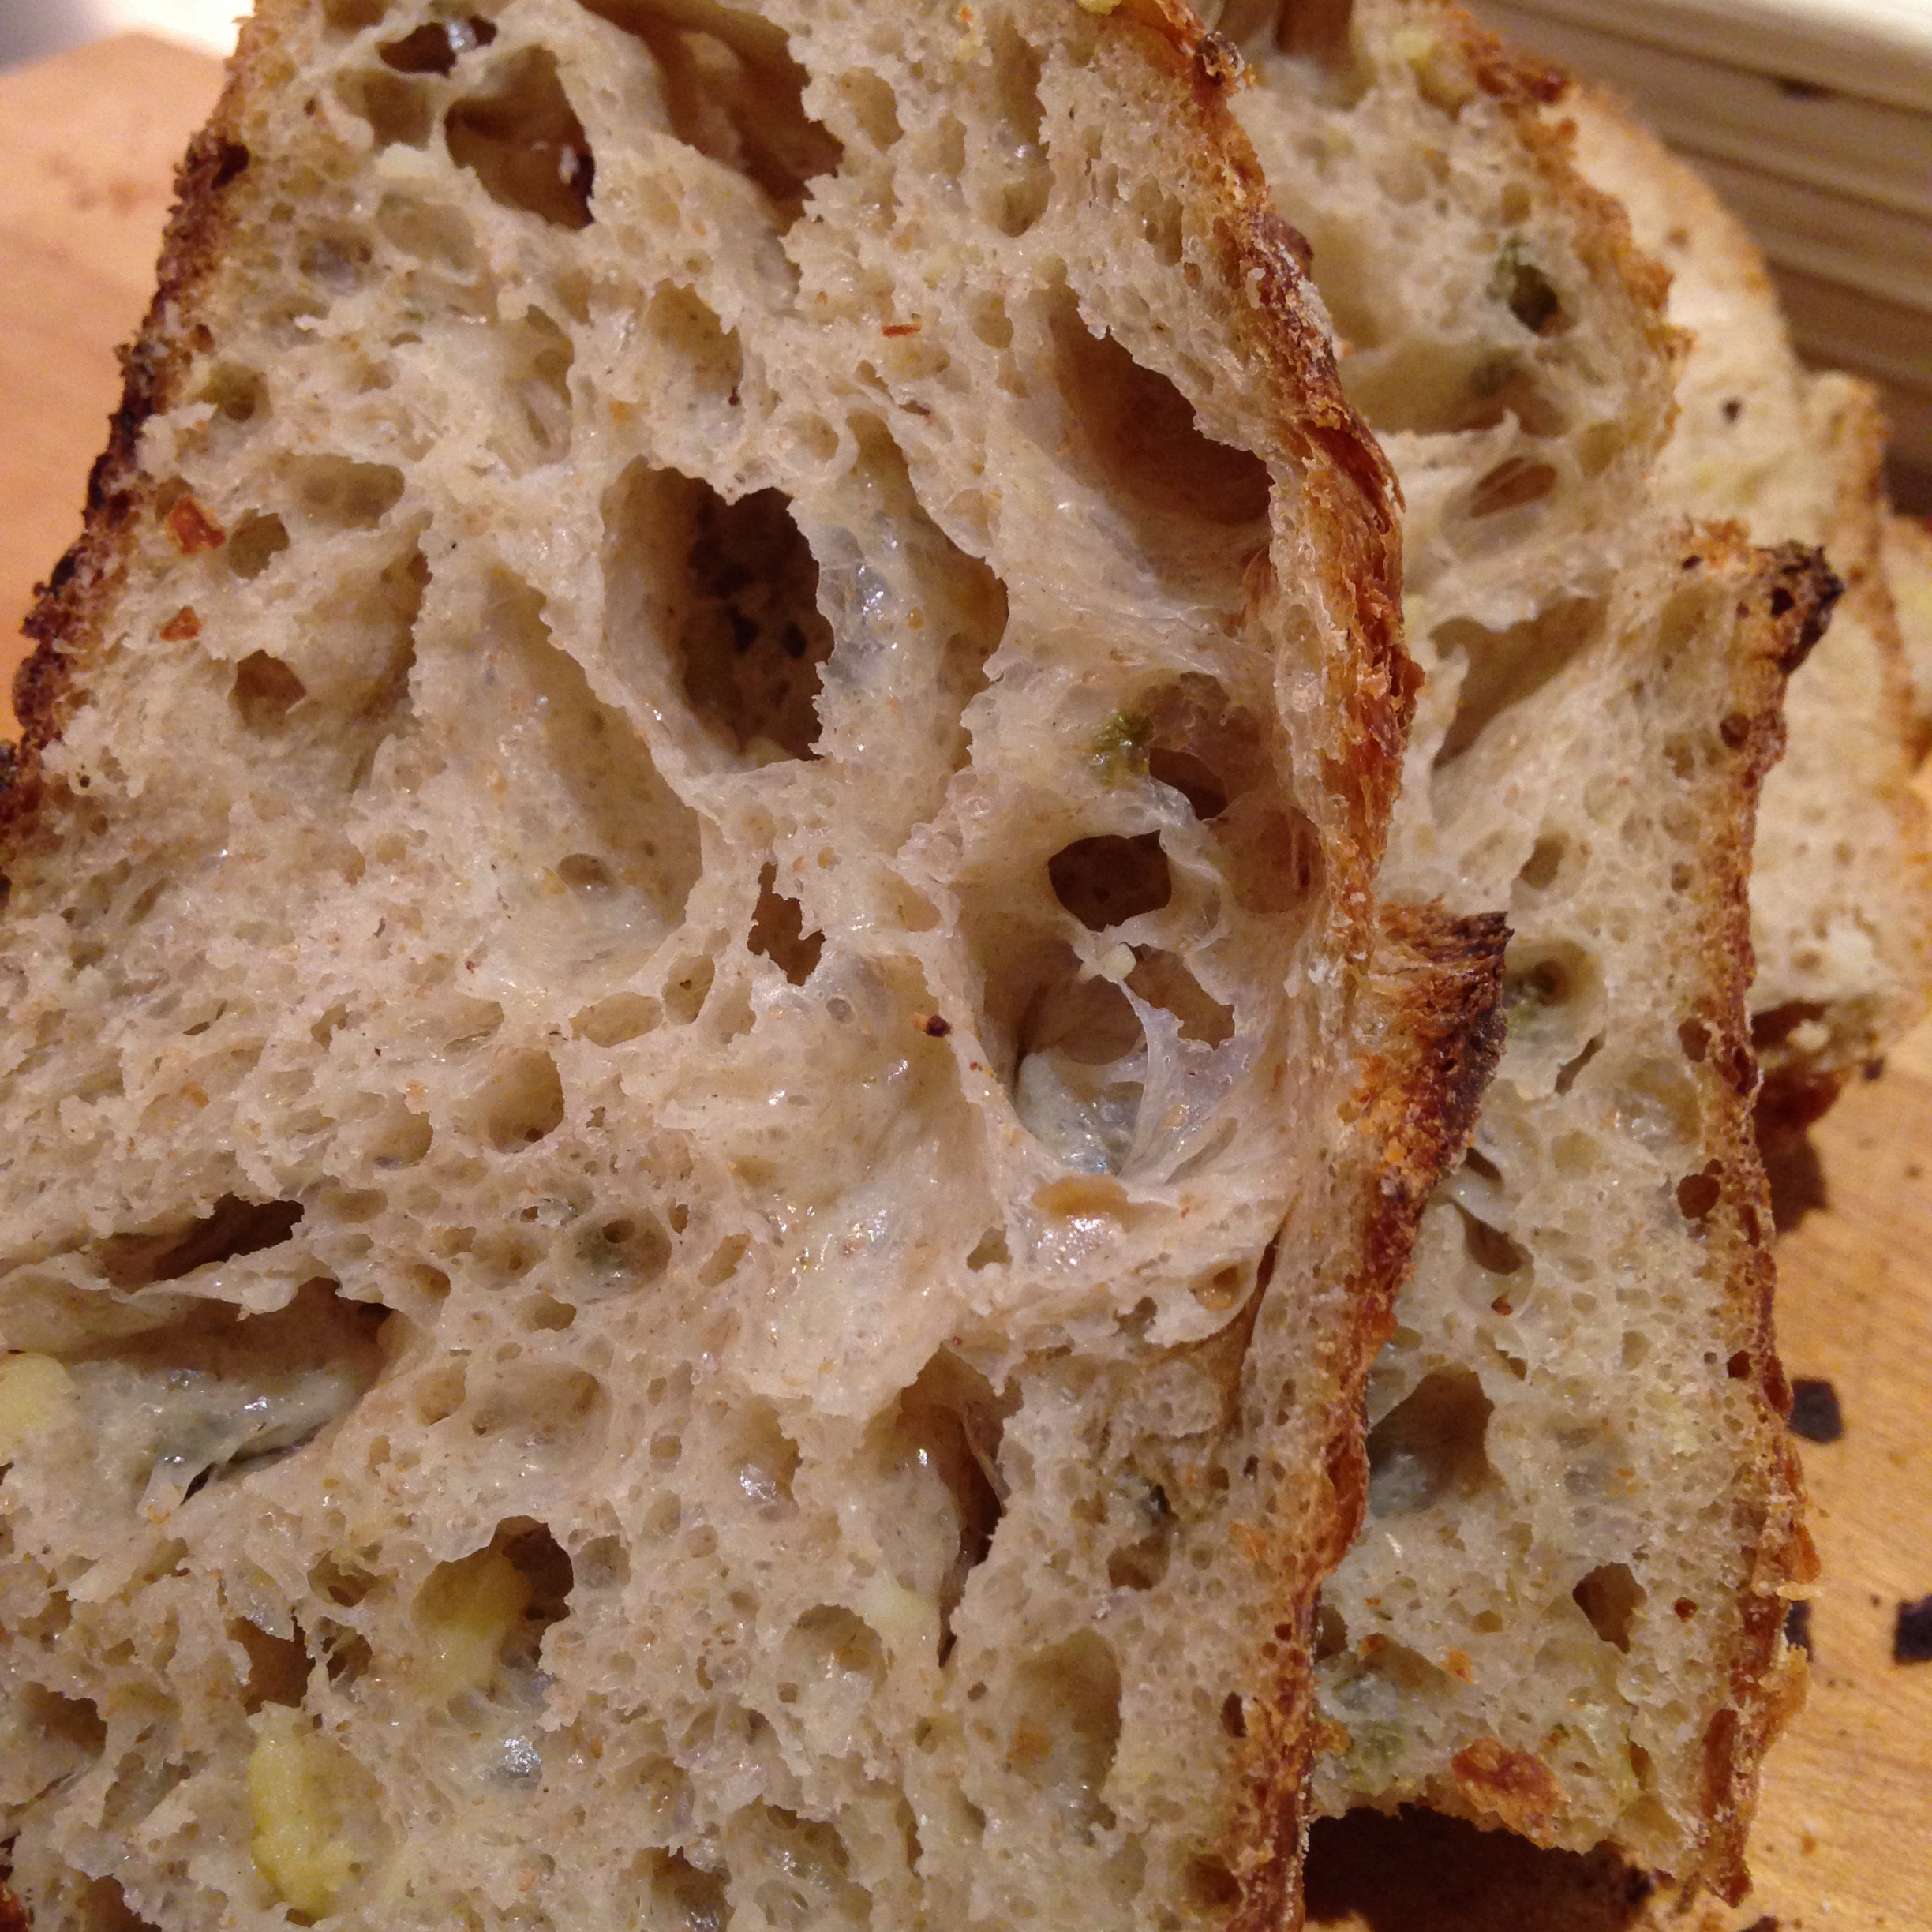
Newbie bakers rarely know the difference between all purpose and bread flour, let alone this wide range of locally-grown wheat varietals with alluring names.  We taste them straight-up without butter, observing crumb, inhaling aroma, analyzing crust and interior, making mindful, slow chews, ruminating on each variety. We dub this our “munch and think” session. One is Mr. Moist, the other Crispy Crust, another so very sweet. None of these baguettes has the loft and rise produced by 100% white bread flour, but all five excel in delivering a unique, wheaty flavour.  

Oh, The Baguette. This long, phallic, day-only-fresh loaf is the epitome of French bread baking and never ceases to send me into performance panic. Despite suffering years of bakers’ baguette trauma (BBT), I’m actually able to follow our instructor Jen’s shaping instruction. She demos once, twice, then for the final demo, she asks us to call out command steps for her to follow: “Place the dough good side down. Deflate. Letter fold, folding top then bottom. Observe the dough lip and seam. Use left hand to turn dough from the top of the lip over your thumb and tap closed with right palm. Repeat turn, twist and tap across the length of the dough. Turn the dough 180 degrees and pull the top side of dough to the table, pulling it over your left, lightly floured thumb and close with right palm tap. Repeat. Repeat. Repeat. Time to roll. Spread your floured fingers out wide and roll from the middle to the tips of your baguette. ”

Big breath. I return to my bench and practice. Four times. 

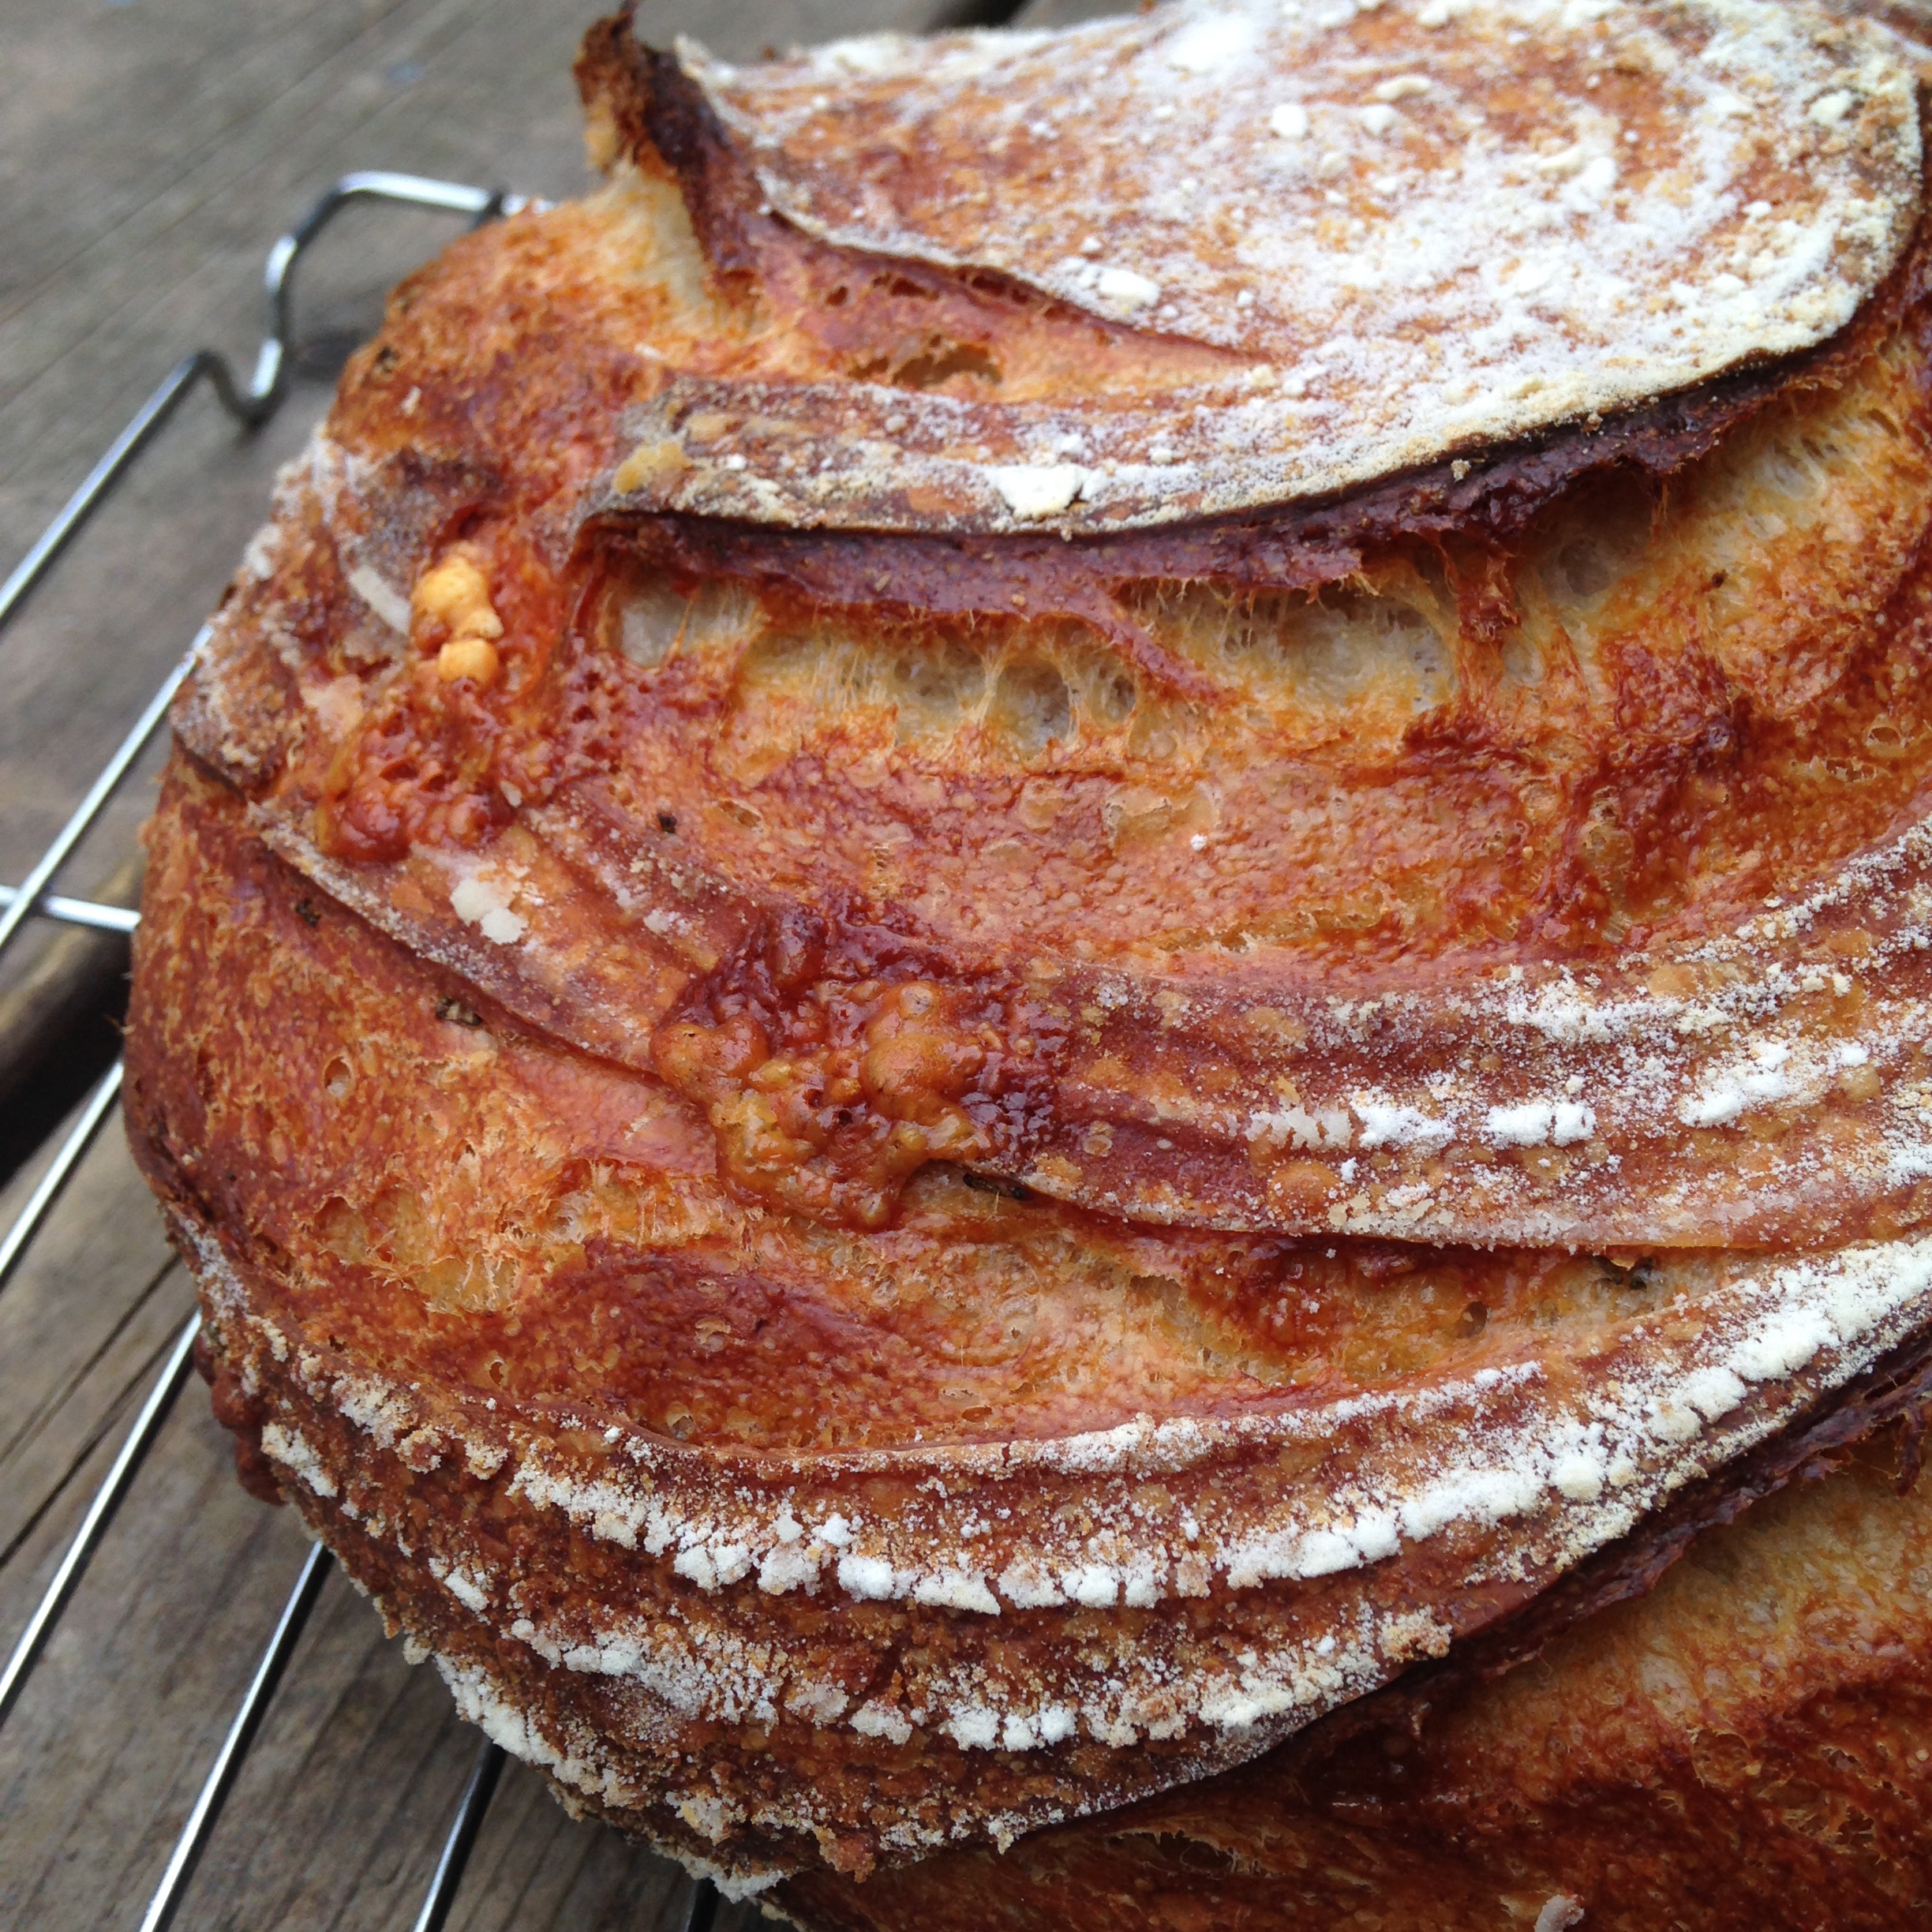
Two out of four ain’t bad, right? I’m hesitant to attach my initialized label to the underside of these horrendous duds. 

“There is no bread shame,” Jen assures, after a thoughtful examination of the first 20 baguettes that roll out of the oven. She is about to launch into a frank discussion of the flaws and achievements before her promising not to reveal anyone’s label.  

A tiny, terrified “Eeaak” issues forth,  en masse.

“This snake swallowed a mouse,” she says pointing to my first try. “And this one, well…” She says something way less hurtful than my first baguette mentor did years ago when I was apprenticing at a downtown Toronto bakery.  

“Just stop, Madeleine,” he called out to me shaping at the bench, pointing to my disastrous results.“I can’t sell any of those!”  

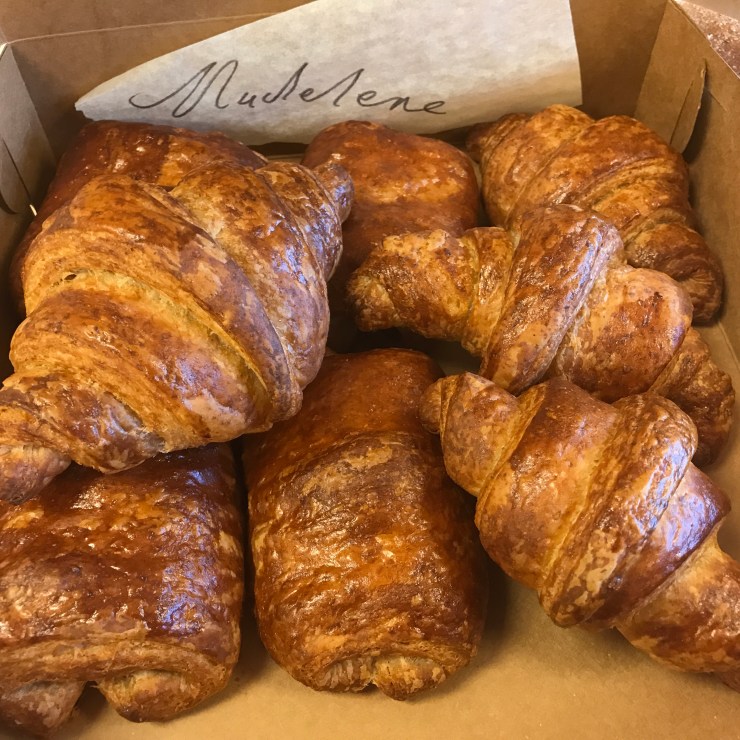
Croissants are not easy.

In fact, I’d label them advanced with a capital A.

A truly delicious, flaky croissant requires three consecutive days of attention. It wants butter that contains even more fat than normal, demands lots of finicky measurements, and exponential folding. The goal is flaky, honeycomb layers totalling 54 –  if you get it right.   

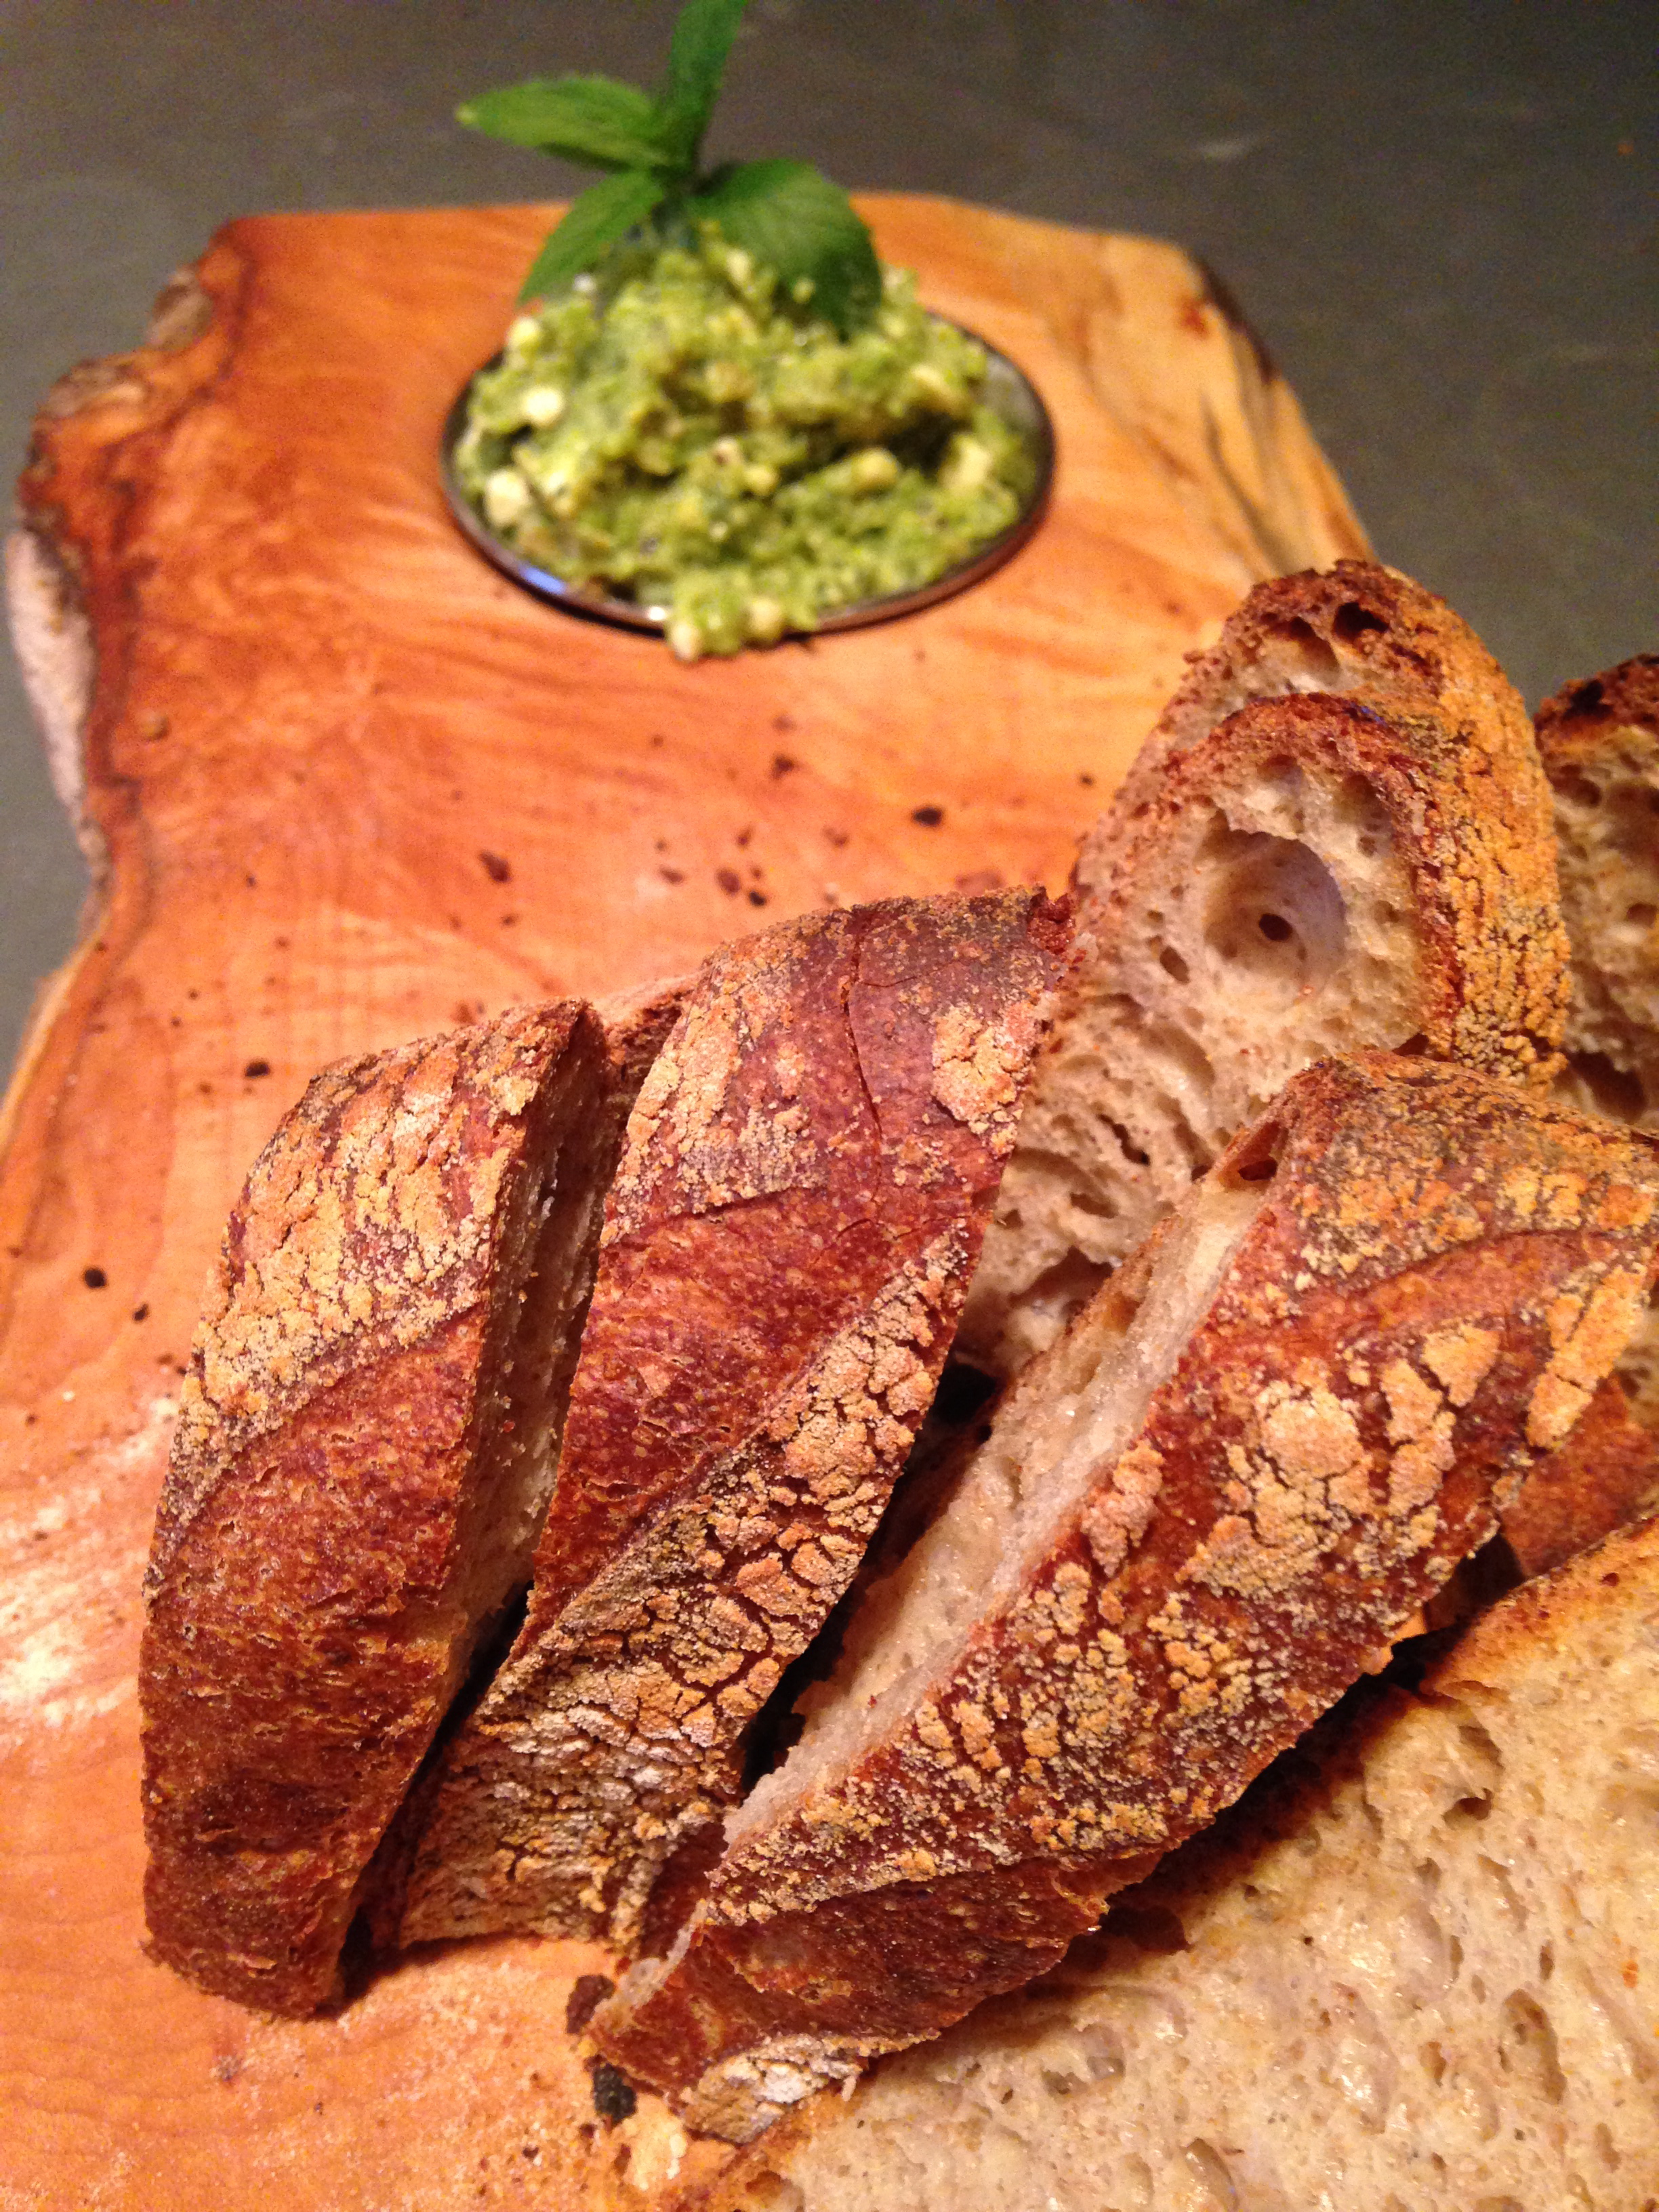
I’m thrilled to find “Sprouted Wheat Croissants” in my red KAF folderbecause I came to this course hoping for whole grain solutions to old school deliciousness. To make eight of these crispy morsels, we use 130 gm of sprouted wheat flour and 130 gm of all-purpose (King Arthur’s, of course). 

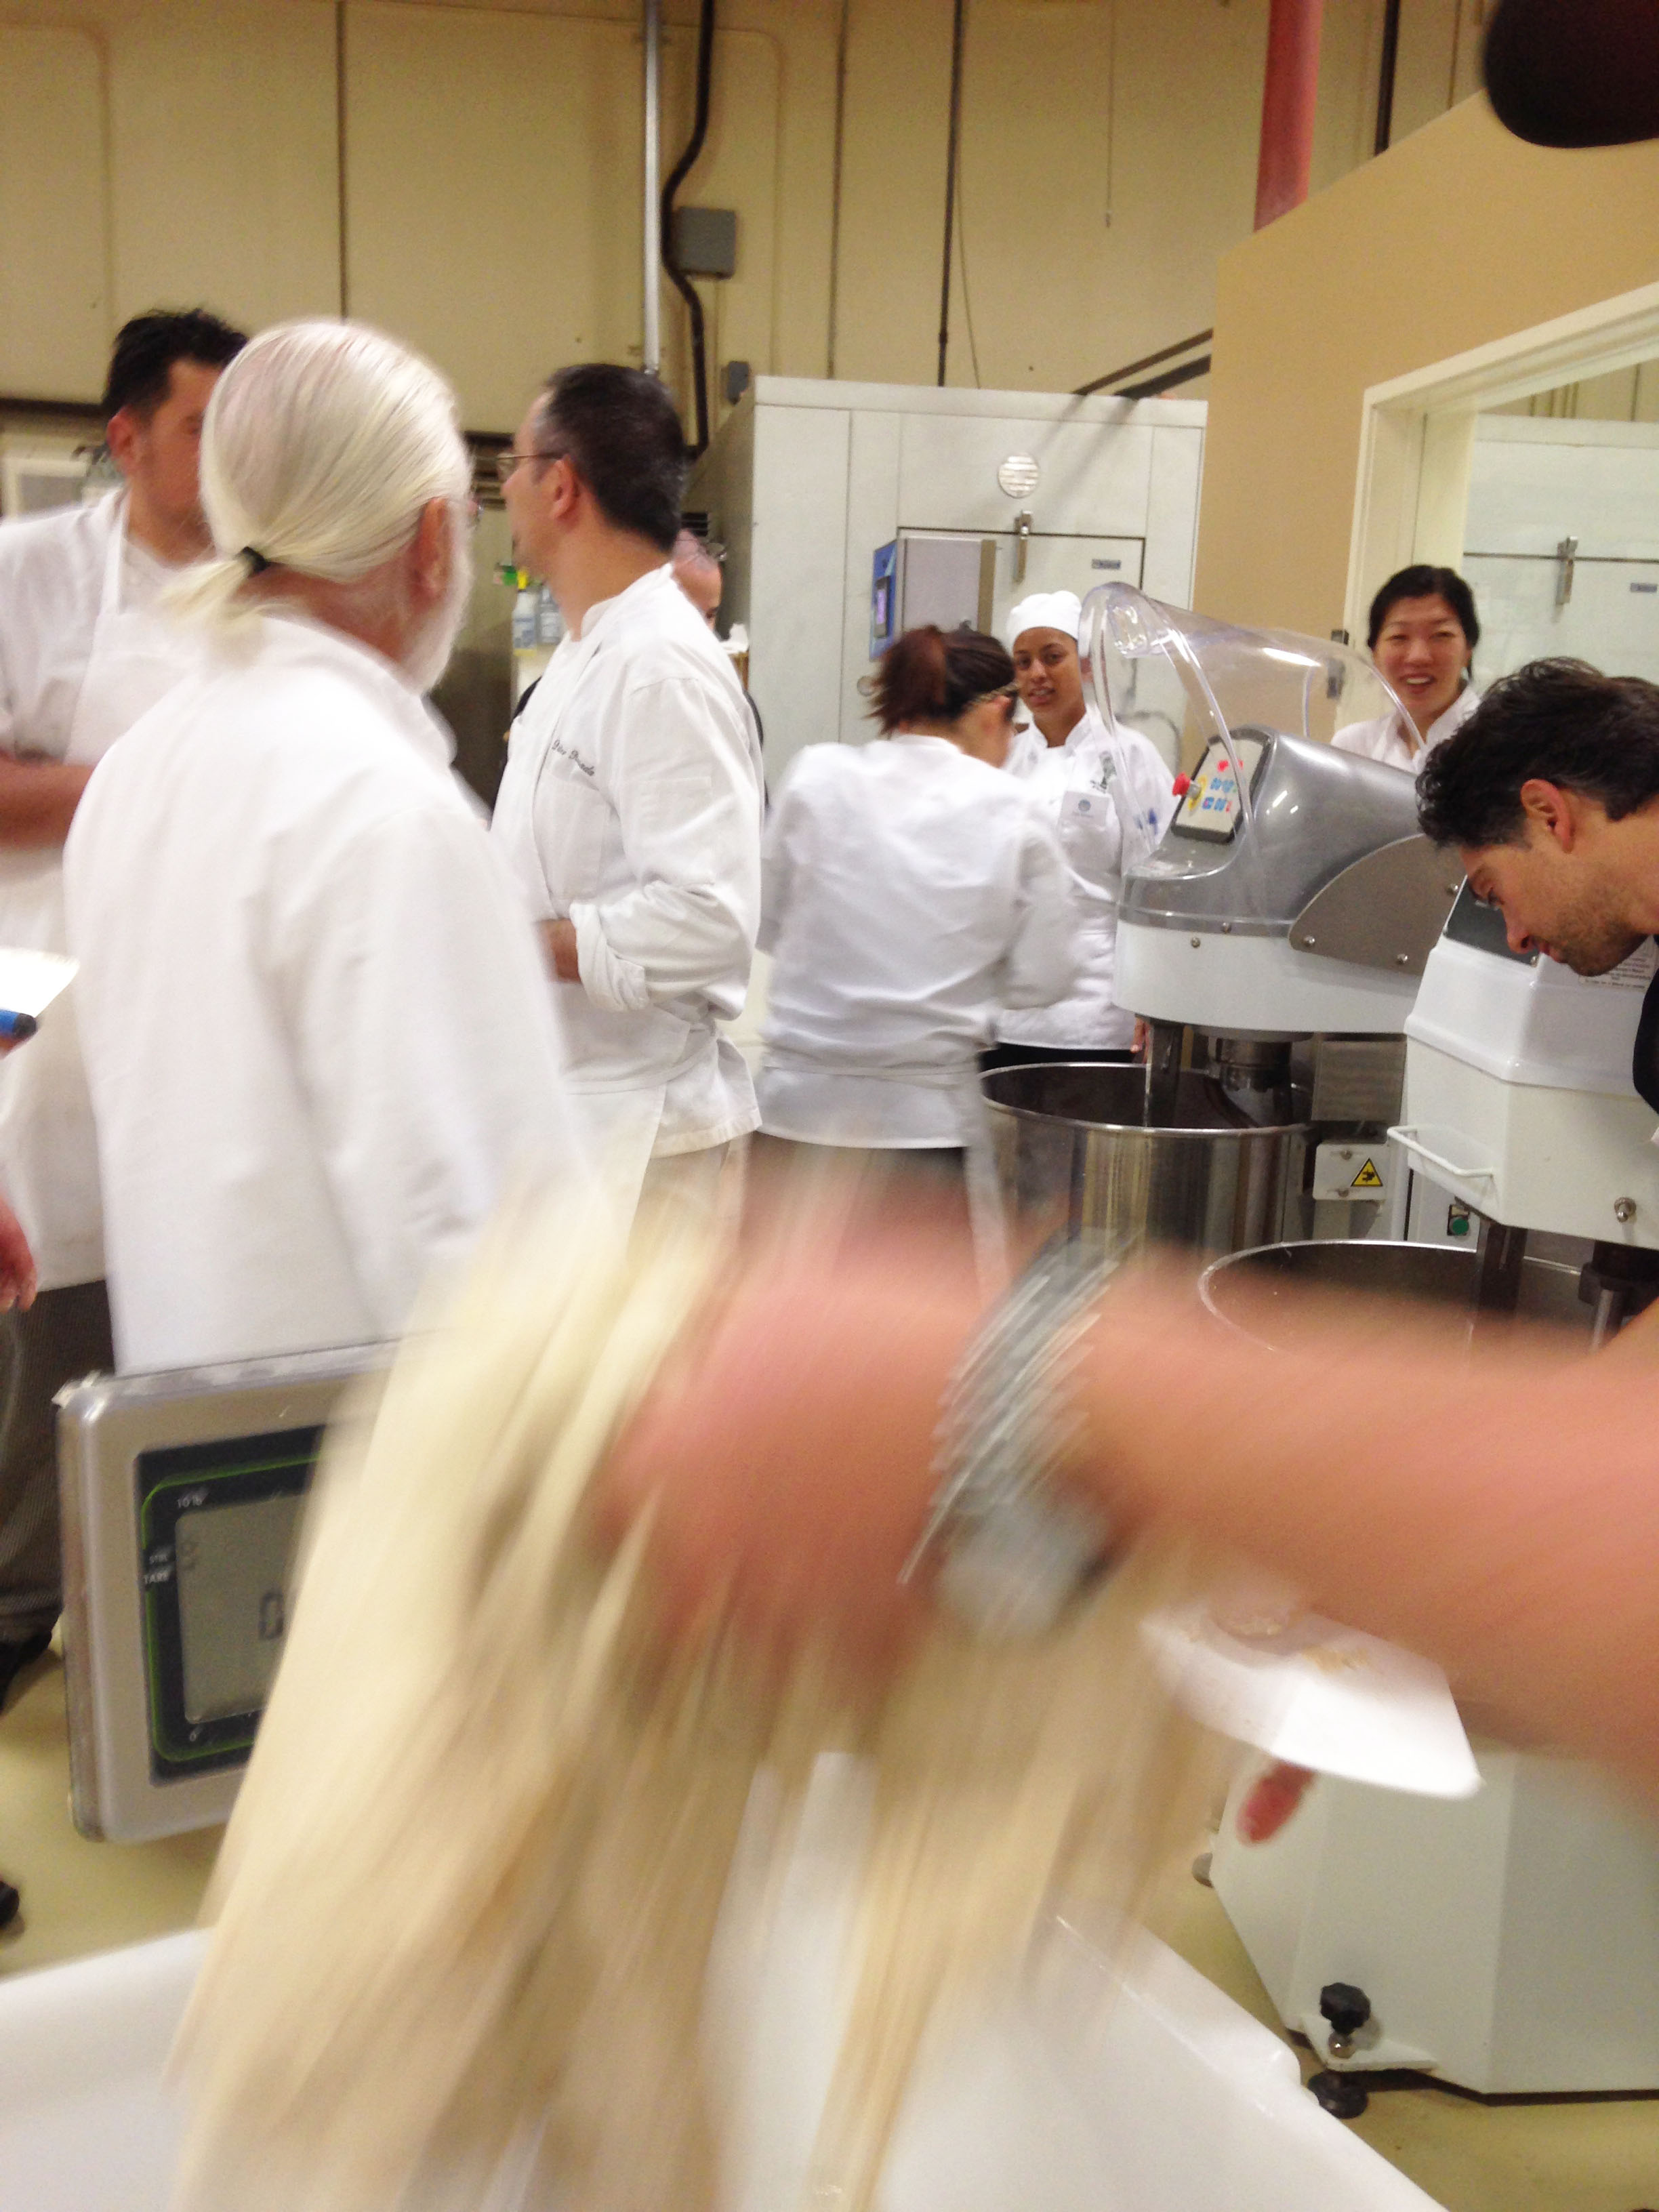
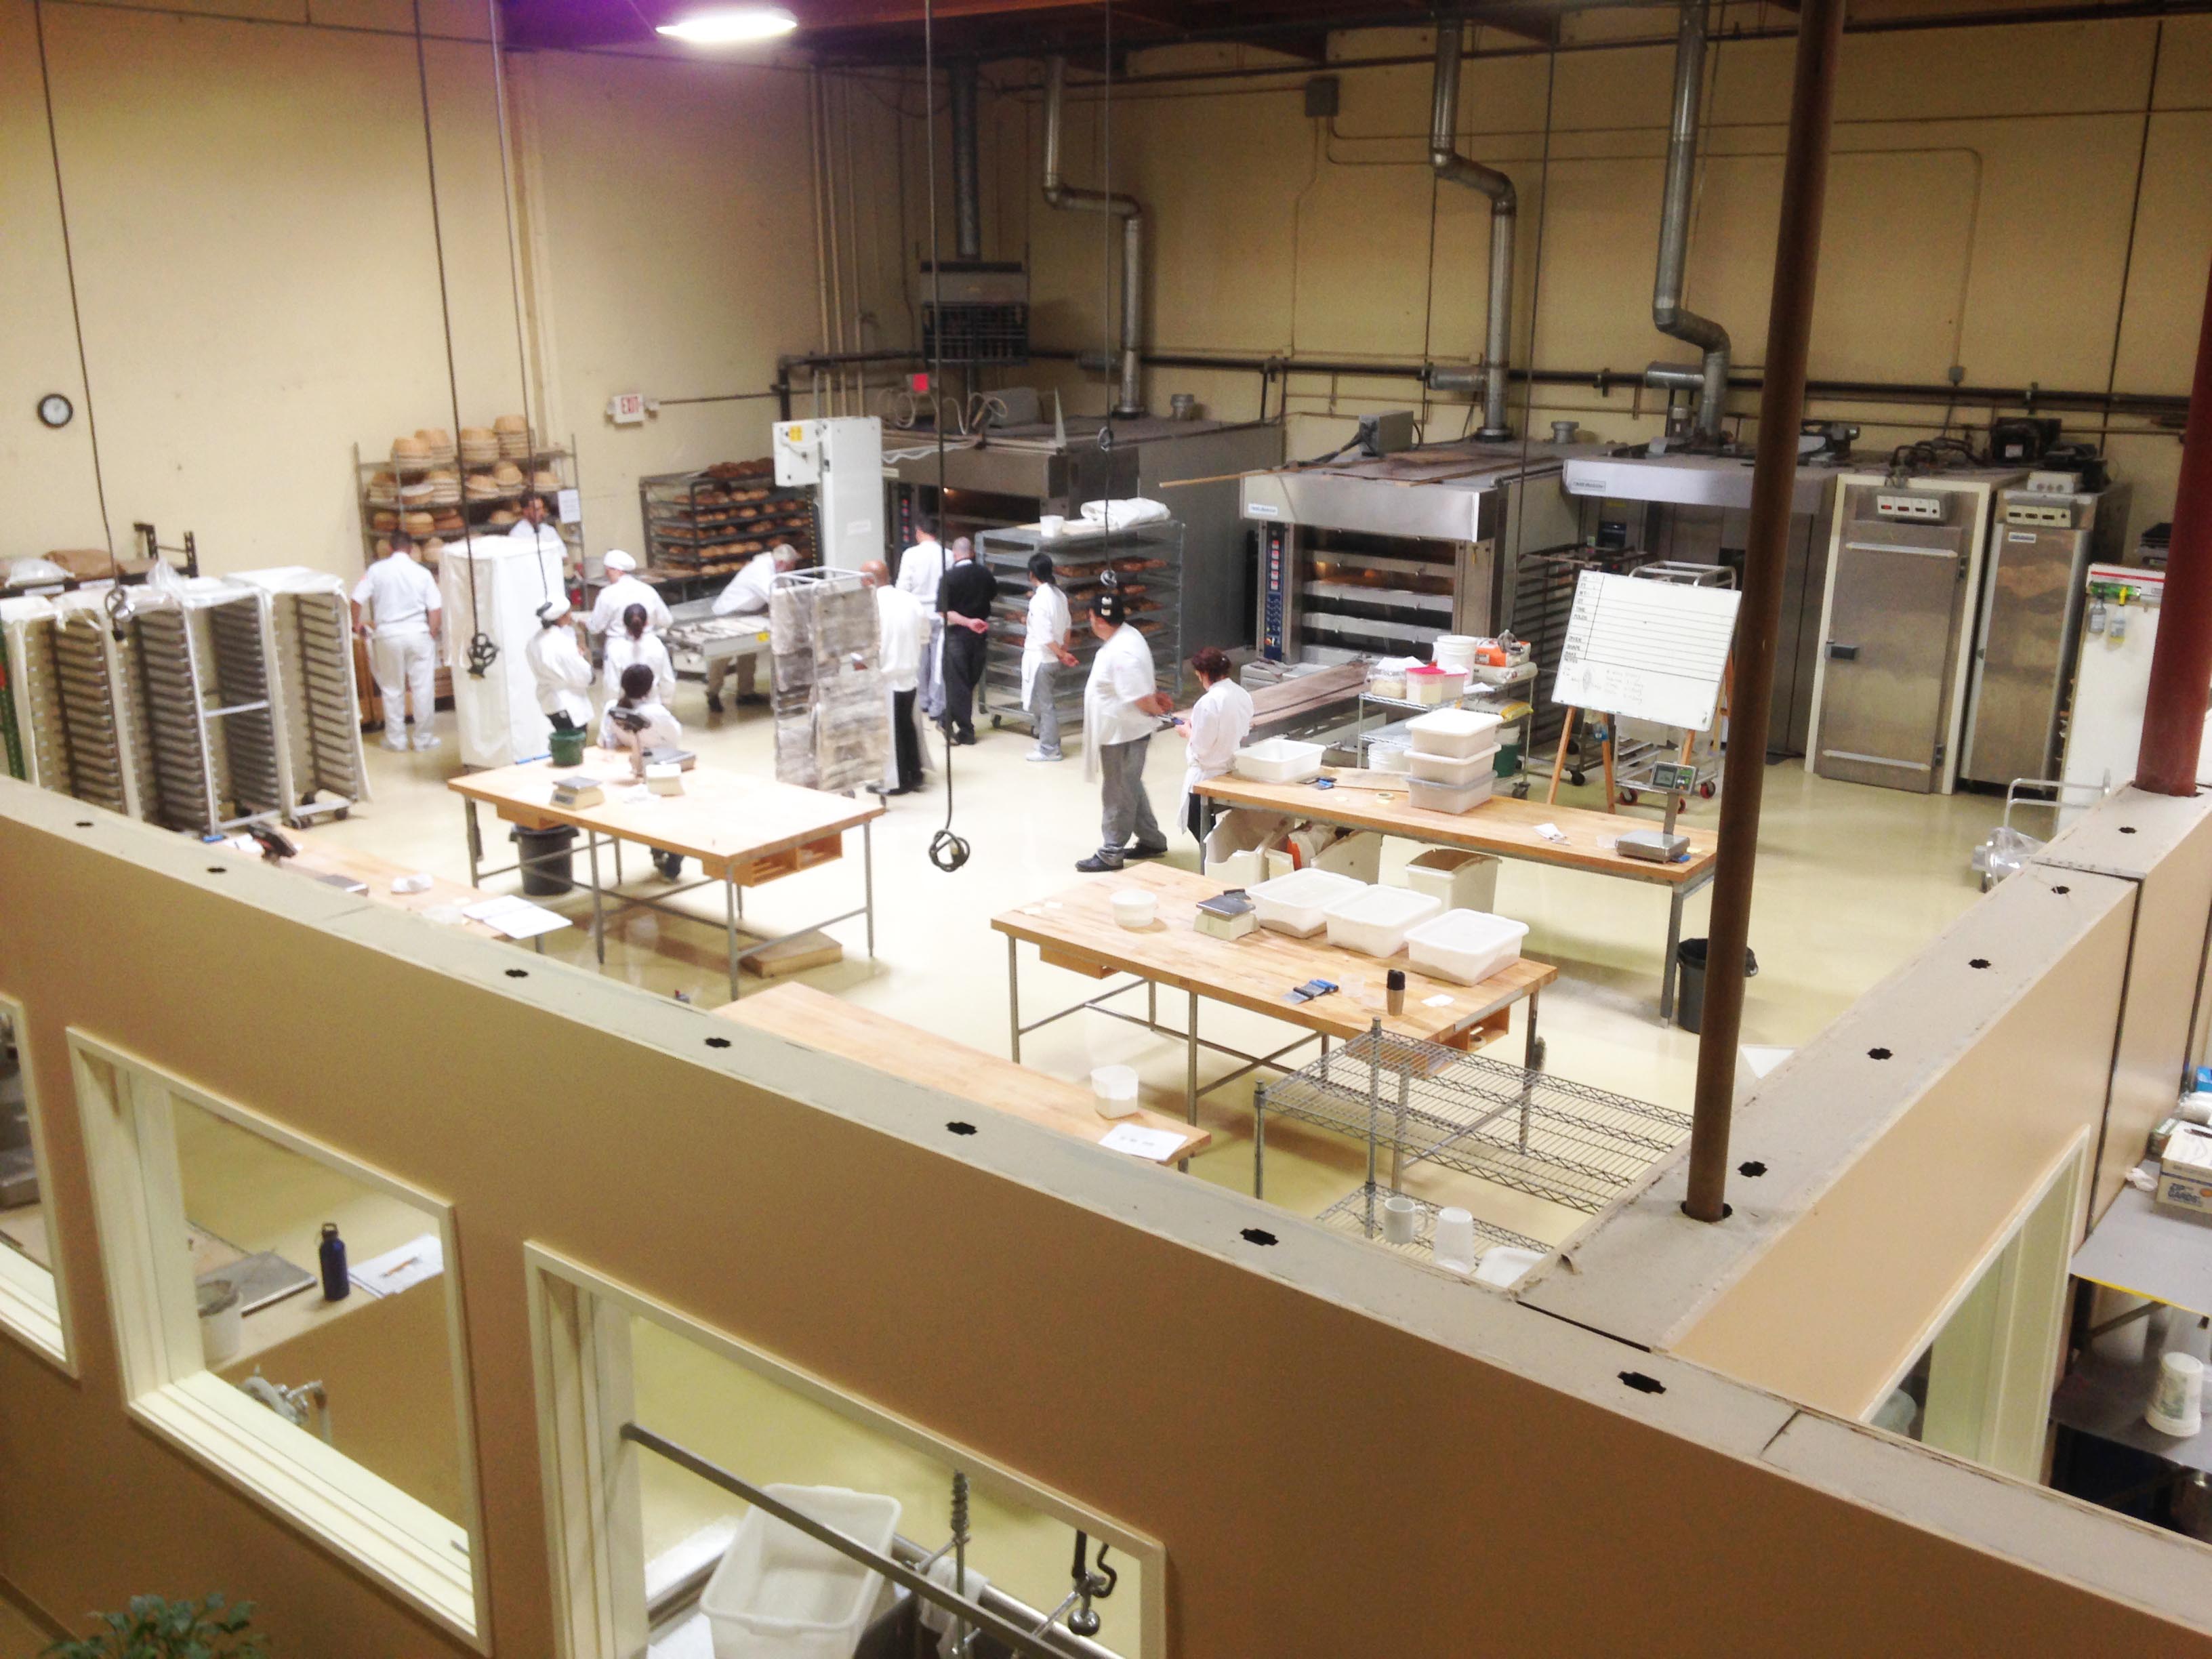
Croissant Day One, we make a simple yeasted, enriched dough and whack a 100 gram piece of unsalted, 85% fat European-style butter with a rolling pin into a thin, very pummeled five-and-a-half-inch square.  Day Two, we “lock in” our little square of chilled butter, sweetly swaddling it in the dough we made the day before. Then we get violent, methodically whacking, pounding and rolling our dough-butter combo into submission. We chill it, then whack and roll again several times. On Day Three, we roll out our sixth edition of an eight-by-16-inch rectangle, slice it into four equal parts, cutting each in half on the diagonal. Who says bread isn’t a science?

Like kids cut loose in a candy store, we adult learners happily fashion four crescent shapes and four pains au chocolat.  We each sign our name in black Sharpie pen on the parchment paper that holds our creations.  I swell with pride as I watch my croissant offspring enter KAF’s industrial convection oven, so big it can accommodate a six-foot-tall rack on wheels.  Butter aroma engulfs the room and the flaking begins. 

I post my baked beauties on Instagram and a follower asks, “Are these really yours?”

Even flour temperature matters.

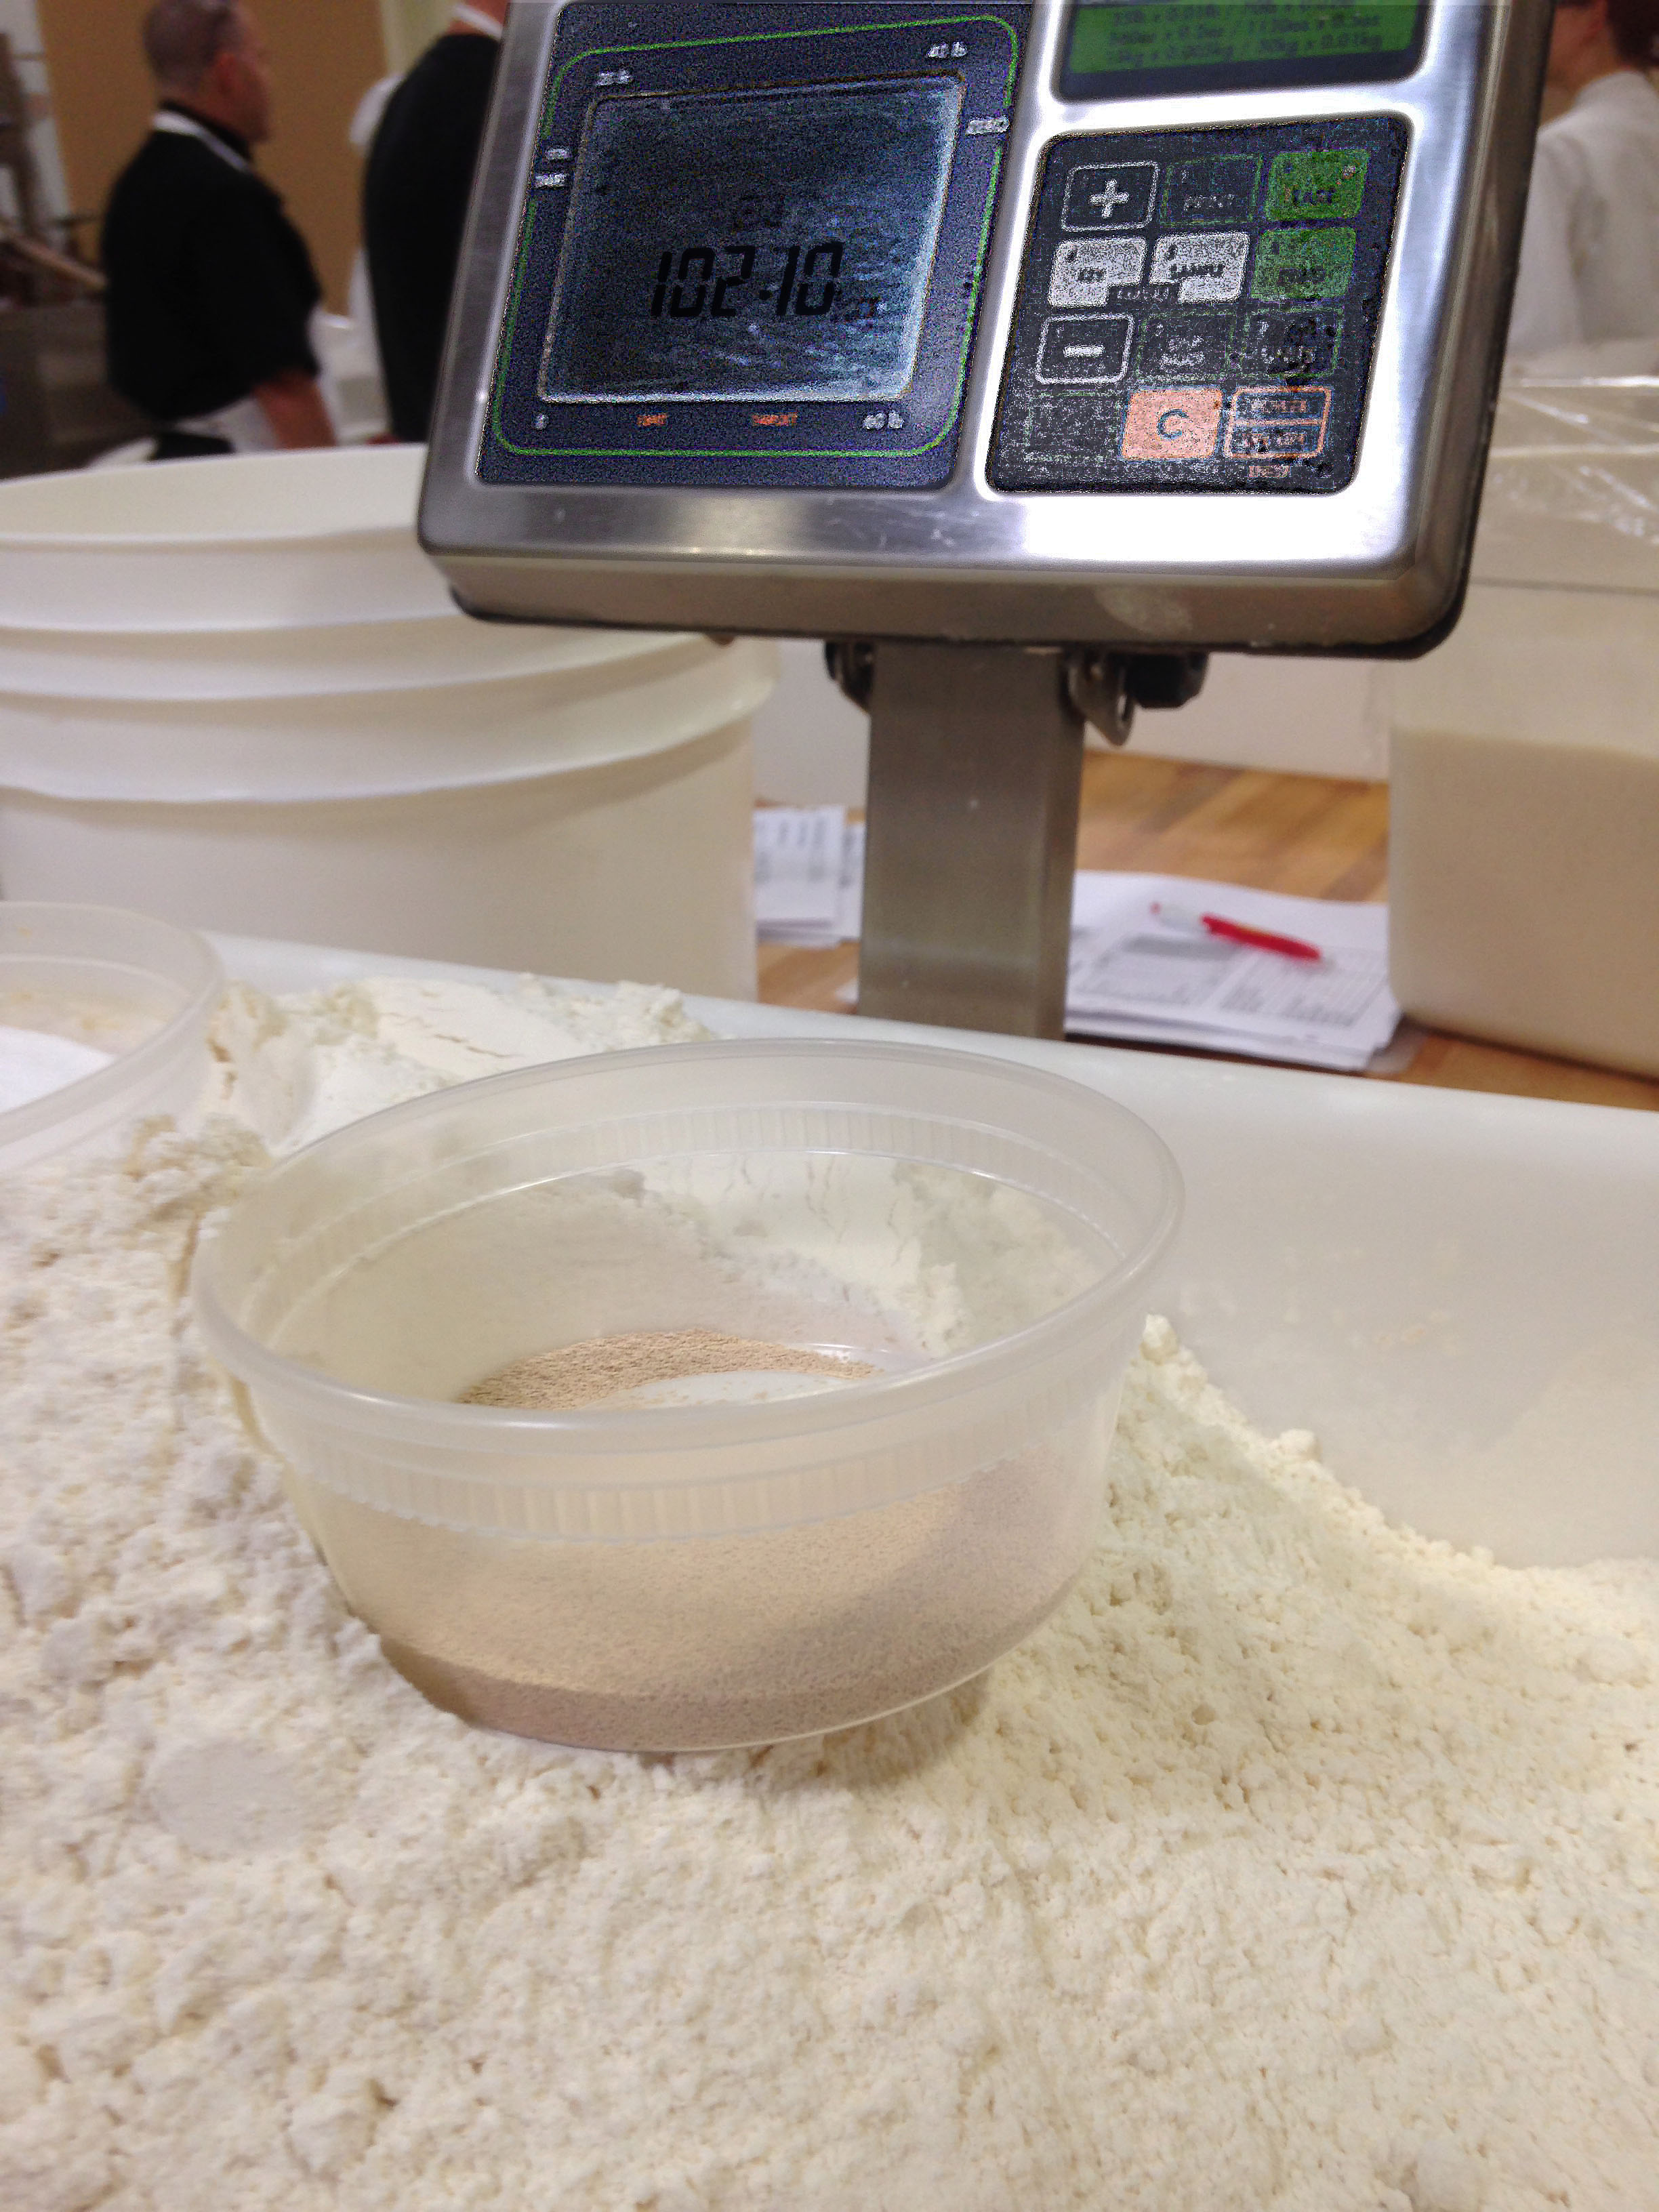
“When a recipe says a pinch of yeast, what’s that mean?” instructor Geoffrey asks the class on Day One eliciting a dazed response.  

“I mean, do you want to use two fingers or threeto pinch with?” 

We respond with silence.  Just moments earlier our hallowed baking leader was talking about grams and the scientific accuracy of it all. Now we are pinching, for God’s sake. 

“If your kitchen is hot and humid, you will two finger pinch. But if the room temperature is moderate, go for three. Who can tell me why?” he asks.

One of the brighter lights among us chirps out, “The hotter the room, the faster the ferment.”

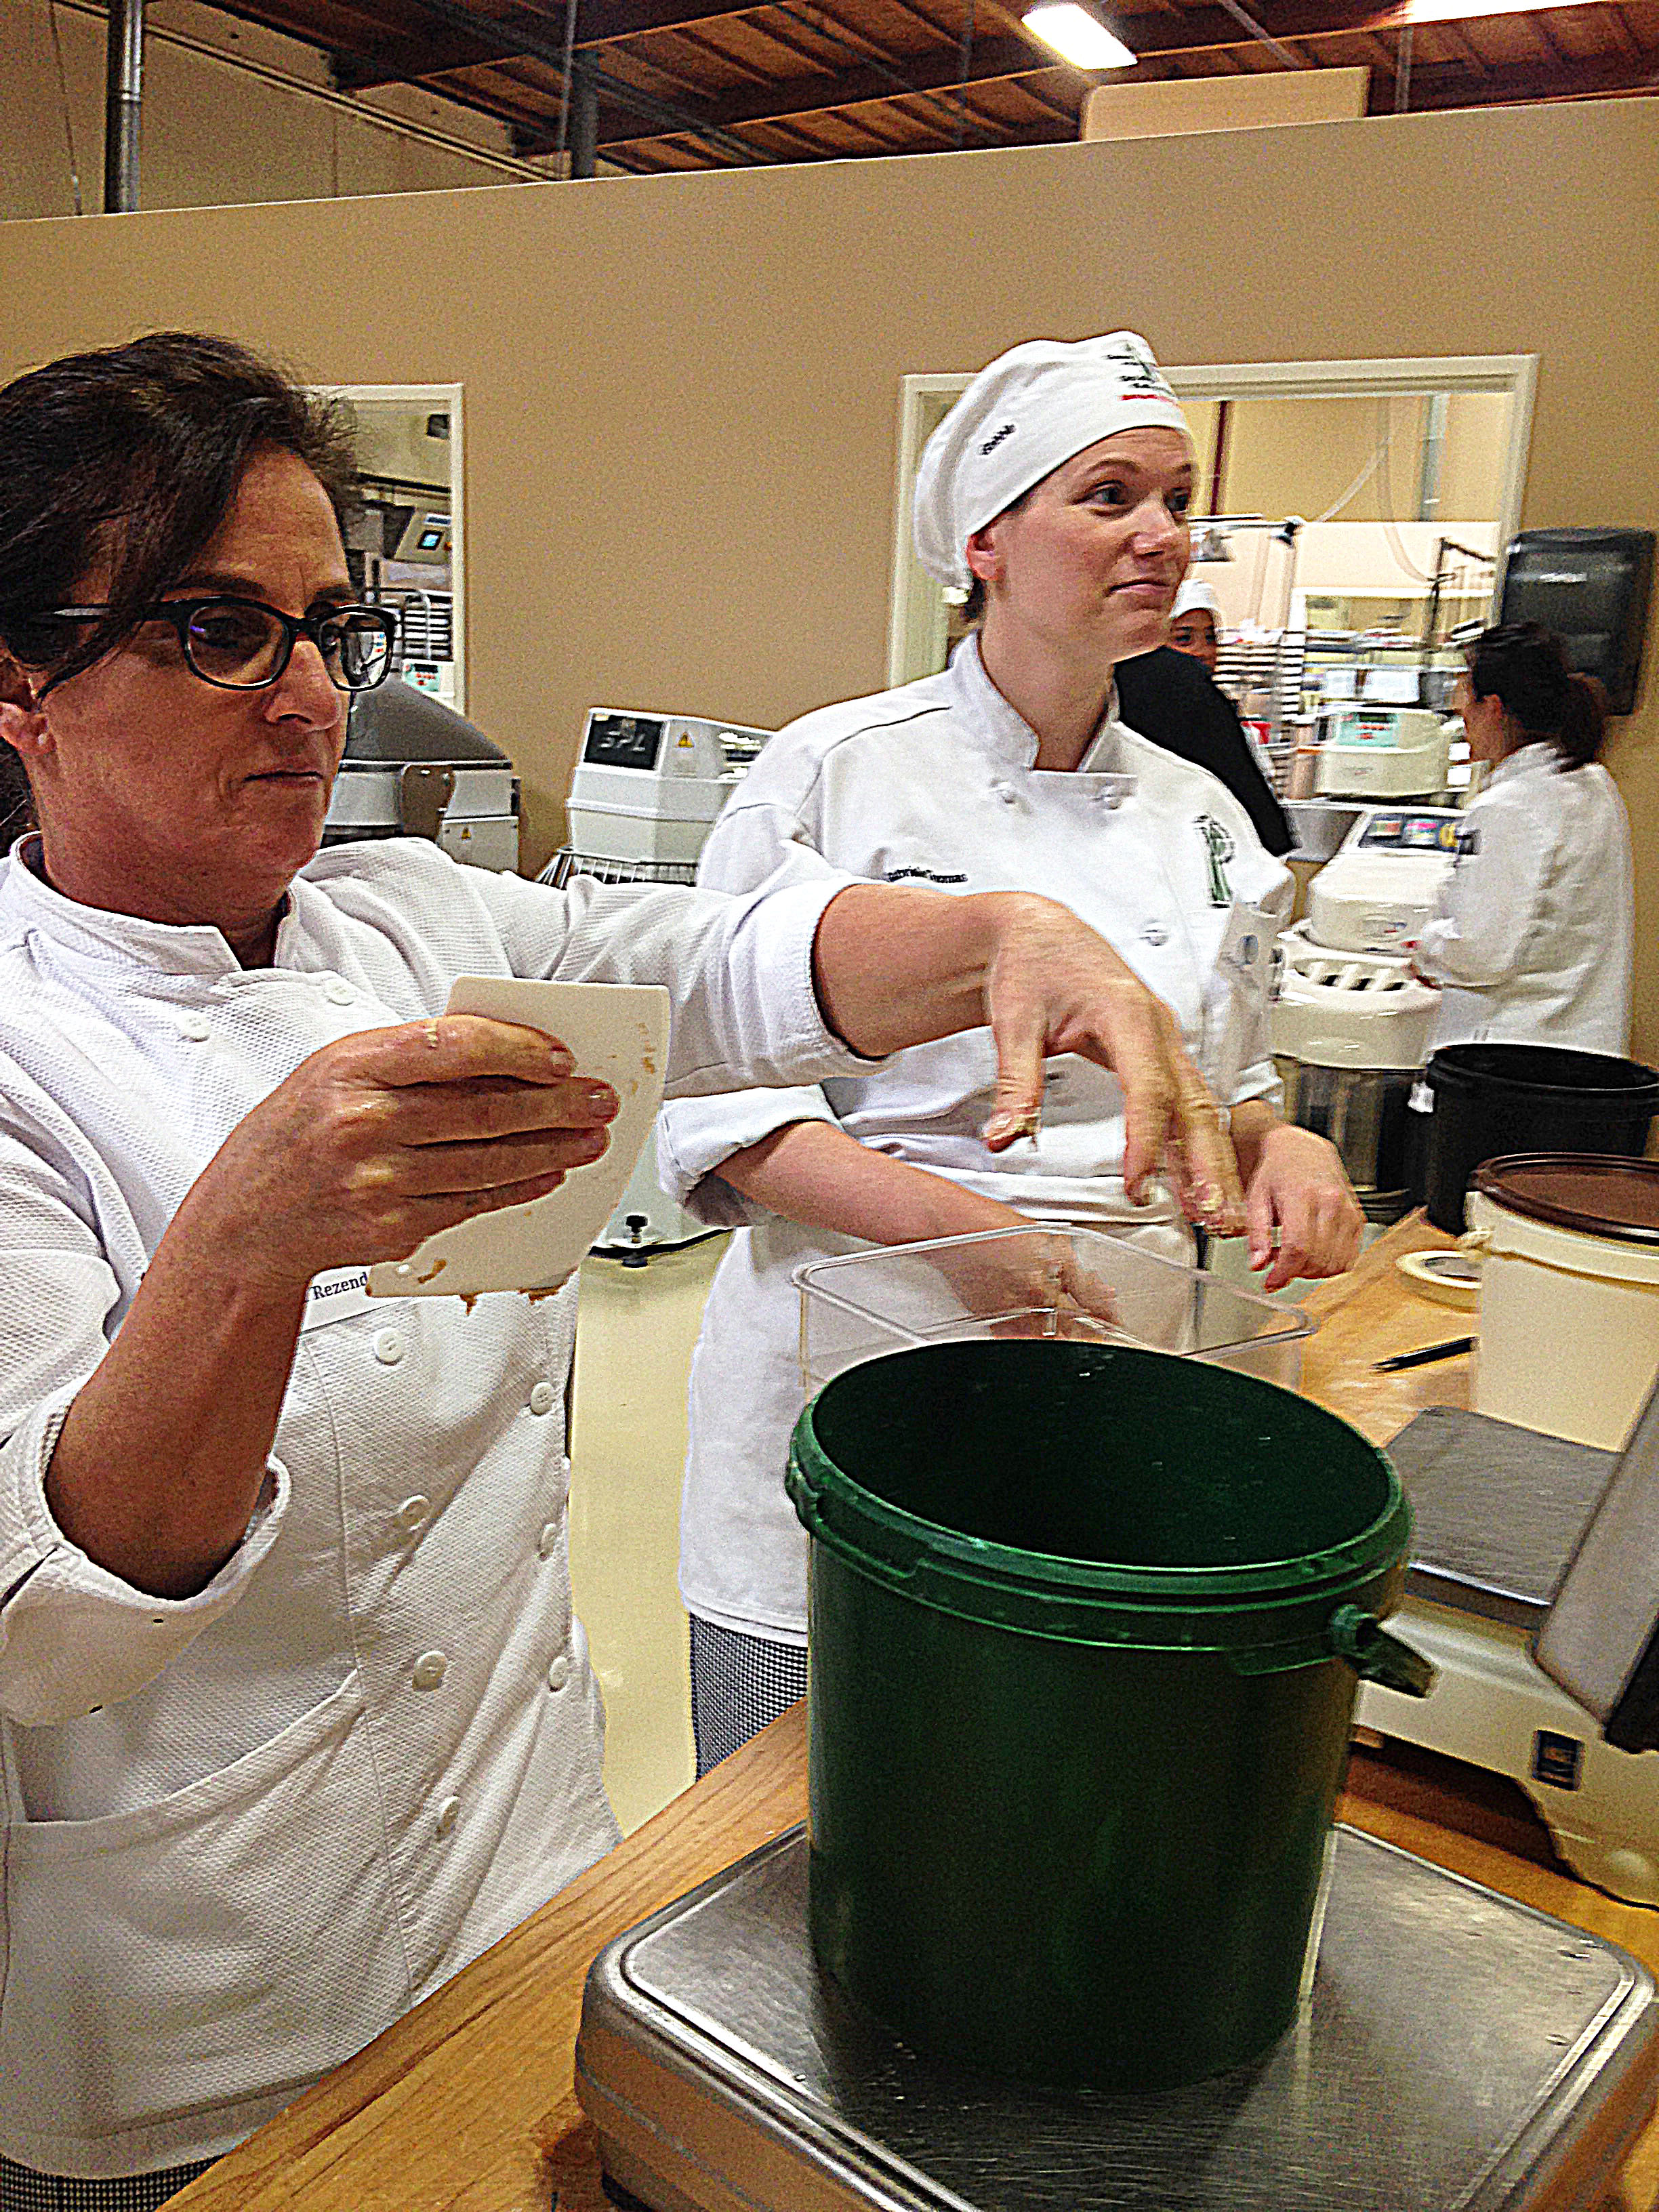
“Exactly,” says Geoffrey, “Temperature and time are two big tools for fermentation. Madeleine, I’ve put a thermometer on your bench and would like you to tell me our flour and pre-ferment temperatures.” 

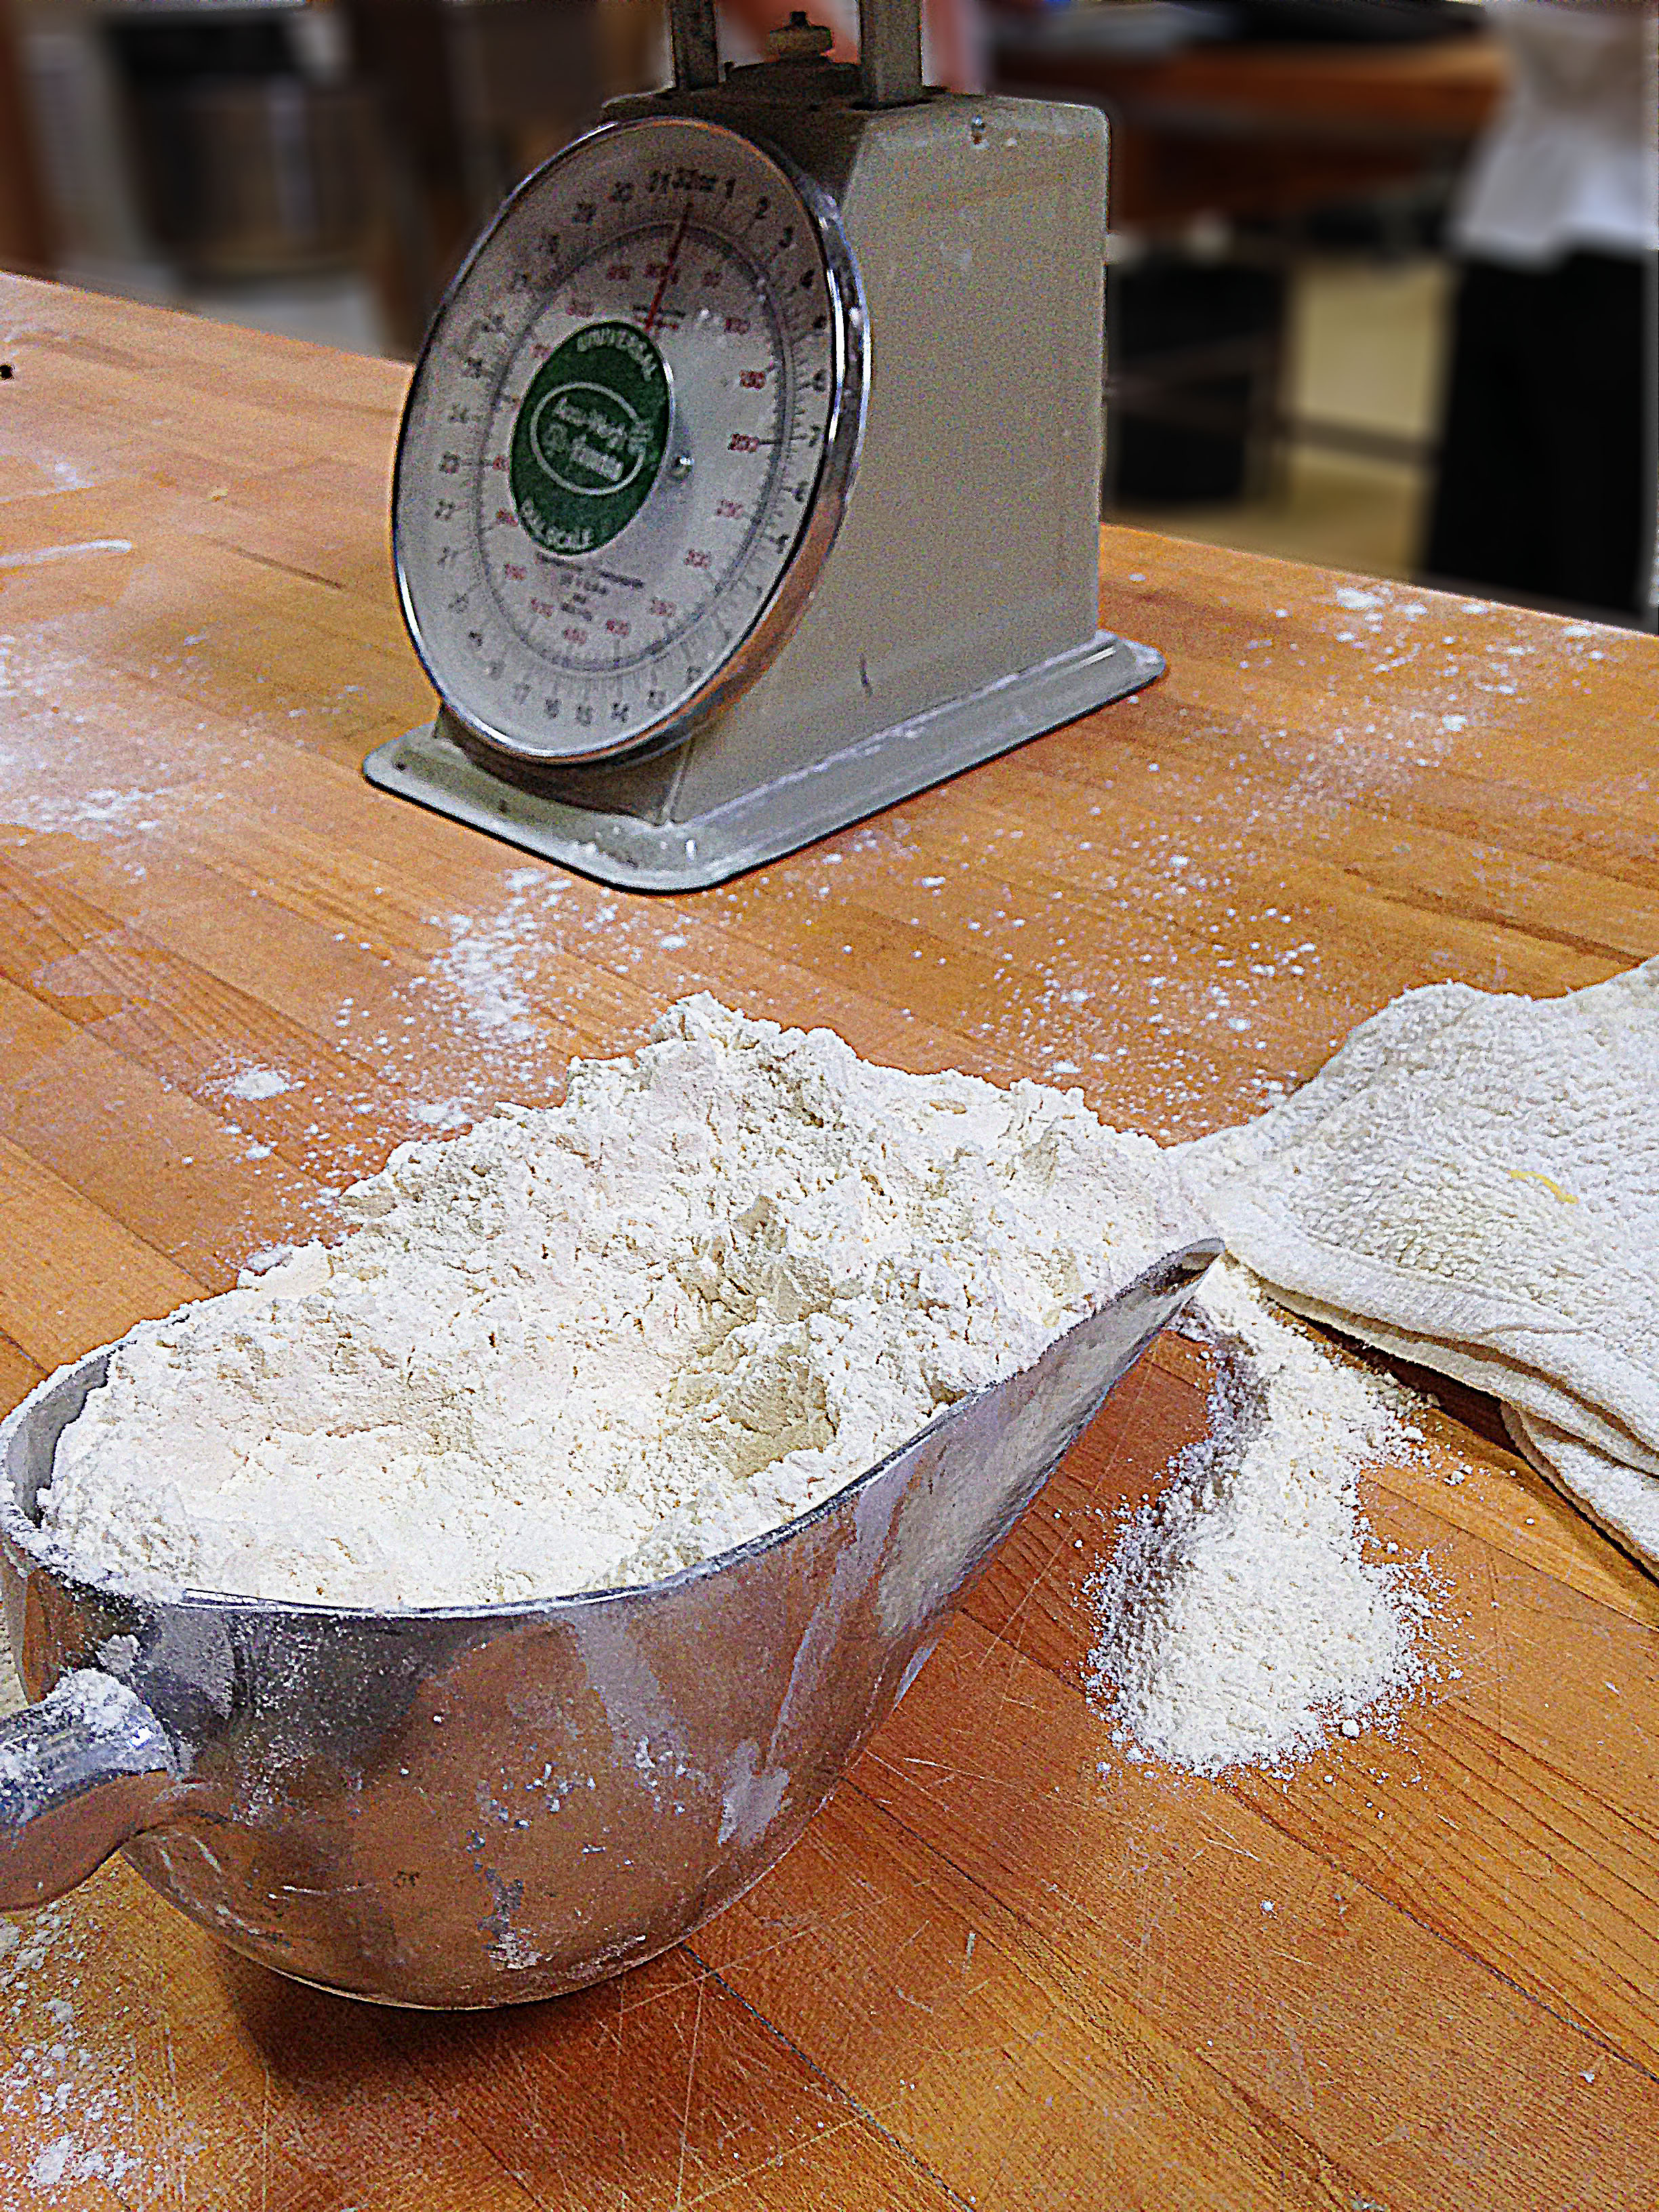
Hands trembling, I insert the probe into the fluffy flour bin then into a silver bowl full of bubbling biga, calling out “66 and 66.5 F” to Geoffrey, who scribbles them on the whiteboard before us.  

At this juncture, my brain fizzles right out. Overloaded with data, my memory stick cannot download another formula or fraction. My screen goes blank during the full 10 minutes we devote to final dough temperature (78F is optimum) and how it can be controlled through a 1,000 – step equation to determine the temperature of water we use to make the initial dough.

Luckily, after days of deliberation, I get it. If we bakers can understand and compute all the variables: temperature, time, flour attributes, leavening strength and the list goes on… we can bake on a timetable producing consistent quality. As a home baker, albeit a serious one, the science of bread can only bolster the magic of my art. 

IMG_3695

KAF Spelt with Honey

Here’s an easy yeasted bread perfect for beginners. This dough is more forgiving if you are just learning to shape a boule or batard. Plus, spelt is an ancient grain with a nice, sweet nuttiness.  

600 g whole spelt flour

200 g unbleached bread flour

580 g water

2 g instant yeast

16 g salt

28 g honey

Scale flours, water and yeast in a mixing bowl, mix until just combined and cover with plastic wrap. Allow to rest at room temperature for about 20 min.

Add honey and salt and mix 1-2 min or until the dough begins to develop strength. Cover and ferment for 2 hours, folding every 30 minutes.

On a lightly floured surface, shape into boules or batards an place in floured bannetons. Cover with shower caps and retard in the refrigerator overnight.

Preheat Lodgepan combo cookers in oven at 500 F for 30 min.

Flip each loaf onto a parchment paper lined baking sheet and score.

VERY carefully remove heated combo-cooker from oven, slide loaf on parchment paper into pan, close with lid and return to oven for 20 min. Reduce heat to 460 F, remove lids and bake until golden brown and crusty, 15-20 min.


Becoming a San Francisco Baker, Part 2

By day two of Artisan Bread Baking Level III, I had a hunch: The cards just weren’t stacked in my team’s favour. Sure, we looked the part.Team 3 wore white chef’s coats buttoned to the collar with crisp, starched aprons secured at the waist. We clutched the same roll of formula-printouts in our hands as we entered the production facility. Just as the others, we plopped down our pens, smartphones and water bottles on our workbench and had access to the same high tech mixers and ovens. But there was no doubt about it: Team 3 lacked a certain, shall I say, je ne sais quoi.

Me and my mixer.
Me and my mixer.

Didier tried to be diplomatic but I know he knew what I knew, even before I knew it.

It was called experience.

The pros in our class knew exactly how to operate the second they stepped into the spotless bakery. But for us rookies, it was our first swing up at the bat in the big leagues.

Worse still, the real bakers knew that time was of the essence. They circled around the large room and took a mental log of where all the important stuff lived, like tubs and cylinders used to scale ingredients or hold fermenting dough. They instantly sourced out the Essential Four (flour, water, yeast and salt) and understood that all the water had to be cycled through a digital cooler then laboriously calibrated with a probe thermometer.IMG_2828_EDIT From the corner of my eye, I saw a flurry of activity, bakers racing by our workbench wielding tall, plastic stacks of containers, pulling bins-on-wheels full of flour and figuring out which scales worked and which didn’t.

But my team was just too busy standing still, staring at each other’s nametags and politely pointing at the pile of formulas and wondering which of us would lead our naïve flock.

It was Chef Jesus, of course.

But how would I possibly address this tall, broad-shouldered teammate who stood by my side, yet towered above me? Should I pronounce the name embroidered on his chef’s coat like Sunday school or offer up a Spanishy “Hey Seuss? When I mangled out the latter, a cringe swept over the Texan’s mug then Jesus Lugo calmly inhaled, looked me straight in the eye and said dead-pan, “That’s right, Madeleine.”

From then on, I knew our team had an inkling of a chance. Not only was Chef Jesus Lugo experienced, but an extremely patient man who just happened to be built like a Mack truck. A community college instructor from El Paso, Texas, Jesus took the bull by the horns and picked up (no, levitated) a 20-kilo pail full of poolish and deftly poured it into the VMI Phebus mixer near our workbench.

IMG_2799_EDIT
L to R: Teammates Claudia Rezende and Gabrielle Thomas

Meanwhile, Claudia Rezende from Sao Paolo was scaling flour, reading glasses perched halfway down her nose, bouncing kid-like on her tiptoes in order to see the digital numbers flashing in front to her. She was giddy with joy to be standing in this facility in South San Francisco. Like I, she’d booked a room at a nearby airport motel and was titillated to be honing professional skills. But after less than a minute at the scale, Claudia stamped her foot angrily and swore something completely unsterile in Portuguese. One huge scoop of flour had just tipped the scale and the digital readout had gone blank.

IMG_3030_EDIT
Scaled yeast in a container on top of scaled flour.

Bread is baked by weight not volume and bakers follow formulas, not recipes. On day two of the course, we would bake four different breads: semolina durIMG_3270_EDITum crowns, rustic filone, spelt bread and 100 % whole grain bread. Every bread formula was designed to produce 25-40 kilos of dough (enough to cover the surface of a bath tub like a big, fluffy pillow) and would bake off into 50-75 loaves.

Everything was weighed.

On average, every one of Didier’s formulas was based on 10 kilos of flour. I’ve watched Toronto bakers slash open humungous 10-kilo-bags of flour mix, dump the entire contents into a mammoth mixer, pour in litres of water by the pitcher-full then turn on the mixers’ timer and walk away.

Not us. At SFBI we were “in production” in a refined, complex, scientific and artisanal way. Thus, the semolina durum crowns we mixed up on Day Two required 10 kilos of hard, white bread flour but our job was to meticulously scale (baker-speak for weigh out) this flour into a large, plastic rectangular bin, haul and dump it into a mixing bowl the size of a jumbo exercise ball, then add two (not one!) pre-ferments: a whole wheat durum sponge and a durum semolina poolish that had been prepared the day before and left to ferment from sundown to sunrise.IMG_3035_EDIT

“The pre-ferment!” shouted out Didier in the classroom the day before, his pitch just shrill enough to wake anyone snoozing in the back. “This is our secret tool. We can add something, something so fantastic to the final dough with a pre-ferment. What do you think that is?” he asked, his tone rising on the last syllable and left hanging in the air. He stared at us expectantly for a long while until he couldn’t stand it anymore and teased up the air above us, pointing and waving his magic marker frantically.

“Uh, uh, more fermentation?” suggested someone as if risen out of a coma.

“Yes, so….?” he prodded and waited, the room growing loud with silence until he sang out “Flavor my friends, flaaaaaavorrrr!!!” he droned with religious fervor.

But of course.

To be continued

IMG_3468_EDIT_Banner

Becoming a San Francisco Baker, Part 1

I am a happy baker but a very reluctant scientist. Certain that I could pump up one of my greatest passions with some technical muscle, I recently enrolled in the five-day Artisan III Advanced Bread course offered at the San Francisco Baking Institute.

I chose the course somewhat illogically. I wanted a challenge and knew that most of the scientific baking terms outlined in day one of the curriculum were an utter mystery to my blonde brain: IMG_2815_editwhether it was interpretative flour terminology like ash content or falling number or fermenting fundamentals like knowing your acetic acid from your lactic, the truth was it would all come in handy if I ever wanted to get totally serious about bread and open a bakery – which I don’t.

IMG_2793_edit
Didier Rosada

But I like to dream that I might… and even our instructor, certified Master Baker Didier Rosada was prone to talking at length about romance and passion as any fine, French born and trained professional might when lapsing into a reverie about all things gastronomique.

Bread, despite its lowly origins and simple ingredients, had captivated 18 adult students enough to willingly sit behind cramped little desks in a fluorescent-lit-classroom for six long hours on that first day before we even came within a nose of inhaling the toasty, rich aromas of blistery crusts baking in the eight-deck, 200-loaf- capacity behemoth oven downstairs.

IMG_3246_editWe came from all corners of the world, we students of flour, water, yeast and salt, with a dozen different accents among us. Every so often, the instructor would speak of “yeast going dormant” or “dough conditioners” and questions in all different accents would pop up like mushrooms making for a broken telephone of misunderstanding interpreted in South African, New Zealand, Italian, Japanese or Brazilan-accented English.

Two bakery owners came from the far reaches of Johannesburg and Auckland to assess the week’s training, considering whether it was worth the expense to ship their staff to San Francisco for a week or two of bread school. Another two students, both recent San Francisco city college baking program grads, came for post-grad detailing while I belonged to the ‘serious home bakers’ faction which included a mother of teens from Sao Paolo, Brazil and a French history professor from Oklahoma. An exclusive Utah grocery chain sent two employees to finesse their ciabatta and baguette skills while Urth Caffé of Los Angeles dispatched two of their executive chefs.IMG_2954_edit

Big dollars were riding on many of the bread brains in the room and our leader, Didier often rolled his eyes upward in obeisance to the food gods as he rolled his r’s dramatically and proclaimed in his thick, French accent the defining hallmark of the course, “Production!” which is industry-speak for — well, baking.

Enter the contradiction. We were enrolled to learn artisanal techniques in an industrial, high tech environment. The institute is situated under the same roof as TMB Baking, a distributor of baking equipment from around the globe. Imagine an airport hangar divided into three separate bakeries (two used as bakery/classrooms, the other a commercial off-site bakery for SFBI’s two,

IMG_3498_edit2

downtown retail stores) beside an equally vast area housing bakery equipment stock. I liked to linger outside our second floor classroom, perch on the balcony and take in an eagle eyes’ view of the high-energy production facilities below.

“Only 20 % of baking in the USA is artisanal, “declared Didier on our first day, explaining that the remaining 80 percent is of the more commercial variety, namely pan loaves and bun production. Think baguette versus Wonderbread, ciabatta versus Kaiser rolls. IMG_3184_editArtisanal is based on traditional, Old World techniques compared to high quantity, fast and industrial modern bread baking. Yet, enter the word “production” and we are talking about large-scale baking of old school recipes.

After five hours of classroom science on the first day of the program, I was chomping at the bit to get my artisanal hands into flour and start production.   Didier pointed at me and four other students in the same row of desks and declared with his usual flourish: “You five are team Number 3!”

He then scribbled a haze of weights, team numbers and formulas on the white board and suddenly it was time to get out from under our school desks and into the production lab . I detected a certain hop and vigor in everyone’s descent down the stairs. In the next hour, we would prepare vats of rye and spelt polish, durum sponge and whole wheat levain that would ferment and bubble all night long until our return for Day Two.

To be continuedIMG_3042_edit

Breaking bread

True confessions: I’m a little wired up about bread baking.  I do it weekly.  Sometimes daily.  The process never ceases to fascinate me. The day I stop being thrilled about a loaf of bread – before, during and after its creation – is a day not worth living for.

Once a new, gorgeous loaf is out of the oven and cool enough to touch, I have to photograph it.  I’ve been sharing much of this on Instagram and now it’s time to showcase some of my bread progeny here.

Green and black olives with thyme

This is one of the first artisanal varieties I attempted back in the 90s when I baked just about every recipe in Amy’s Breads by Amy Scherber and Toy Kim Dupree. Amy owns a bakery in NYC and has come up with a brilliant sponge starter that offers an apt stepping stone to the next level up: the sourdough starter.

Olive bread is always a big hit, especially with my friend Danny who used to come to high school with olive sandwiches painstakingly created by her adoring mother who sliced olives off the pit and wedged them between two slices of buttered bread.  We thought Danny’s sandwiches were pretty weird back then. Little did we know she was a gourmet trendsetter.

Semolina and sesame loaves perched on bannetons

I wanted to rise my loaves in bannetons like the French master bakers do, but I was too cheap to buy them.  Unavailable for purchase in Toronto, I found my first ones online at King Arthur Flour. All my American cookbooks had King Arthur Flour in their “Where to Shop” section but I choked when I saw the price: US$35 for a single basket! Fortunately, my mother was willing to fork over the big bucks when she found them on my birthday wish list.  I have treasured these light, airy baskets ever since.

IMG_8689

Here is a semolina sesame loaf that has spent the night in the refrigerator tucked inside a banneton, sealed within a large plastic bag. I dust (no, shower)  the banneton with rice flour before I turn a shaped loaf upside down and into it for the long, final rise.  The ridges of the reed basket form the circular pattern on top of the loaf which I flip on to a bread paddle lined with parchment. I simply cannot bake free form loaves without parchment paper. It works like a charm.

Roasted potato levain.

Photographing loaf after loaf can get a little monotonous.  I found a new backdrop with my living room couch! Ikea never looked so good.

My bread club has been doing communal bakes from the bible: Bread by Jeffrey Hamelman. The first time I made the recipe (pictured below) I used a preferment with a pinch of instant yeast (as the recipe instructs) but a fellow baker suggested I forget the yeast and use a starter instead.  I’ve been toying with roasted Yukon gold potatoes, sage and even spelt in several adaptations for a couple of weeks.

As my sister once observed, “You just can’t leave well enough alone, can you?”

IMG_0611
Roasted potato bread, page 117, Bread by Hamelman.

It’s true, I can’t. This photo above is my first attempt at Roasted Potato Bread  and it looked and tasted amazing. The crust was a deep amber, the residual rice flour from the banneton added artistic flare and flecks of Yukon gold potatoes and sage peaked through the crumb. But I had to mess with it, because my inner bread critic thought that crumb was too tight.

IMG_0716
Mado’s roasted potato levain.

Here above is the glorious result of my second try when I broke from the recipe and used a tablespoon of my trusty starter to make the preferment into a levain. Getting too technical? None of this really matters unless you are a bread nerd. And my friends are willing to listen to me talk bread as long as they get some bread.

Like my friend Randy.

IMG_8495
Cinnamon raisin levain.

He will nod and listen and say, “Uh huh, uh huh,” for hours of a monotonous Mado monologue on bread. He hardly says a word until the end, when he slips in, “Have you ever thought of cinnamon raisin?”

Many loaves go in his direction.  And when there is a dry spell, he’ll text me to say hello, finishing off with, “Some say white bread gets a bad rap…” That’s Randy-speak for “I want.”

IMG_9002
Vermont sourdough (mostly white with a tad of rye).

And in this case, he got.

An ode to cheese bread

Long ago, when my kids were still in grade school and I rose early every weekday to make their lunches, cheese bread was The King. It was the kind of bread that didn’t need much more than a smear of butter. The sandwich filling didn’t really count. What counted was the bread itself and mine had big, hulking chunks of old, sharp cheddar cheese. It was the kind of bread that would grease up my kids’ hands as they anxiously clutched their gourmet sandwiches in a crowded lunchroom full of underage and drooling cheese bread-eating-wannabes.IMG_6187

It took me a while to get cheese bread down. My goal was Maria’s Mythic Cheese Bread: a soft, white marvel riddled with cheesy chunks the size of marbles. The crust was dark amber and rivers of melted cheese ran in streaks down its domed sides.

Maria was my grandparents’ cook and every summer she traveled up to Lake of Bays to their sprawling cottage to assume authority over the kitchen. When bread was in the making, she closed the kitchen down like Fort Knox. All windows and doors were clamped shut. But the kitchen’s one swinging door to the dining room was seductively lacking a lock. One day I thought I’d satisfy my eight-year-old curiosity and give it a little push.

“Oh no!” squealed Maria, her plump cheeks red and flustered. “The bread’s proofing!” she howled while snapping a tea towel like a whip in my direction.

A warm kitchen was Maria’s religious rite. If the bread failed to rise, it was obviously the fault of a no-good child who’d let loose a draft assaulting her dough. She did everything in her power to humidify and intensify the room’s heat, closing all the windows and doors, cranking up the heat in the empty stove and boiling endless kettles of water – all in the middle of summer. But our taste buds totally respected every iota of her madness, since Maria’s cheddar and chive loaf was pure alchemy.

Mine would be too, after a little tinkering.

IMG_1259Parmesan Chunk and Rosemary Sourdough

My bible was Great Breads by Martha Rose Shulman. This pivotal cookbook walked me page by page through the rites of bread making, eradicating my Maria-instilled terror of yeast. I learned to use little envelopes of Fleischmann’s yeast, pouring their contents into a small bowl of water with a pinch of sugar, waiting just a minute or two for the yeast to bubble up and tell me it was alive and ready to go. Then I’d measure the flour by spooning it from the bag and filling it above the edge of a dry measure cup, shaving off the excess with the edge of the spoon’s handle.

I could have used some help in the kneading department, for a cookbook was a lousy substitute for Maria’s strong hands and knowledge. I knew a little of its rhythm from quick peeks through the cracked door, but Maria always shooed me away. I had to learn it for myself, pushing and pulling what started as a crumbly, floury mass until it morphed into a flexible ball and eventually ballooned around my fingers. Every recipe warned against over-kneading and over-flouring the counter top and only through experience could I sense where that magical line was drawn. There were many of those lines, from the right kind of flour to the right amount of time.

I’ve been baking bread for 20 years now and still perplex over the many variables of baking, but the one that made Maria frantic, turns out to be the one I choose to ignore. Bread does not need a warm kitchen to rise, unless you want to make bread fast. Over the years, I’ve chosen to make my loaves slower and slower because they taste better that way.

But let’s get back to cheese bread and the magic of Maria’s loaf. Every single bite delivered a mouthful of cheese spiked with garden-fresh chive. My grandmother grew chives as high as hay at the cottage and an addictive, confetti of chives was doused over new potatoes, devilled eggs and chicken salad all summer long.

But chives in bread are difficult to calibrate. In fact, all herbs are. Too much, you wreck the bread. Too little, it’s lost and indiscernible. Maria knew exactly how much was right but it still eludes me, so I focus on the cheese, instead.

IMG_1824

Most bread recipes will tell you to knead grated cheese right into the dough. Once baked, it disappears into the crumb – lunch bag letdown!

I like to cube and coarsely grate it. If it’s a straight-yeast dough, I will roll it out into a rectangle, sprinkle it with a cup or two of cubed cheddar then roll it into a loaf. A liberal sprinkling of grated cheese goes on the top of the loaf just before it enters the oven and parchment paper is a must! If your baking pan isn’t lined with this true friend of baking, all that yummy cheese will melt and attach itself to the pan rather than the loaf.IMG_1819

Once my kids were growing into full-fledged cheese bread-aholics, Maria and my grandparents were no longer coming to the cottage. Those days were gone, but I dared to fill some mighty shoes and bake bread in the same kitchen, with the windows wide open and the floor scattered with sleeping dogs and crawling toddlers. I’d whip up a sponge starter in the morning in my KitchenAid mixer adding less than a teaspoon of instant yeast to the mixture. After an hour or two at room temperature, the surface would be riddled with holey bubbles, looking like its namesake. I’d toss cupfuls of white and whole wheat flour into the bowl and let the dough hook do what Maria never taught me: knead. Once the dough had proofed once, rising up into twice its size, I’d ask my eight-year-old niece, Jessie to perform one of her favourite tasks – punching down the dough. Then Jessie and I would roll out the dough and nestle it into two parchment-lined pans.

There was always a big smile on her little face and mine when we put the loaves into that oven, the same one Maria blessed with her baking 30 years earlier. We knew some magic was about to transpire when we closed the door. And no matter how many times we did this, we always sighed in utter amazement at the beauty and achievement of our cheesy loaves emerging from the oven knowing full well they’d be wolfed down in hours and we’d be doing it all over again, soon.

IMG_1825Seven-Hour Whole Wheat Cheese Bread
Makes 2 large sandwich loaves
For best results, use organic, hard flours for this bread.

In a large mixing bowl combine:
3 cups whole wheat flour
2 cups warm milk
1 cup water
1/3 cup honey
1 scant tsp instant yeast

Using the paddle attachment, mix on low for 1 minute until smooth. Leave in bowl (covered with plastic wrap) at room temperature until sponge has lots of small bubbles on surface, about 2 hrs. Add:
1 cups whole wheat flour
1 cup rolled oats

Mix until it forms a shaggy mass and leave at room temperature for 15-30 min. Add:
1 tbsp kosher salt
1 ½- 1 ¾ cups whole wheat or white bread flour

Add flour by the ½ cup until it forms a ball. Mix at med-low speed about 6 minutes or until the bread starts to balloon around the dough hook.

Transfer to big plastic container or large bowl covered with plastic wrap. First rise 2 hours.

Divide dough in half. On a floured counter, roll one piece of dough into a 12 inch x 8 inch rectangle. Evenly scatter one cup of diced cheese on top. Roll up then shape into a loaf and place into a parchment-lined pan. Sprinkle over with half a cup grated cheese. Repeat for second loaf. OR make into cheese spiral buns by cutting one-inch thick slices from the cheese roll. Place on parchment-lined baking sheets, sprinkle over with grated cheese.

Second rise in loaf pans or as spiral buns: 45-60 minutes (or about ¾ inch over top of loaf pan). Cover lightly with oiled plastic wrap.
Preheat oven to 425 °F (30 minutes before baking)
For loaves, bake 15 minutes, reduce heat to 375°F and bake 40 minutes more or until bottom of loaves sound hollow when tapped.
For spiral buns bake at 375 F for 20-30 minutes or until golden brown. Continue reading “An ode to cheese bread”