Sourdough Blackberry Lemon Muffins

I have a bit of a reputation. Some people call me a seed stealer.  I prefer the term  “forager”.

It all began in my tender years of five or six when I trailed alongside my Mom and brother walking along Muskoka roads lined with raspberry bushes. We held cardboard pint boxes in our little hands and were encouraged to pluck the red, ripe ones that slipped off the white core easily. There were thorns to avoid and lots of scratches to our bare legs and arms. The sun was beating down and sweat covered our brows. But boy oh boy, did those berries taste sweet. I ate nine out of every ten berries I picked, filling my box at a snail’s pace, but without a care. This was a hunt and I was hooked.  

My mom had to tear me away from the berry thicket and throw all my berry stained clothes into the wash. We never picked enough for the pies or jams we talked and dreamed of. In fact, my berries barely covered the bottom of my box but were  just enough for tomorrow’s breakfast bowl of Rice Krispies and cream. 

Decades later, I found myself walking down a road in Grass Valley, California with my sister-in-law, Nora until I stopped dead in my tracks. I was receiving heavy signals from my personal berry radar.  

“Are those blackberries?!” 

Nora couldn’t feign an ounce of interest. It was devilishly hot in the dry August sun and she was parched, needing a cool glass of water back home– which was not in the direction I was pointing. 

“You can’t do that!” she screamed as I hopped down into the ditch, climbing towards a flimsy fence separating me from my bounty.  It was easy to climb under and I did, rewarded by a thick cluster of fat, juicy berries.

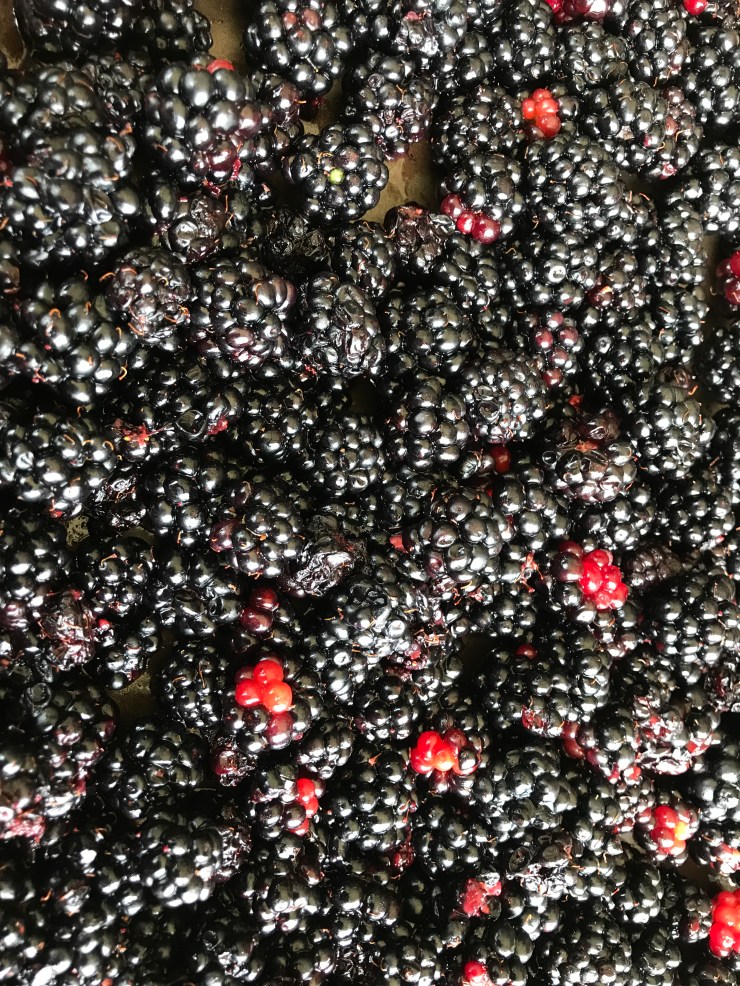
“Stop Mado, it’s private property,” she yelled as I dove into her neighbour’s field. I pulled my black shirt out like a hamper and dropped the berries in by the handful. They were three times the size of an Ontario blackberry and as sweet as can be. The proliferation stunned me.  I’d never seen so many ripe, blackberries in my fruit-loving life.  

To keep the family peace, I crawled back under the fence obeying my sister-in-law’s admonishments while offering her a handful of the stolen goods. 

“Huh, what are these?” She held one berry in her fingers, brought it before her nose, inhaled,    opened her mouth, popped the berry in and started to moan, loudly. 

I’d found an accomplice. 

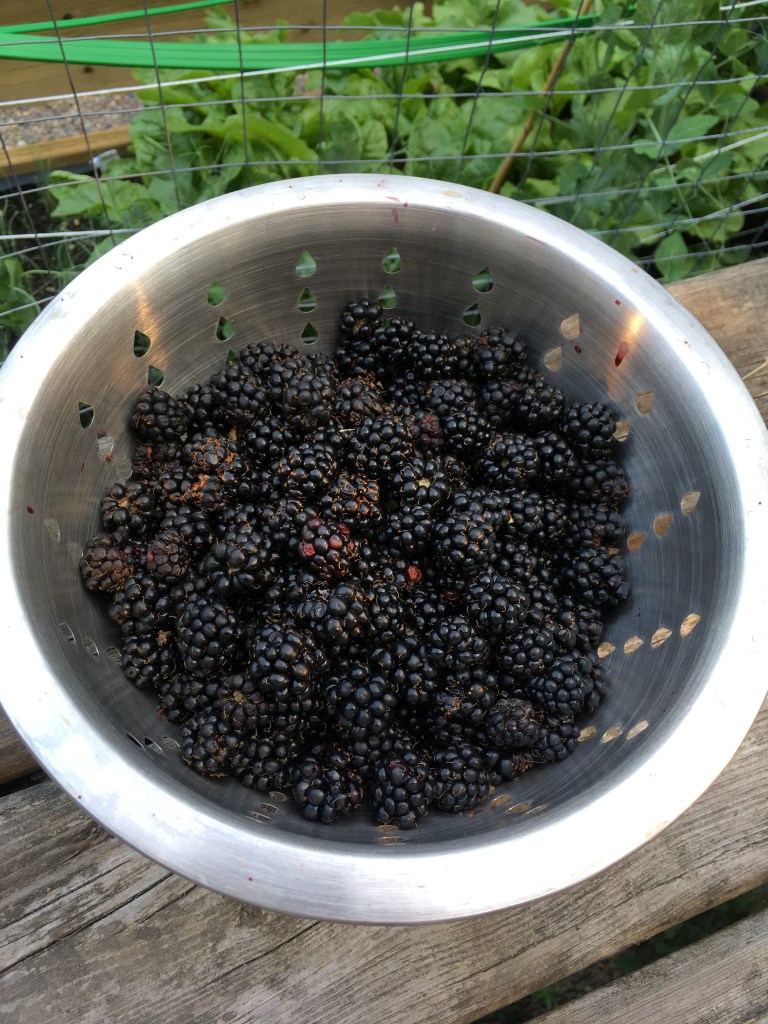
The following day we returned to the field armed with empty yogurt containers, filling two each in no time. That evening we dined on my first and most memorable pie. Pure blackberry pie.  I’d never made pie pastry before and somehow fashioned a semblance  with flour and shortening found in the back corners of her cupboards. I filled it with our black bounty, fresh from the pick but already leaking juice, crushing the bottom berries with its weight.  

I had set the oven at 425 F and in 10 minutes it had not only preheated but was rumbling like a coal fire.  I opened the oven door and felt a blast of heat so outrageously hot, I trembled in fear, offering my sweet berry pie to this monster. I waited five minutes and wisely turned off the oven, realizing the oven thermometer was broken, fearing my pie would explode in a ball of lava if I didn’t stop the oven’s frenzy. 

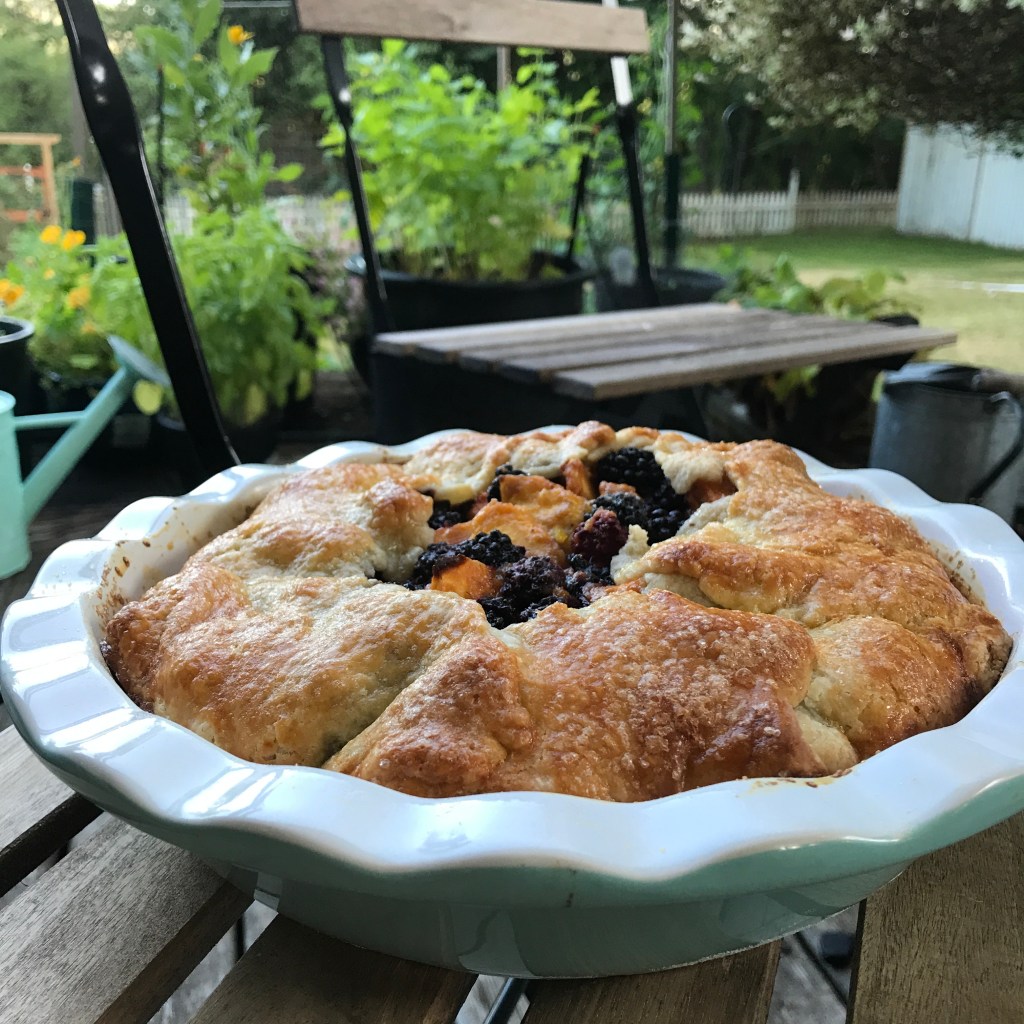
Remarkably, those free California blackberries and a broken oven thermometer was all I needed to make the most flaky, golden, berry-filled perfect pie of my life. Many have followed but none, thankfully,  with as much drama. 

I’m still a forager and a seed stealer dividing my time between downtown Toronto and rural BC. I am apt to walk down Logan Ave with a small set of scissors and surreptitiously snip off some morning glory seeds I have been watching dry throughout the fall.  Recently I filled my pockets with sweet pea pods at a Duncan community garden, knowing the owner would consider me a seed-saver, not a thief.  I expect the folks in the cars lined up at our Starbucks drive-through think the same when they see me roll down my window and pull a handful of brown and dry Cosmos flowers into the car as I wait for my latte order. 

It’s all Ling’s fault.  She asked me what those purple and white Cosmos flowers were growing in Riverdale gardens in the 1990s.  I didn’t know their name, then.  I asked her why she cared and she slipped a hand into her jeans’ pocket and revealed a mess of crumbled brown seed heads. Next, she scribbled “Purple Flowers” in Chinese on a piece of paper, put the seed heads in the middle and folded an instant, origami paper envelope. 

“I brought seeds from Shanghai,” she said proudly. I knew then that any refugee fleeing their homeland who cares enough to pack seeds for the escape was exactly the kind of garden guru I wanted to learn from.  Ling taught me not only seed saving, but how to root cuttings and separate clusters of African violets. 

So are we thieves or stewards of the earth?  I like to think the latter.

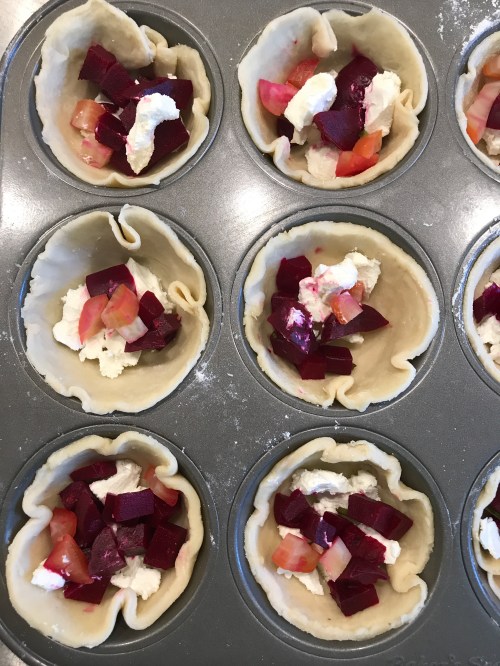
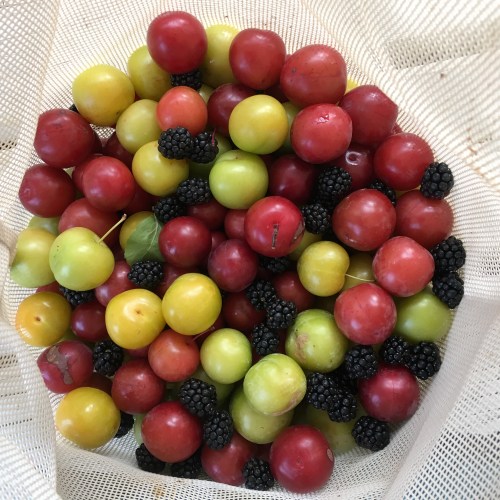
That’s why I came up with this muffin recipe.  It combines the best of The BC Forageables – blackberries —  and uses up sourdough that is normally discarded. A double save!  

Sourdough Blackberry Lemon Muffins


1 1/4 cup            all purpose, organic

½ cup                            whole spelt

1 tsp                    baking powder

1 tsp                    baking soda

1 tsp                    salt


1 stick                           unsalted butter, room temp

2/3 cup               refined sugar

2                          eggs

Zest                     of one lemon

100 gm/3.5 oz              sourdough discard


2 cups                           frozen blackberries

3/4 cup                sour cream/yogurt


Preheat oven to  400F. 


In a medium bowl combine or sift all purpose, spelt, baking powder, baking soda and  salt. 


In a mixer, cream butter with sugar until light and fluffy. Mix in eggs, one at a time. Combine lemon zest and gently fold in sourdough discard.


In medium bowl, toss frozen berries with 1 tbsp of flour mixture


Fold in half of the flour mixture and half of sour cream, then repeat.  Gently add blackberries in flour. 


Divide mixture using an ice cream scoop or 1/4 cup dry measure into 12 muffin cups.  


Bake 20-25 min or until golden and  tester comes out clean.

Savoury Beet Tartlets

Nothing like plunking a few dice of freshly cooked beets and a crumble of goat cheese into a pastry tart to watch the colour slide and ebb through an egg custard creating these beautiful little appetizers that are almost too pretty to eat.

But you will gobble them up for they pop on the palate even louder than their good looks show off on the platter. 

This is super easy to prepare if you use frozen pie tartlets.

It’s also easy to make your own dough in a food processor.  I like to keep a chunk or two of dough on standby in the freezer, ready to defrost and be at the ready.

David is our in-house pastry chef.  He has the light touch and uber patience needed to create a flaky pretty crust. He also gets the mechanics of lattice work for our Thanksgiving apple pies and stencils actual maple leaves on top.

Wrong season.  We are celebrating summer now and these tartlets require different pastry skills.  David rolled out the dough to 1/8thinch thinness, then cut circles using a small bowl. Each circle is dropped gently into the muffin cup then folded into a rustic round. No crimping. No braids. It helps if each tart has a little ledge, climbing up and over the muffin cup’s edge to hold in all the contents.  

Once you have the pastry ready to fill the tartlets, this project’s flavour is all about the beets and fresh herbs.  Beets are best if you can yank them out of your garden, clean under the garden hose then submerge in hot boiling, salted water. Unlike a stored beet, garden fresh will cook up in half the time. 

Please remember, basil is a beet’s best friend. I like to tuck a chiffonade into every beet salad I compose and was pleased with how complimentary it is as both an ingredient and garnish for these tartlets. 

Beet, Basil and Goat Cheese Tartlets

If making pastry is not your “jam”, use frozen pastry tart shells instead. These pretty little things are perfect for summer appetizers al fresco or weekend brunch.  


All Purpose Food Processor Pastry

2 cups        all purpose flour

¼ tspsalt

¾ cup         unsalted butter, cold, cut into pieces

½ cup         ice water, approx.


Filling

3 small beets, boiled until tender, cubed

150 g goat cheese, crumbled

3 eggs

1 cup homogenized milk

2 TBS chopped fresh chives

2 TBS chopped fresh basil 

Salt and pepper


Combine flour with salt in food processor and pulse to mix. Add butter and whirl on high for 15 seconds or until butter is the size of peas. Scrape down the sides of the bowl and add water. Whirl on high until dough clumps. Transfer to a large piece of waxed paper. Form the crumbly dough into a firm mound, about 8 in diameter. Wrap and refrigerate at least 4 hrs before use. 


Preheat oven 425 F


Whisk together eggs, milk, chives, basil, salt and pepper in a 4 cup liquid measure. 


Divide the chilled dough in half and return remaining half to fridge, wrapped well. 


On a lightly floured counter roll out the dough. Use an empty bowl with a 4 ½ inch diameter to cut rounds. Gently nestle each round into a muffin cup. Divide beets and goat cheese equally among the tarts. Pour in egg mixture. 


Bake in middle of the oven for 20-25 min or until interiors have puffed and pastry is lightly golden. 


Serve warm, garnished with fresh basil and edible flowers like nasturtium, chive or borage.

Lavender Plum Jelly

The first time I laid eyes on these plums, the trees were groaning with them. It was  August,  the day we took possession of our Vancouver Island  home in 2016. While David, his brother Norm and sister-in-law Cheryl stood in the courtyard surveying the exterior of the house,  I trotted down the driveway to find out what was green and growing on our 2.5 acres.

Huge rhododendron bushes and plum trees lined the driveway. Shiny red plums, no bigger than marbles, glinted in the sun. None were nearby, but all shone like Christmas ornaments far from reach in the tall,  skinny trees. 

A huge black raven flew over, each flap of its massive wings vibrating overhead. My eyes fell on saffron-painted plums poking out from leafy branches nearby. They were tiny little wonders no bigger than the cherry tomatoes growing in my downtown Toronto containers. Each orangey-yellow orb was splashed with traces of red. Warm to touch in the hot August sun, I picked one and popped it in my mouth, smiling wide.  It had a sweet, pulpy juiciness.

A search ensued! In three minutes, my makeshift t-shirt pouch bulged with a colourful, but slightly moist and sticky bounty.  Juice was trickling out from the overripe, split ones that came in every hungry handful I snatched away from the tree.

With no room for more to carry, I snacked heavily, reducing my load by half as I came closer to another variety-in-waiting. Heavy green clusters of plums weighted down the branches bringing them closer to my reach.  Alas, these golf ball-size beauties were sour and hard:  Not ready for prime-time picking.  I spat out my pit and was surprised to watch it join dozens littered in the grass below, all fallen from the mouths of marauding deer.   

On another branch —  Hope. One once green had ripened to a deep yellow, beckoning. I was perched on rocks that lined the stone walkway down to the dry pond nearby. Teetering on one foot, then the next, I managed to shake the ripe branch and gather the sweet morsels that fell to the ground, avoiding those that fell upon a mound of shiny, black pellets.  Deer scat.

I returned to the house and found the others, tracing their voices echoing through the empty halls. None seemed as eager to sample my found fruit as I, but each nodded their head politely after a taste.

This was just the beginning. What food writer in her right mind isn’t obsessed with gathering sweet, ripe FREE fruit hanging from trees? It’s like finding money dangling from the leaves.   

On superhot summer BC days, when the thermometer slips over 30 and it’s crazy to get out of the shade or up from a lounge chair, I drag my husband out on a blackberry pick.  We wear PPE: Long pants, long sleeve shirts, boots and gloves. We dig out the lawn clippers and apple crates from the garage.  Then we cruise through the windy roads of Maple Bay and environs, searching for manna from the heavens. When we spot black swaths of untouched, unblemished, fat, ripe, abundant berries overhead we no longer cry in vain, thinking they’re unreachable. We simply laugh an arrogant chuckle, deeming ourselves seasoned professionals. David clips the clusters and I catch them in a waiting  apple crate beneath his arms. Once we’ve filled the crates, we aim to stop, but never can.  There’s always another ripe berry around the corner and a few empty plastic bags to hold them.   

Pounds upon pounds of ripe, sweet fruit cannot be consumed instantly. Berries are flash frozen on trays in single layers or tucked into a rustic tart or two. But plums, especially the ones in our orchard, are more troublesome. The pulp to pit ratio is about 50:50. I have cooked them in huge pots on the stovetop or roasted them in the oven, but afterwards, there are  still all those pits to contend with. A food mill can help the process but nothing works finer than my Mehu-Liisa 111 made in Finland.

This three-tiered stovetop pot is basically a small distiller or “steam juicer”. The bottom is filled with water heated to a boil on the stovetop, while the middle portion holds the juice which falls into this catchment area from the large steamer above holding quarts of picked fresh fruit on top.  Take off the stopper and hot clear juice empties out from the fitted plastic hose attachment. Last time I used my Mehu-Liisa 111  I packed it full with 14 pounds of fruit, turned on the heat and collected five liters of juice in under an hour. 

Sadly, plum juice is not a favourite beverage, but it makes beautiful jelly that I can slip into my suitcase and gift friends and family each time I fly back home to Toronto. That way, I can bring a taste of our BC orchard across the country and share the wealth because money found on trees is simply delish.

Herd Road Lavender Plum Jelly

  • Servings: 14 250 ml jars
  • Print

The golden hue of this yellow plum jelly is painted purple with the addition of lavender and whole blackberries. After canning, check all the jars for a tight seal. Makes 14 ½ 250 ml jars of jelly.

12 cups plum juice *
4 tbsp lemon juice
6 tsp Pomona’s Universal calcium water
2 tsp unsalted butter
4 cups refined sugar
9 tsp Pomona’s Universal pectin
½ cup dried lavender or lemon thyme
1 cup frozen blackberries

Sterilize jars.

In a large wide pot heat plum juice, lemon juice, calcium water and butter and bring to a rapid boil.

Combine sugar and pectin in a bowl, then add to juice once it is rapidly boiling. Stir mixture until it comes back to a full boil then take off the heat. Carefully remove foam.

Remove hot sterilized jars and arrange on counter. Put 2-3 frozen blackberries and ½ tsp lavender in each jar before filling with plum mixture leaving ¼ inch headspace and lidding fingertip tight. Process 10 minutes in boiling water.

Remove from canner and listen for a satisfying pop as each lid seals. All the lavender and blackberries will have floated to the top. Wait a few hours for your jelly to gel and cool, then turn a jar upside down to test if the jelly has thickened enough to suspend solids in the middle of the jar. If so, leave upside down for 8 hrs or overnight.

*Substitute with apple or white grape juice

Processing…
Success! You're on the list.

Red Fife Ginger Molasses Cookies

My ode to Red Fife comes in the form of a cookie.

This recipe starts like so many of its cookie counterparts with sugar and butter. (Sorry vegans.)  Butter not only makes cookies exceptionally rich in flavour but it creates a luxurious mouthfeel, too.

Recipes ask bakers to cream these two foundational pillars of Cookiedom.  That won’t happen if your butter is cold. Pull out an unsalted stick or two at least two hours before you plan to bake.

A KitchenAid mixer is a must if you bake as regularly as I do.  Drop butter and sugar into the mixing bowl, attach the whisk, press “Go” and watch these two ingredients intermingle and transform into a light, magical creamy mass.

IMG_5049Next, crack an egg into the mix and lightly oil a measuring cup to ensure easy lift-off for the half cup of molasses needed.

That’s a little trick I share with my daughter Krystal as we bake up a batch.  She has never baked with molasses before and feels less than patient as it endlessly pours in a feathery  stream out of our almost empty Crosby’s Fancy Molasses container. Likewise, she’s wholly unimpressed with this sweetener’s slightly metallic, smoky taste.

But she complies with my teaching suggestions today, knowing I insist on constant tasting, sniffing and touching to learn baking’s alchemy.

She also knows there are white chocolate chips in the mix.

Ah, white chocolate chips. These are forefront on Krystal’s mind as we search the kitchen cupboards and drawers for this cookie’s ingredients. Unlike cloves, which we grind, sniff and sift fresh, or candied ginger, instantly proclaimed “yuck” when sampled, Krystal needs little encouragement to gobble a handful of chips after she measures a very generous half-cup.

It’s the Red Fife that excites this baker. Canada’s heirloom wheat varietal adds incredible flavour to these cookies, especially if it’s locally sourced and freshly milled.

Luckily, that’s what 1847 Stone Milled Flour is all about. They’re very busy filling orders in the midst of this pandemic, but if ever there was an essential ingredient needed for baking security, it’s flour. Check it out.IMG_5056


Red Fife Ginger Molasses Cookies

Red Fife Ginger Molasses Cookies

These are thin, saucer shaped cookies with gingery buttery goodness. Makes 30

3 cups             Red Fife

1 ½ tsp            baking soda

3/4 tsp             baking powder

½ tsp                salt

1 tbsp              ground ginger

¼ tsp                cloves (freshly ground if possible)

¾ cup              room temp butter (1½ sticks)

½ cup               brown sugar

¼  cup              organic white sugar

½ cup              molasses

1                      large egg

1 cup           white chocolate chips

Rolling Mixture

1/3 cup            granulated sugar

¼ cup               finely chopped candied ginger

Preheat oven to 350 F

In a medium bowl, whisk together flours, baking soda, salt, ginger and cloves.

In mixing bowl cream butter, brown sugar and  ¼ cup granulated organic sugar until light and fluffy. Beat in molasses and egg.

In thirds, add in flour mixture and continue mixing until just combined. Sprinkle over with white chocolate chips. It’s a heavy dough that’s not easy to mix.

Line two baking sheets with parchment paper. Scoop tablespoons of dough arranging 2 inches apart on baking sheet. Put sugar in small bowl. Form each cookie into a ball and lightly roll in sugar to coat. IMG_5046
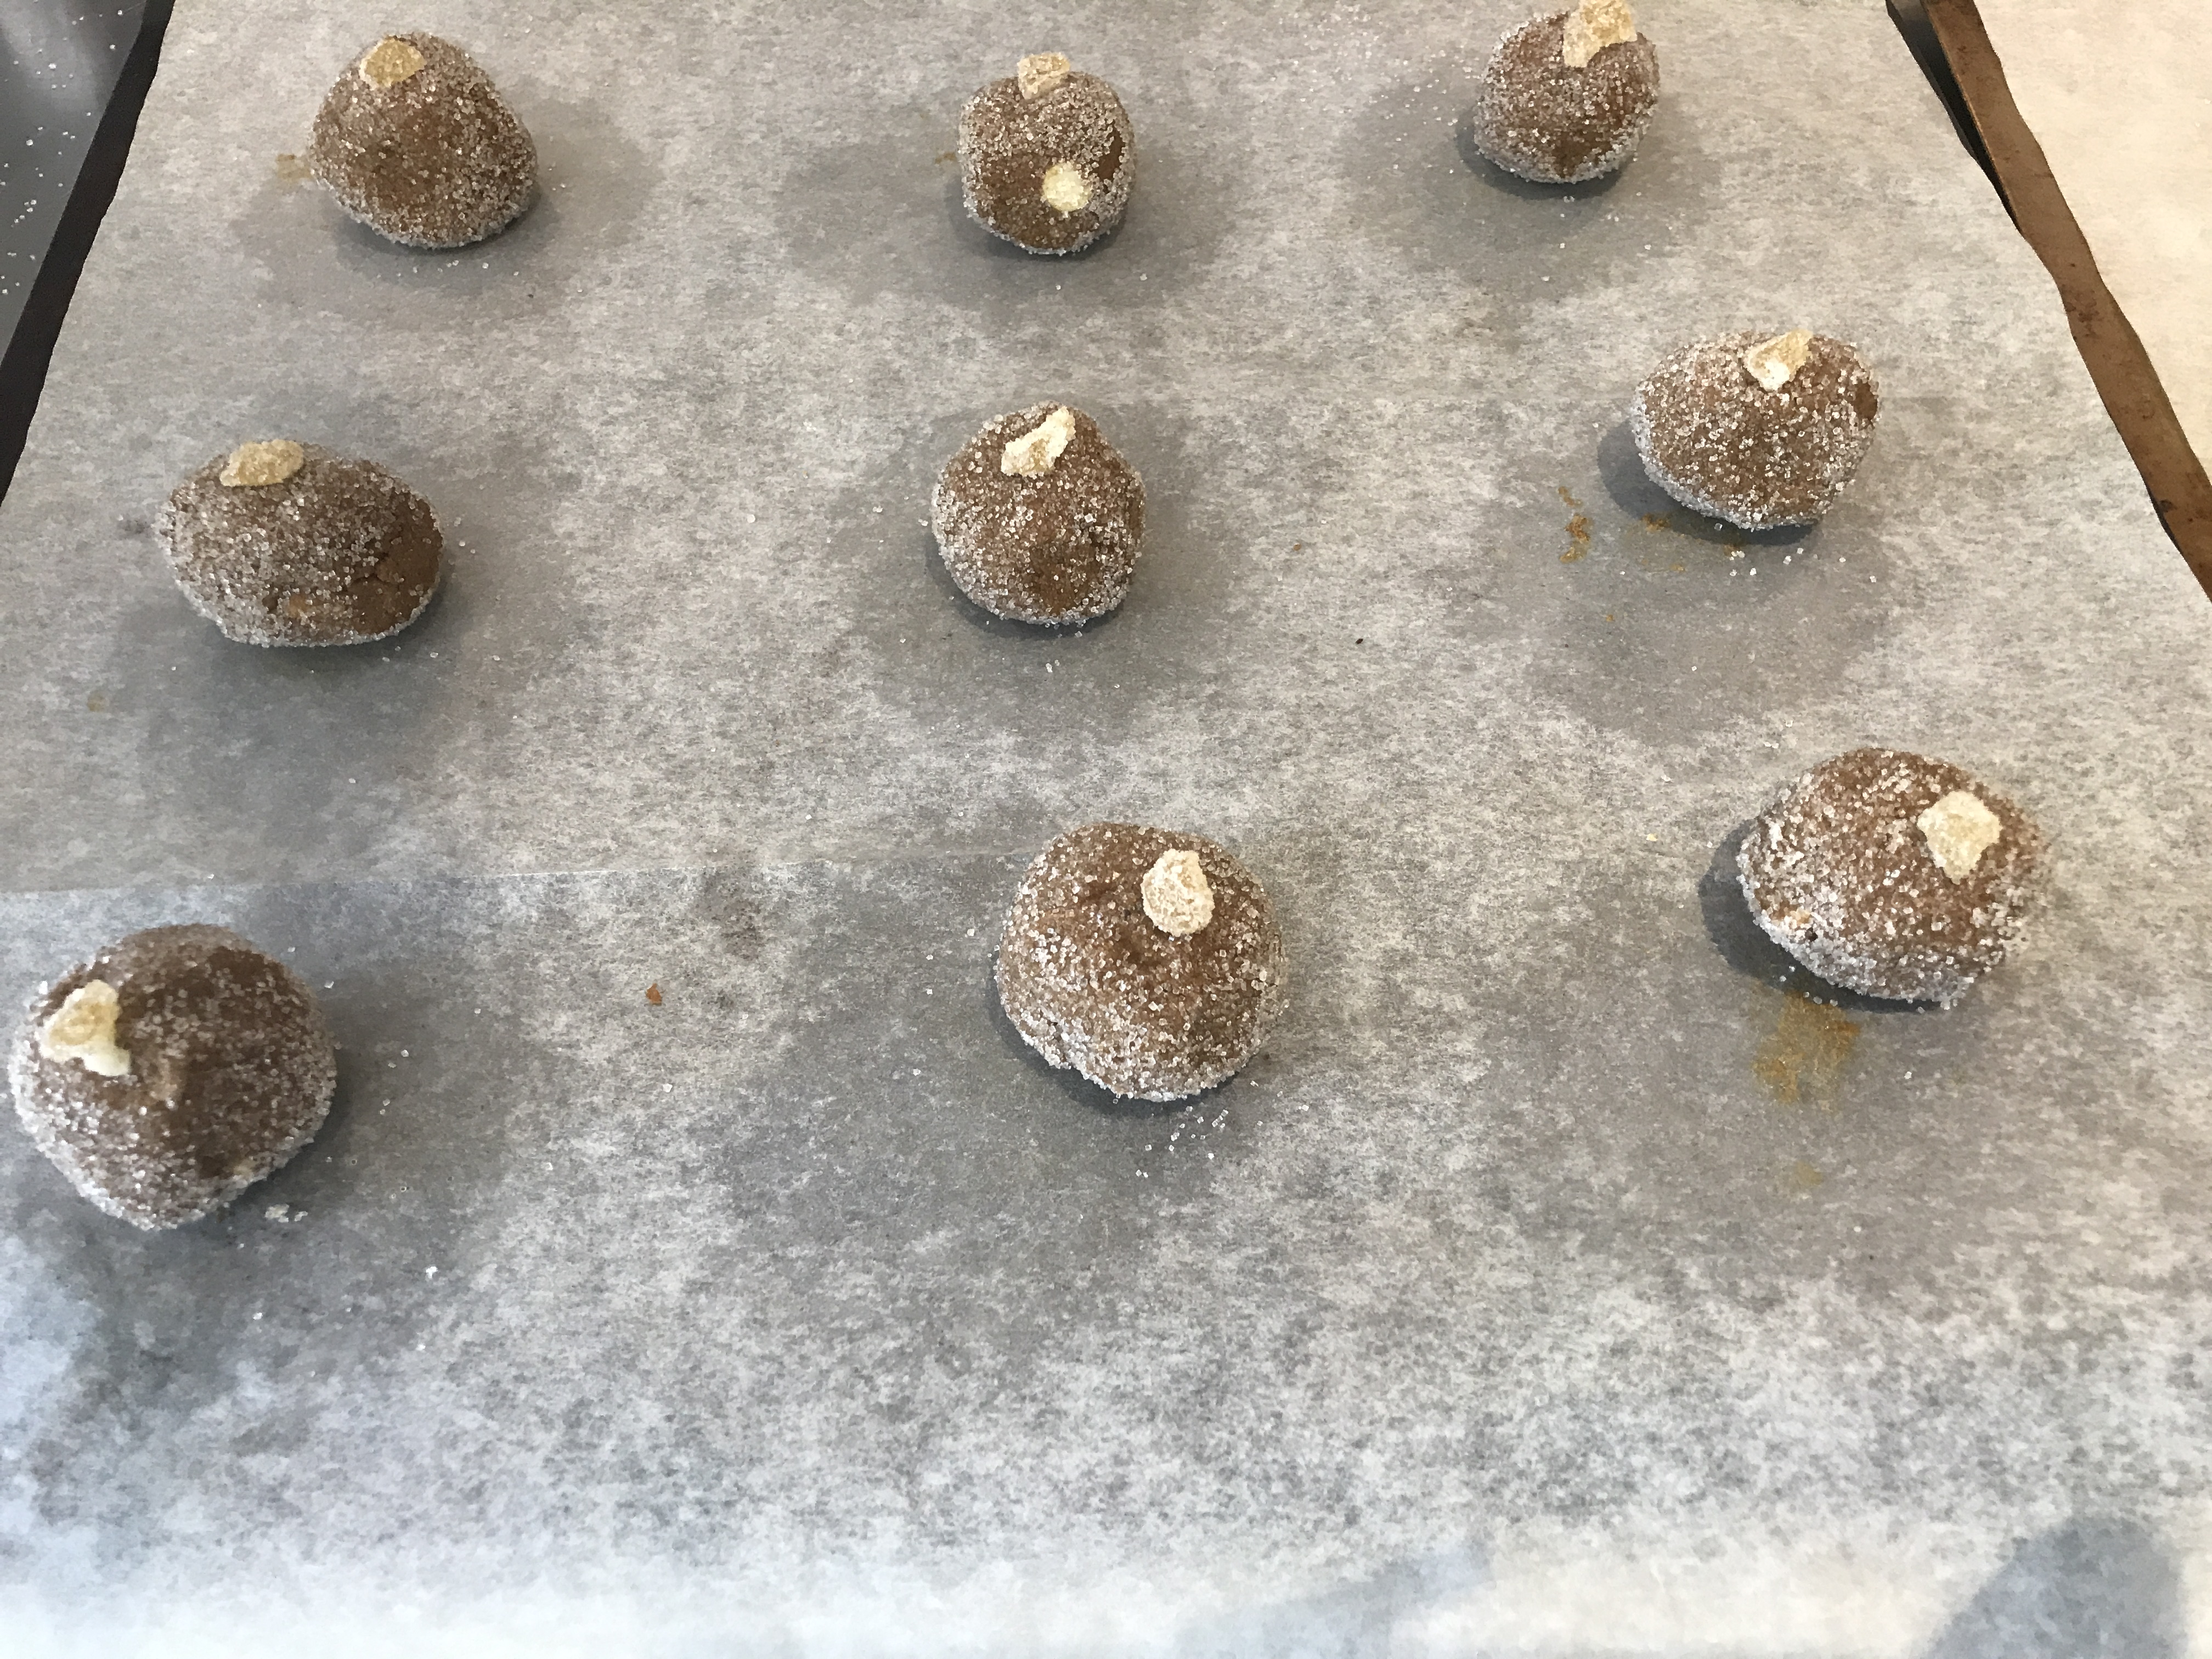
Place a chopped piece of candied ginger on each sugared ball.  Using the bottom of a glass, flatten into 3 inch rounds.

Bake until golden brown 12-14 min

Cool on a wire rack 

IMG_5048


The Power of Challah

I bake and give away a lot of freshly baked bread. I’ve been baking bread weekly, sometimes daily, for many moons and my floury perspective has offered insight on what Joe Eater likes best in the bread department. And it’s challah, hands down.

Essentially, we bread lovers eat with our eyes first. Appearances matter.  Just the sight of one of my golden, glossy braids is enough to bring most of my beneficiaries to their knees. Sprinkle on some sesame or poppy seeds (or both) and you’ve got a bagel hybrid that screams for a slathering of cream cheese,  followed by an unabashed crescendo of jam.

“What’s not to love?” my Long Island New York mother-in-law used to ask.

Ethel, of course, would only take a sliver of a slice, knowing full well that the honey, milk, butter and eggs that enrich and enliven challah were the kiss of dietary death for a diabetic like her.  But that wouldn’t stop her from kveln about my challah.

My friend Danny, on the other hand, used to scrunch and contort her mien whenever she came face to face with one of my challahs.

“No! No, you can’t do this to me!” she’d wail, tossing the gift loaf back into my hands like a hot tamale.

Turns out she was an addict.

Then there was Don. He ignited my baking passion and passed the challah gene down to our offspring.

I’d find him drooling and star struck, gazing with deep longing at my just-out-of-the-oven golden, glossy loaves.  I’d start wielding my bread knife, slashing it through the air, marking the end of each word with a vicious swipe   “Don’t you dare” Slash, slash, slash!  “devour it all!”  He’d feign to cower then leave only crumbs in his wake.    

Oh, the allure, the gloss and glimmer of a challah’s golden crust, twisting and turning seductively before our hungry eyes. Blessedly for us bakers, it is a no-brainer of a baking feat. Sure, you need to have the larder well stocked with milk, honey, eggs and butter, but you’ll find the braid an easier dough trick than your average high hydration, Tartine-style boule.

What’s more, this is a bread recipe that will make you a baking icon among friends and family. You don’t have to capture wild yeast for 10 days to make this baby rise and if you practice this just once, you’ll soon be a baking pro worthy of  Zoom coverage at the socially-distanced table.

But before you plunge into this bake, let’s talk flour:  Seriously good flour, that’s local, freshly ground and can be delivered to your door. 1847 Stone Milled Flour https://1847.ca  produces a variety of organic stone milled flours in Fergus, Ontario that bring this challah out of the land of white bread and into a world of healthy, rich flavour.

1847 Challah, Sponge Technique

Despite the name, this challah recipe doesn’t date back to 1847. I created it  recently to feature 1847’s Red Fife and Daily Grind, but both of these whole grain flours can be substituted with other brands.

Sponge

2 cups warm milk

4 eggs  lightly beaten

¼ cup   honey

9 oz/2 cups     1847 Red Fife

4.8 oz/ 1 cup   PC Organic All purpose, unbleached flour

1 tsp                instant yeast

Final Dough

¼ cup               melted unsalted butter

.6 oz/1 TBS      salt

10 oz               1847 Daily Grind (whole grain multi-purpose flour)

12 oz               PC Organic All purpose, unbleached flour

1                      egg, beaten

¼ cup               sesame seeds

Combine all the Sponge ingredients in the bowl of a KitchenAid mixer using the paddle attachment until just mixed. Cover and leave at room temperature for 2 hrs or until the surface is covered with small holes, just like a sponge.

Add butter, salt, Daily Grind and all-purpose flour to the sponge.  Using a dough hook, mix for 8 min or until the dough balls up around the hook. Add a tablespoon or two of flour during the last 2 min of the mix if the dough is not pulling away from the sides of the bowl.

Transfer to an oiled plastic bin with cover for a bulk ferment (or proof) of 2hrs. (Alternately, slow down the ferment and put it in the fridge overnight for 8-12 hrs)

Line two baking sheets with parchment. Place the room temperature or refrigerated dough on a lightly floured surface. Use a dough scraper to cut in half.  Cut each half into thirds. Roll out each piece to create six long ropes. Make two simple braids with three strands each and place on baking sheets. Cover with a clean dish towel or oiled plastic wrap and let rise for 1 hour or until doubled in size.

Bake in a preheated 350 F oven for 25-30 min or until internal temperature reaches 190 F 

Ginger Turmeric Carrot Soup


When I was a little girl, happily engrossed in a snack, chomping on a fistful of carrot sticks, grownups (especially grandparents) used to chuckle and nod in appreciation.

They were tickled pink that I loved those orange roots so much.

“Just like Bugs Bunny, Lynnie, you love them carrots.”

They’d chuckle among themselves, scratch their chins in that thoughtful, elderly way and proclaim, “Carrots, little Lynnie, are not only good for ya, but they’ll put a curl in your hair.”

Curls and carrots were a good thing. Still are. I’ve got a head full of curly strands and in my garden grows some of the least straight, most angled and wayward, thwarted and stopped-up roots ever grown in these parts.

IMG_2302
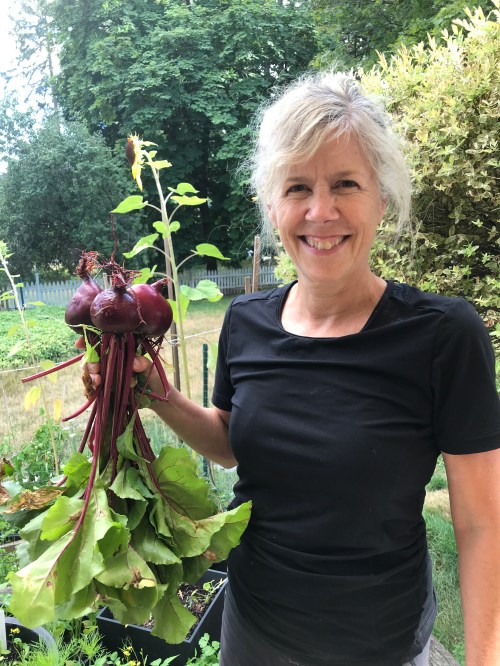
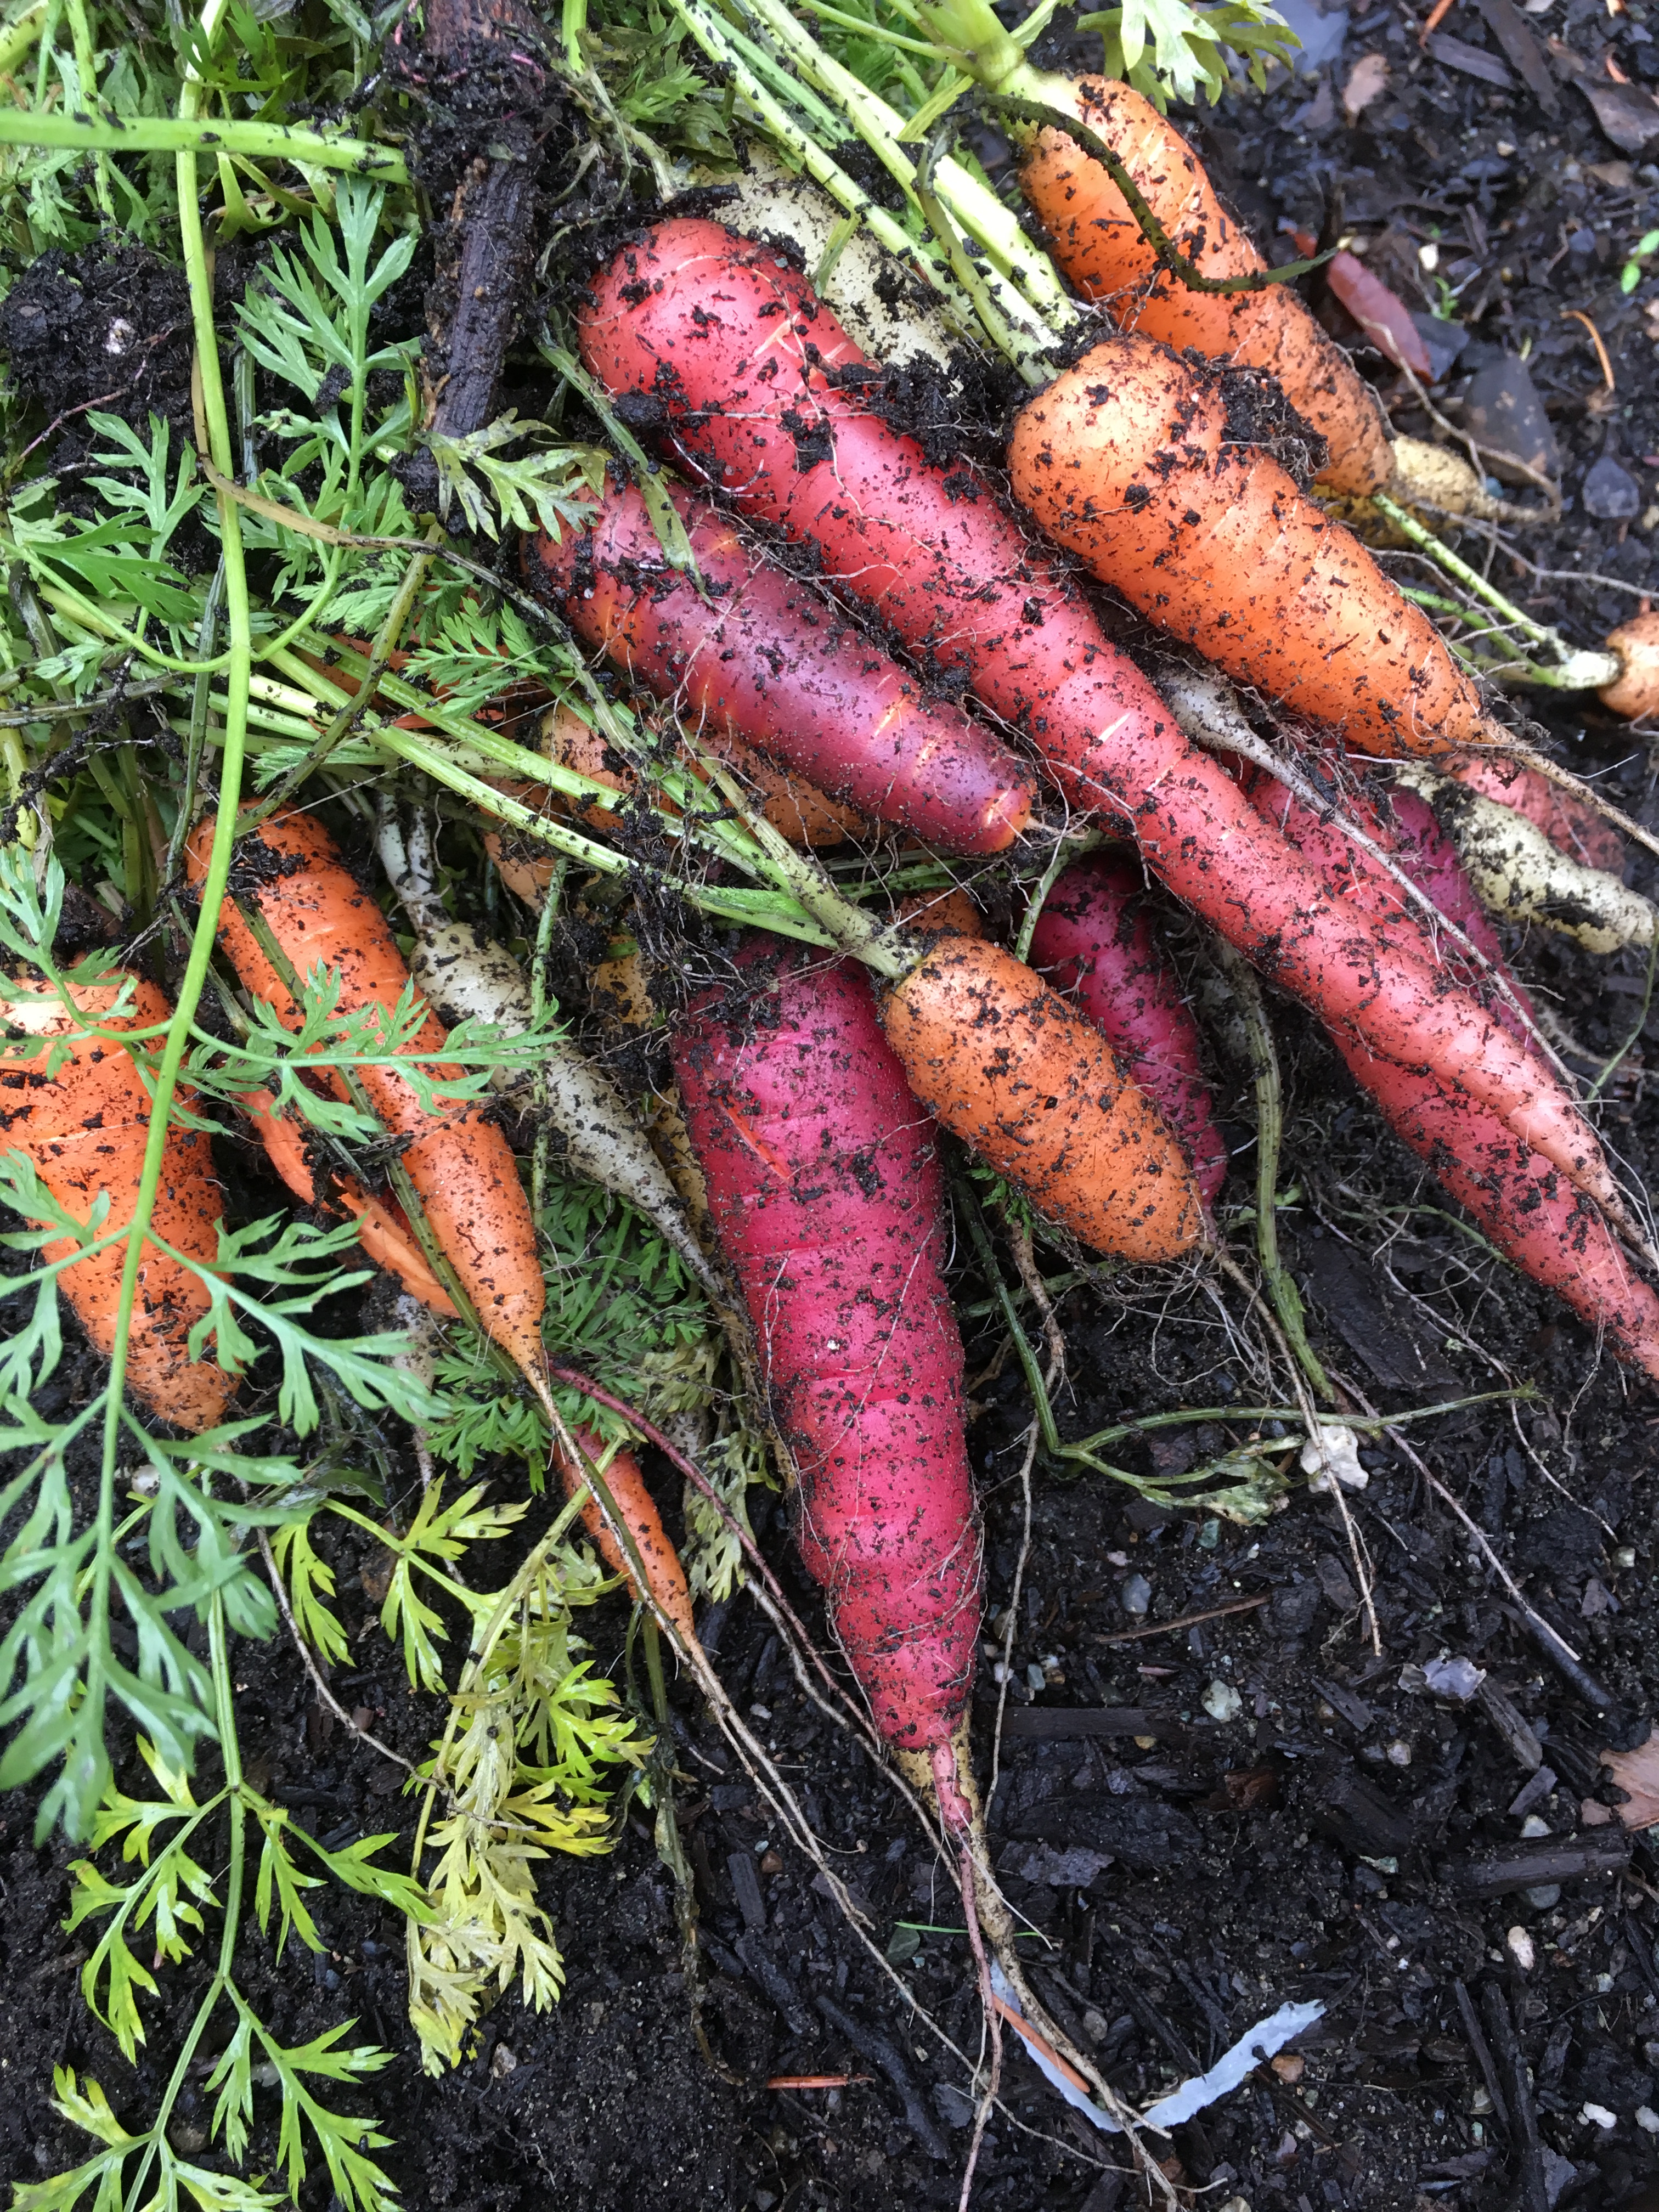
But that hasn’t stopped my love affair with this root.

They were the first veg I fed my babies.  I’d peel dozens of those orange wands, chop them into coins and toss them into a steamer basket. Once tender to the fork, I’d whirl them in my trusty food processor, adding just enough of the cooking liquid to create a fresh, real carrot puree bound for the mouths of my babes.

I remember the bright orange stains on their bibs and the way they’d open their tiny mouths like hungry baby birds.  Absolute delight welled up in this maternal heart as I fed such pure, nourishing orangeness on a little, plastic-coated baby spoon to my happy little charges.

IMG_0220
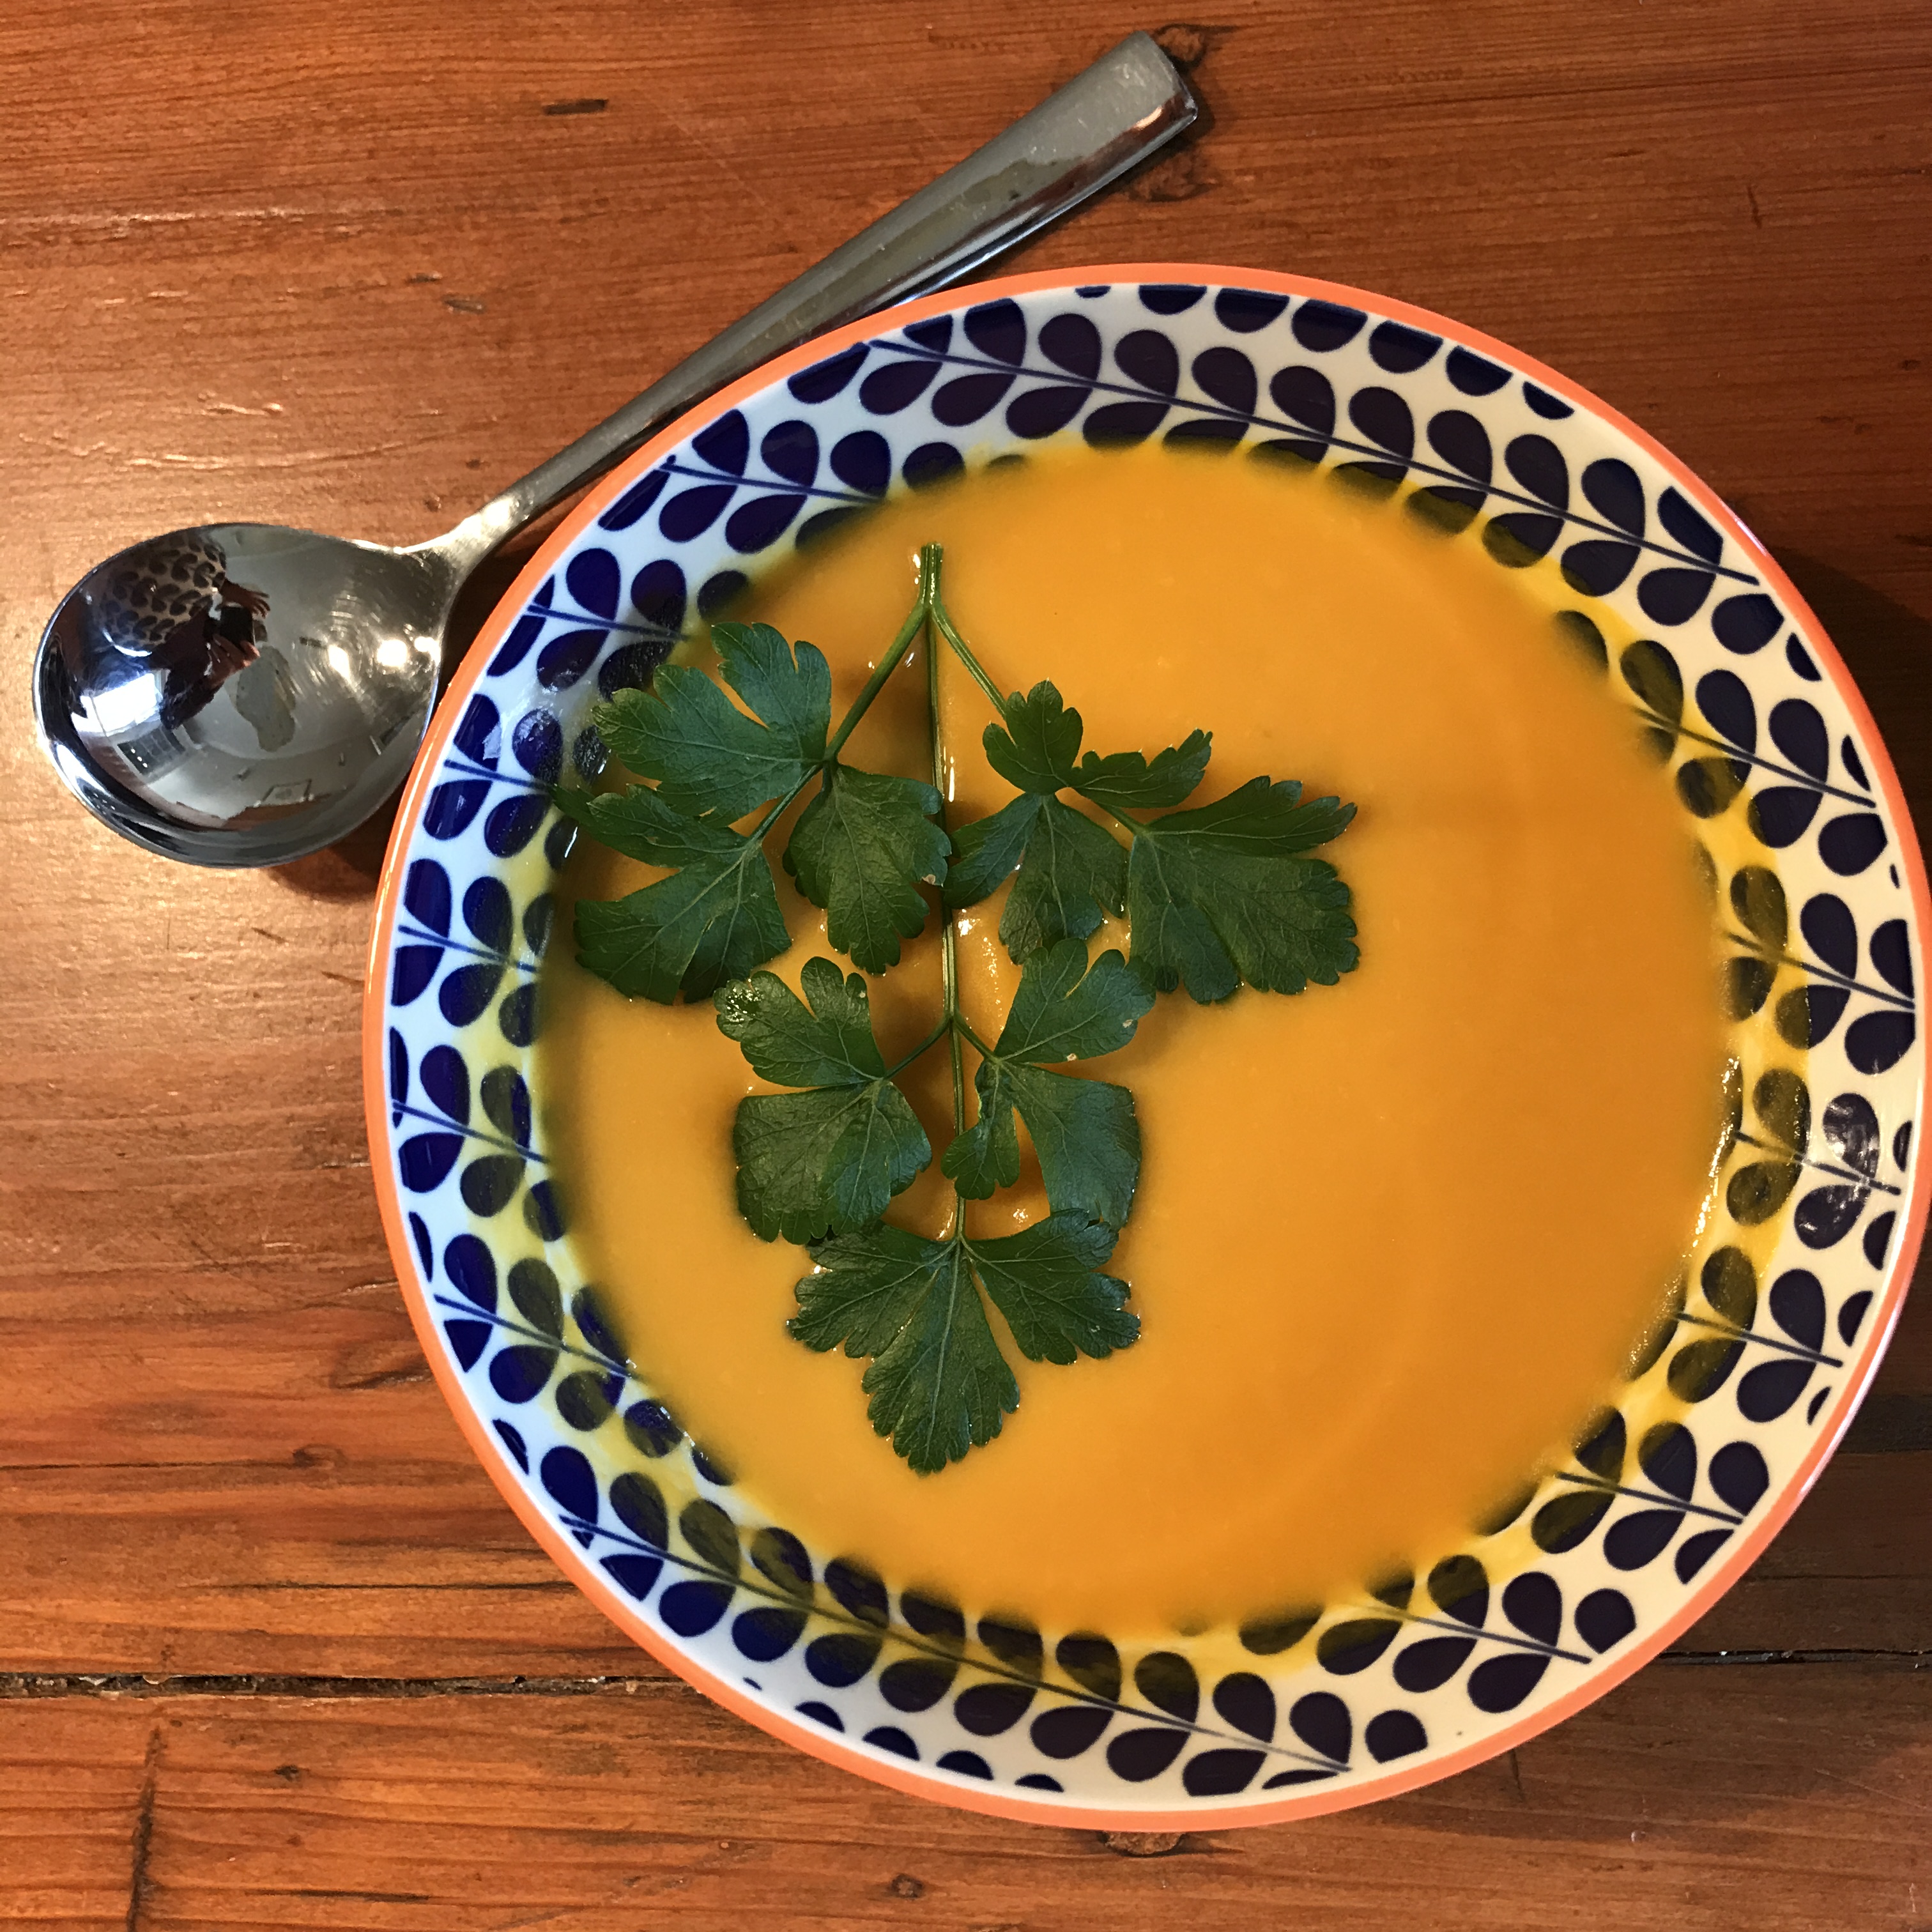
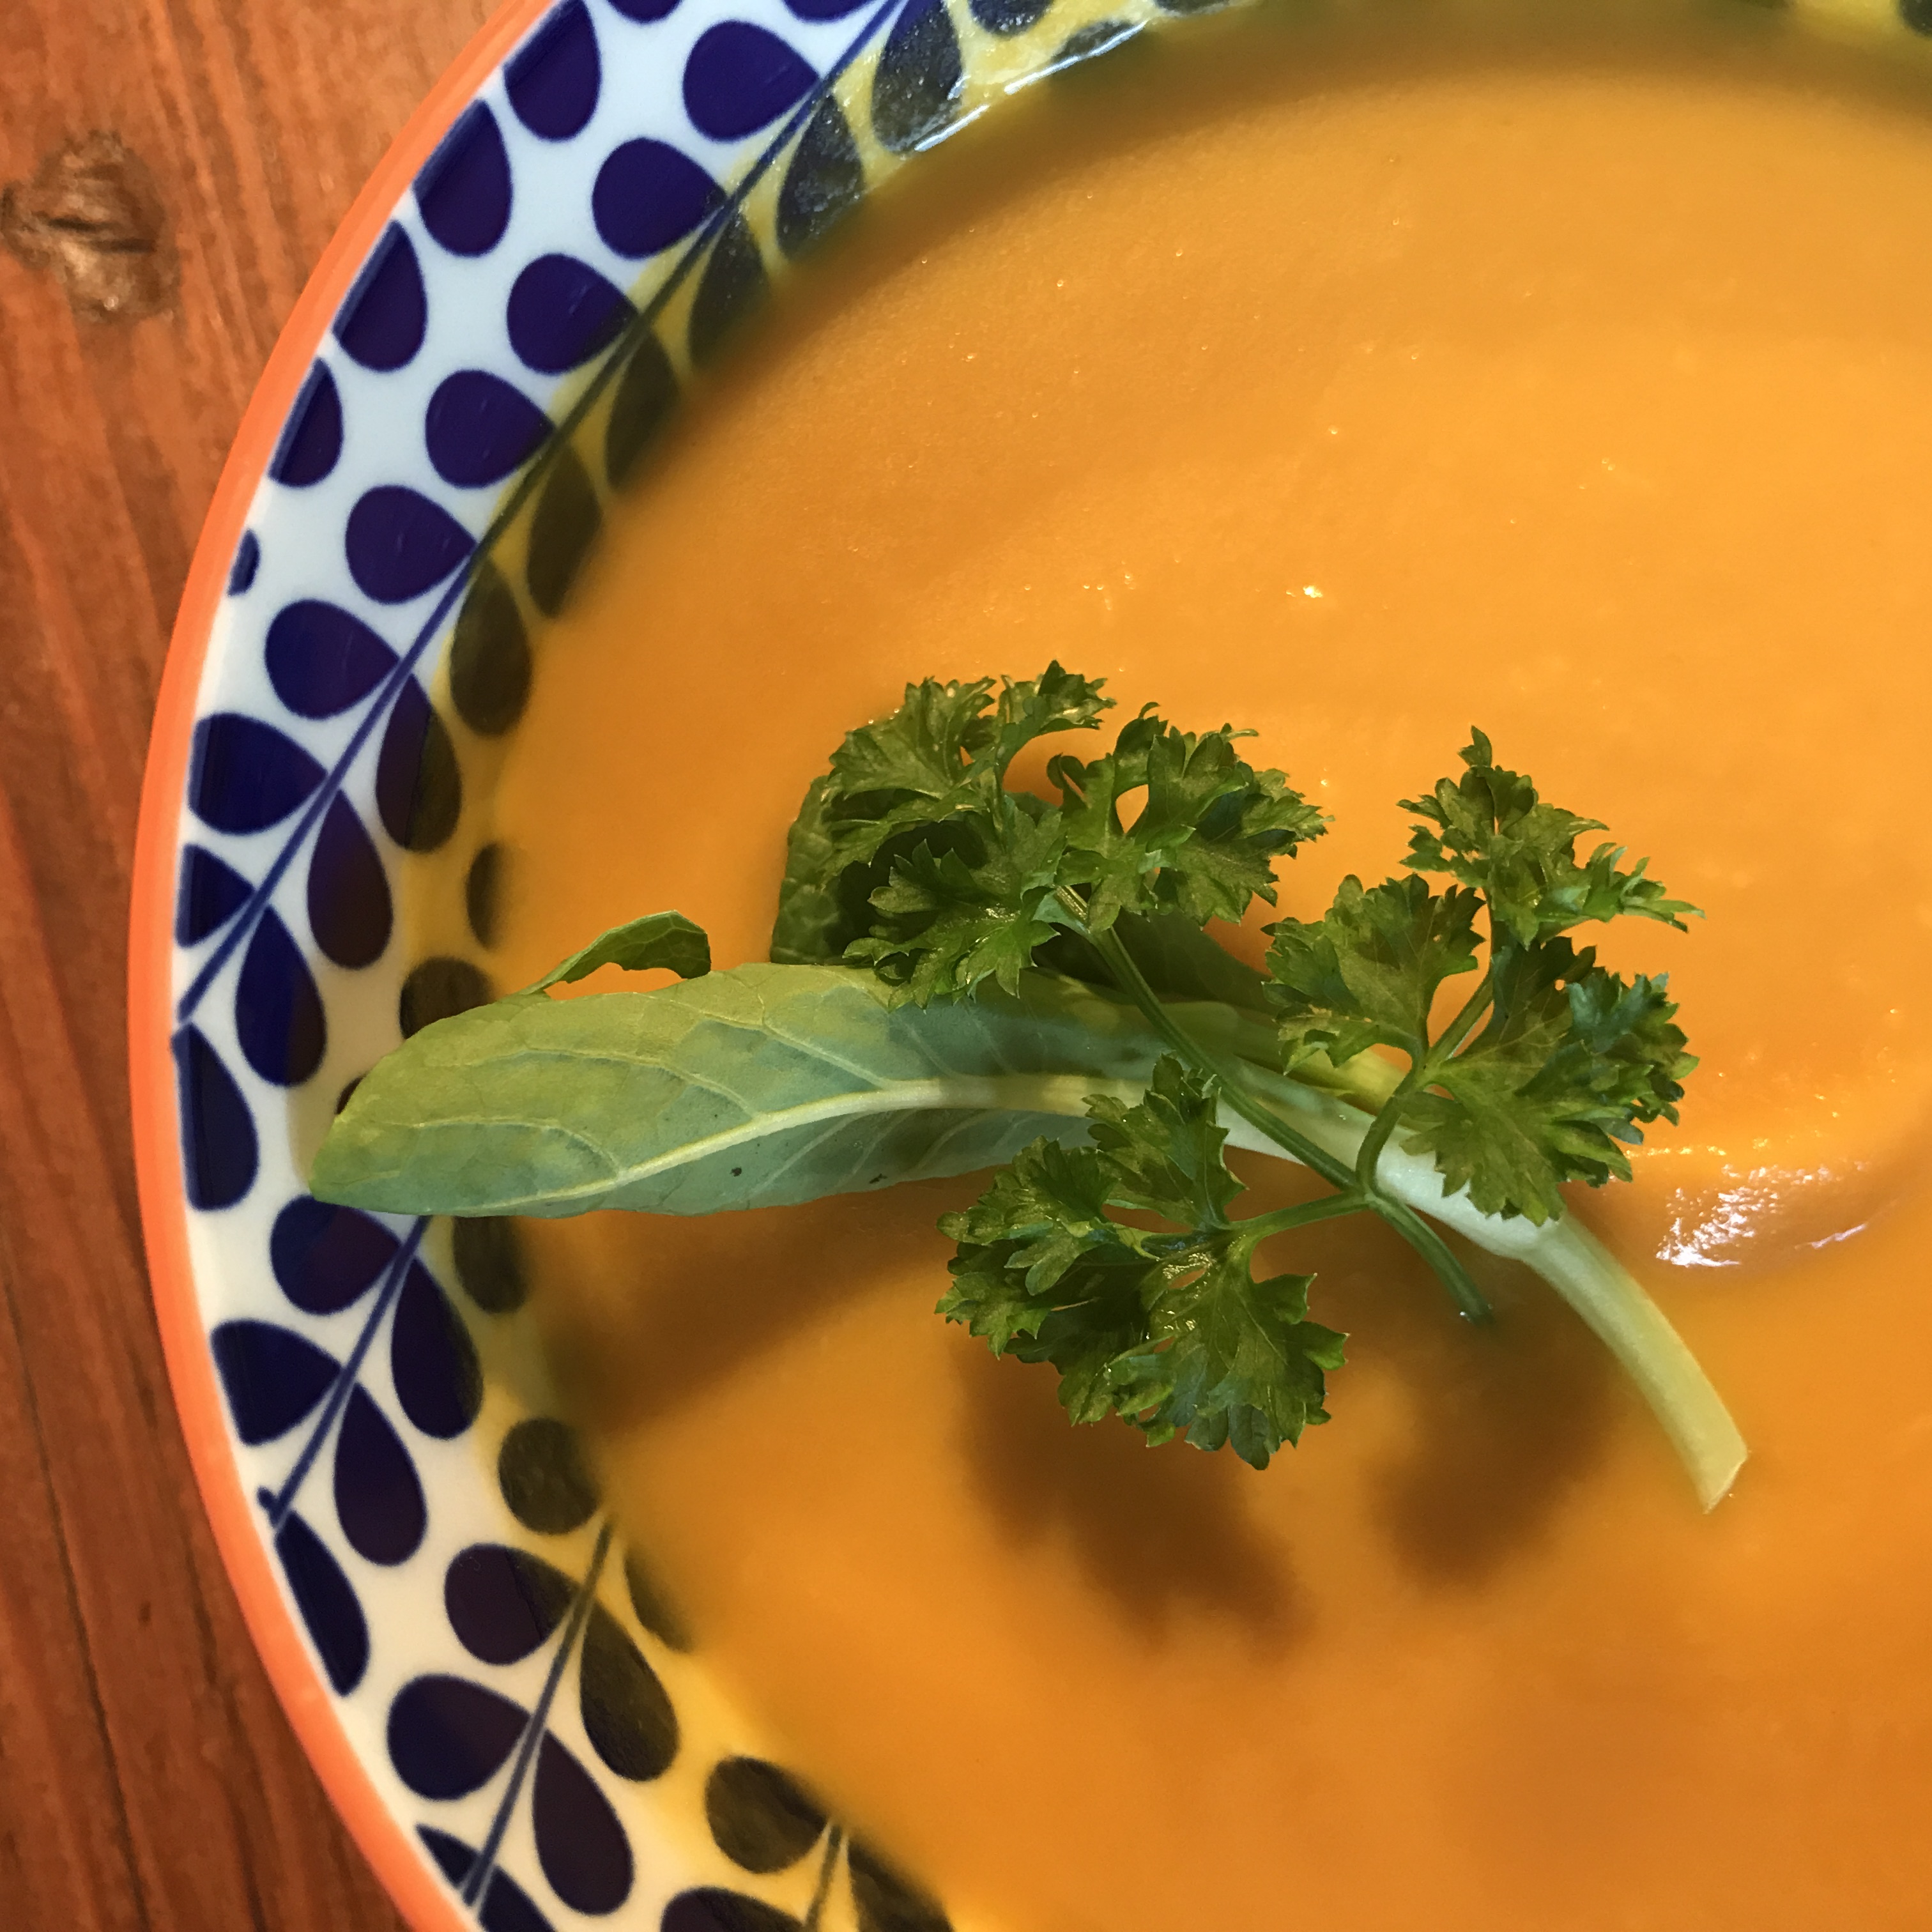
Carrot soup is not that far a leap from baby food.

It’s a pure puree meant for adult tastes including complex flavours that hop around the carrots, not unlike Bugs, but with more flavour than a cartoon can ever conjure. Ginger, a fellow root, pairs so sublimely with carrots, cutting a little of the sweetness and giving it a sideways spike. Turmeric, that currently trendy Asian rhizome that is popping up in lattes and milky teas,  deepens a carrot’s  orange into a golden crimson, while leaving yellowed tattoos on your fingers when freshly grated.

But the real kicker is in the stock — the foundational rock of any soup.  My cheat for any soup that stars vegetables-only is a super-slow-cooked chicken stock.  It adds a magical velvet to the soup’s texture while leaving a sparkling, golden sheen on the surface.

I know vegetarians and vegans will simply bypass that remark and enjoy this soup just as much, if not more, without the poultry.  I won’t even wonder what Looney Tunes could chime in with —  but I bet it would make this elder chuckle.


IMG_0217

Ginger Turmeric Carrot Soup

If your freezer isn’t full of homemade stock, bouillon cubes will suffice. Taste the results before adding salt to the soup as most cubes are sky-high in sodium.

2 tbsp coconut oil

1 red onion, chopped

2 inch piece of fresh ginger, peeled and finely grated

2-inch piece fresh turmeric, peeled and finely grated/ 1 tsp turmeric powder

5 cups (10-12 medium)  carrots, chopped

6 cups defatted, homemade chicken stock

1 cup coconut milk

4 kaffir lime leaves (or 2 bay leaves)

1 ½ tsp salt

Freshly ground pepper

Freshly ground nutmeg

Fresh lime wedges

Freshly chopped coriander and/or mint

Heat coconut oil in a large pot on medium high.  Add onion, ginger and turmeric cooking 3-5 min or until soft and fragrant.  Add carrots, stock, coconut milk, lime or bay leaves, salt and pepper. Bring to a boil then reduce to a simmer, cooking 15-20 min or until the carrots are tender soft.  Remove the lime or bay leaves and purée the hot soup with a hand-held immersion blender. Taste before seasoning with salt and pepper. Garnish with freshly ground nutmeg, lime juice, a dollop of yogurt or freshly chopped coriander and mint leaves.